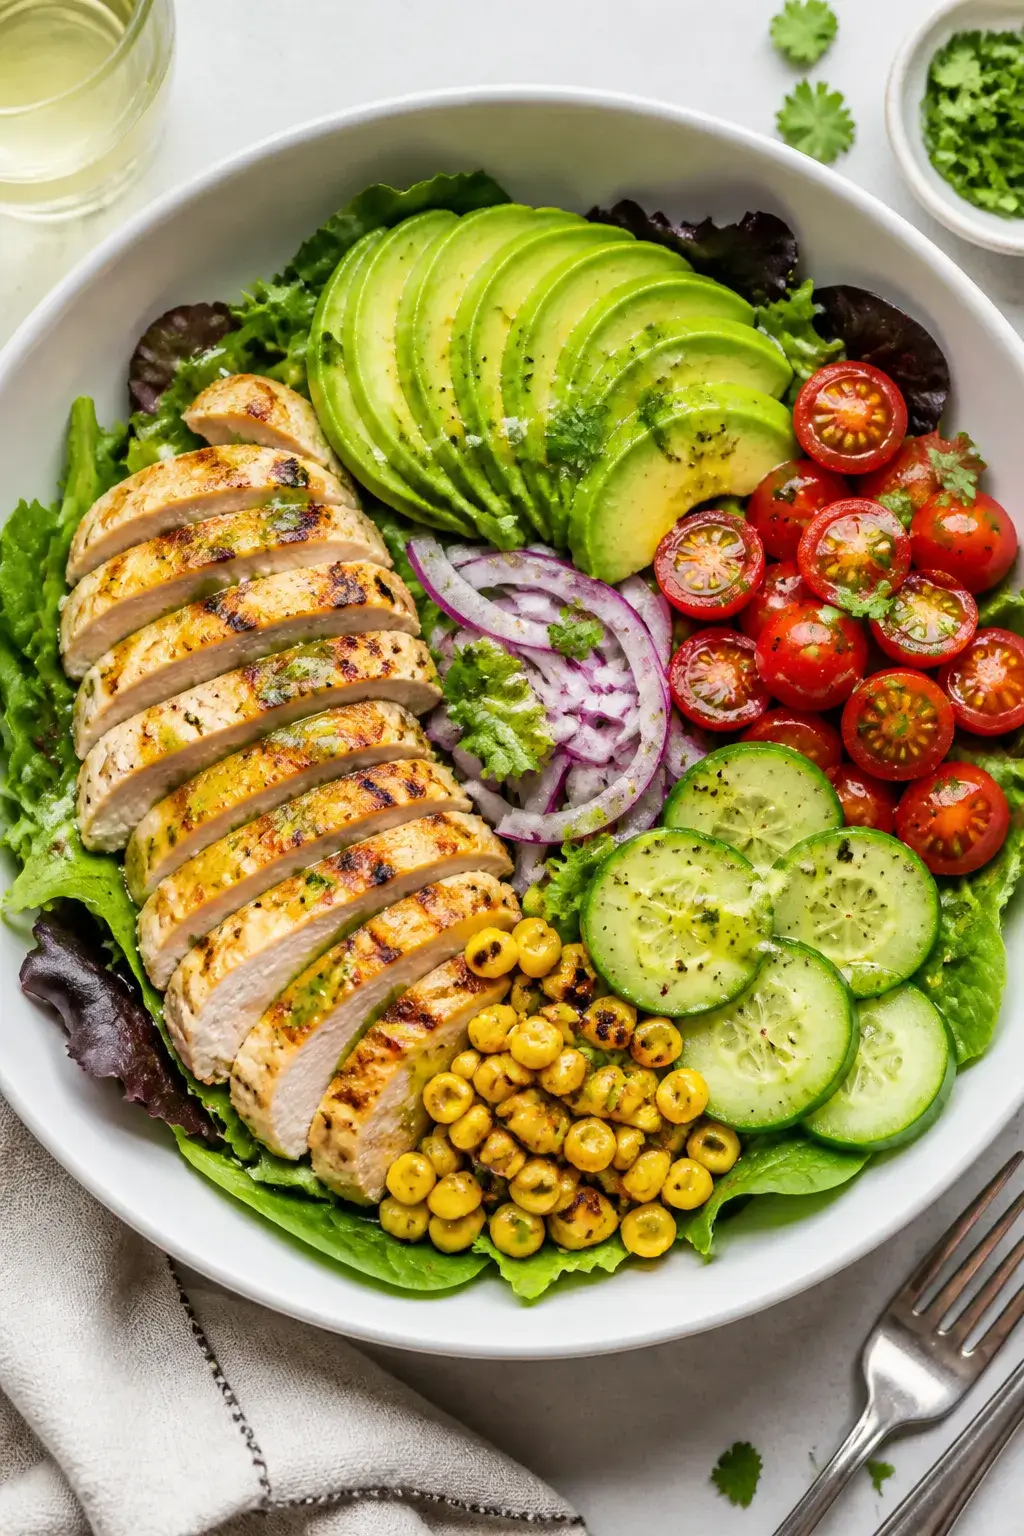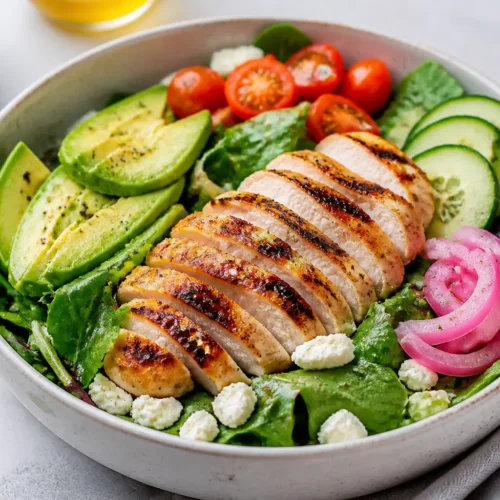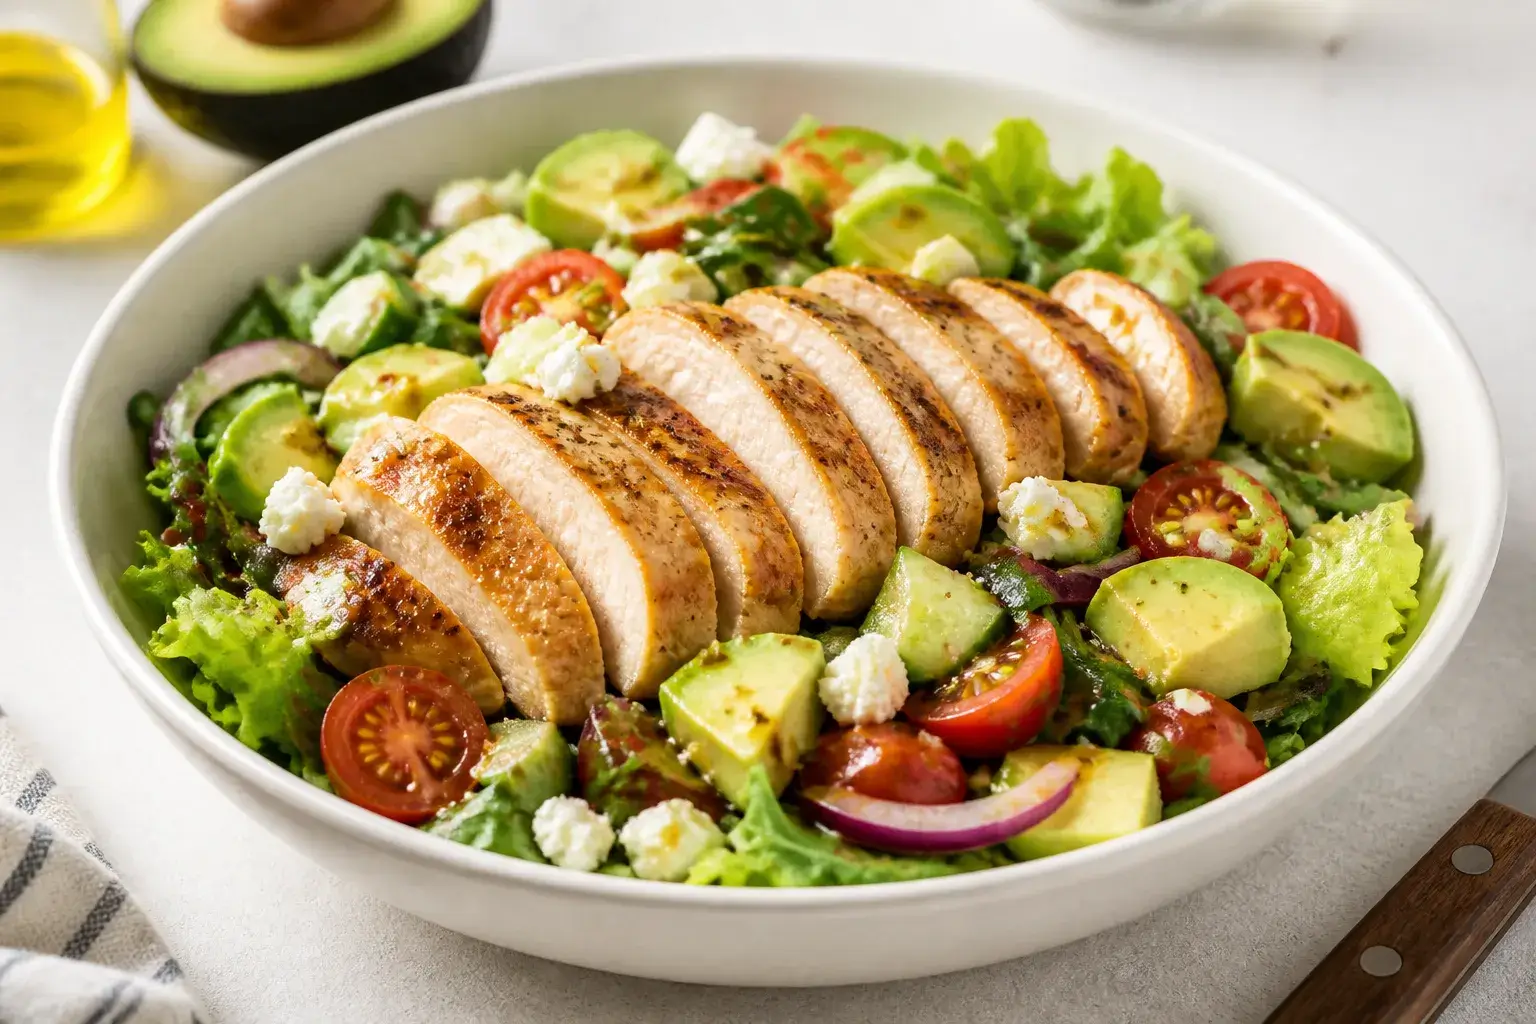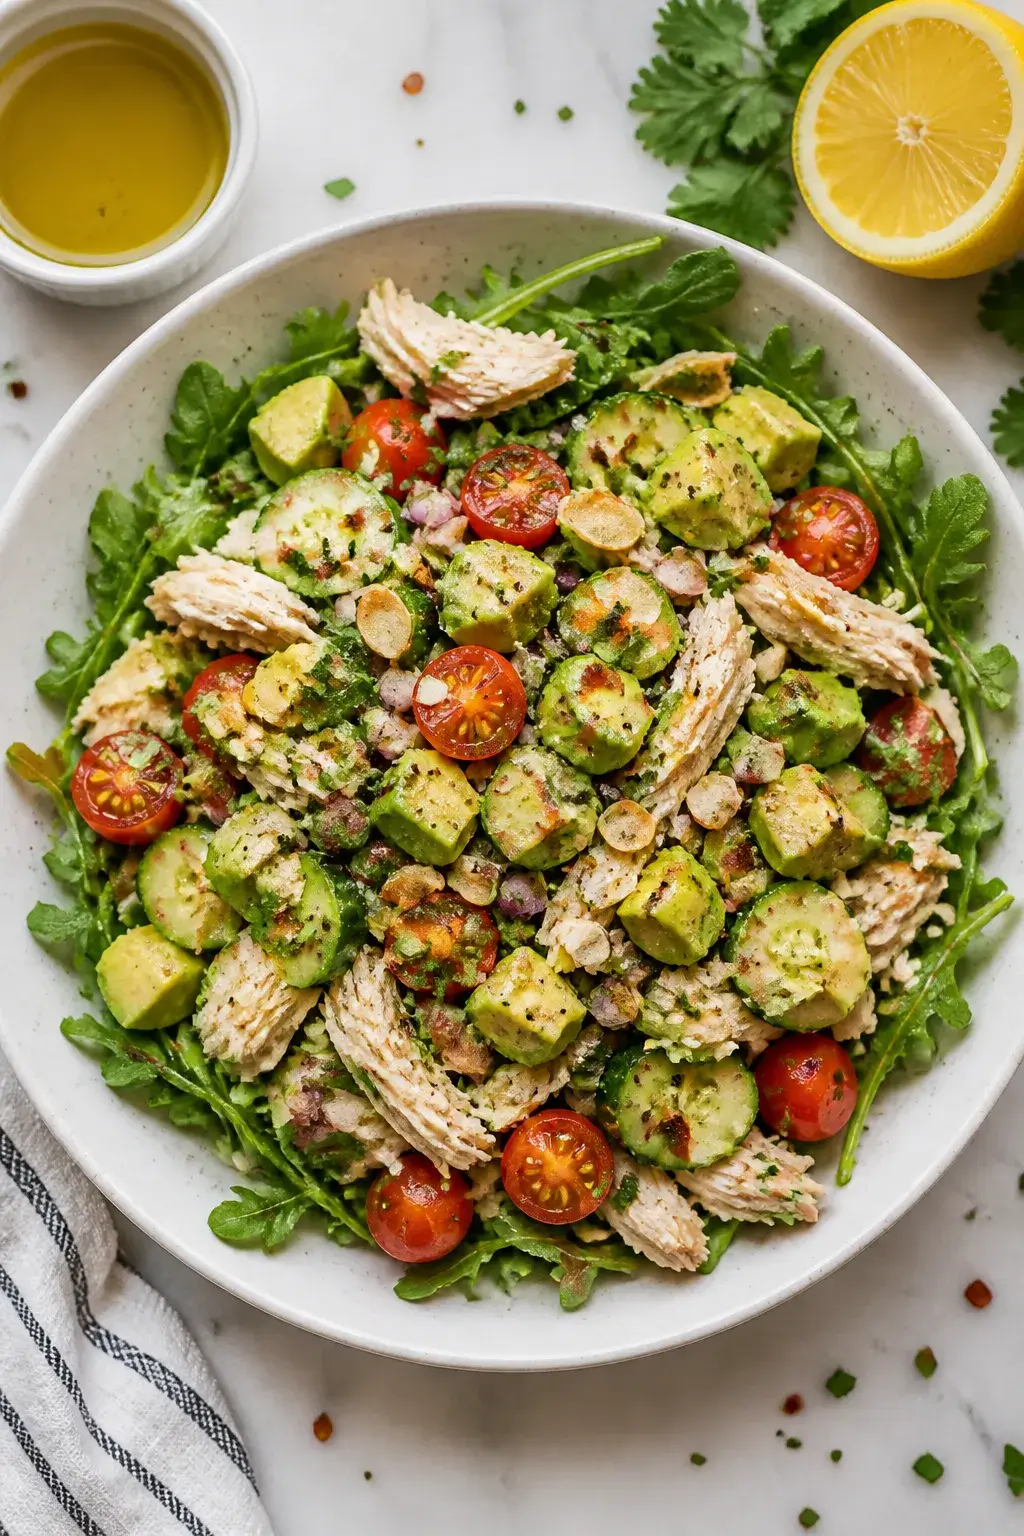
Author: Elise Bauer

  • Gluten Free Strawberry Pop Tarts – A Simple, Homemade Treat

    Gluten Free Strawberry Pop Tarts – A Simple, Homemade Treat

    Homemade pop tarts hit a sweet spot: crisp edges, tender pastry, and a bright strawberry center that tastes like summer. These gluten free strawberry pop tarts give you all the nostalgia without the wheat. They’re simple enough for a weekend bake and sturdy enough for lunch boxes.

    Expect a flaky crust, real fruit filling, and just the right amount of glaze. If you’ve missed toaster pastries since going gluten free, this recipe brings them back in the best way.

    What Makes This Special
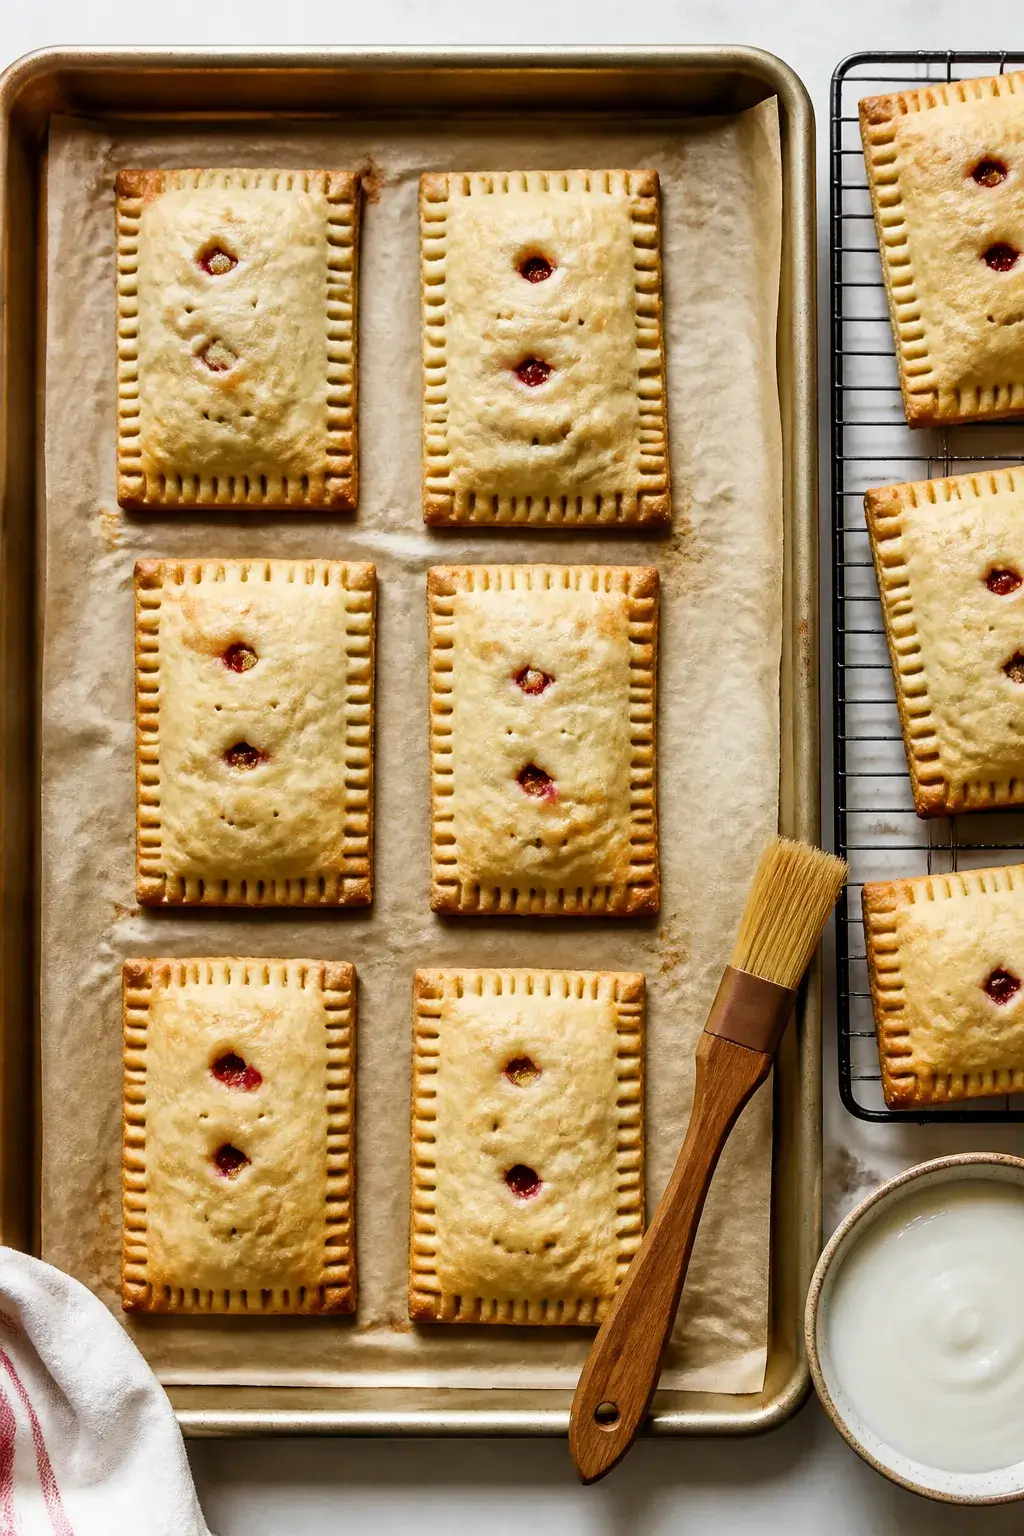
    Overhead shot of freshly baked gluten free strawberry pop tarts on a parchment-lined sheet pan, gold
    • Flaky, not crumbly: A blend of gluten free flours and a little cold butter creates layers that hold together.
    • Real strawberry flavor: The filling uses fresh or frozen berries, not artificial flavoring.
    • Freezer-friendly: Make a batch, freeze unbaked or baked, and toast when cravings hit.
    • Customizable sweetness: Dial the glaze up or down to suit your taste.

    Ingredients

    • For the pastry:
      • 2 cups gluten free all-purpose flour blend (with xanthan gum), plus extra for dusting
      • 2 tablespoons granulated sugar
      • 1/2 teaspoon fine salt
      • 1 cup (2 sticks) cold unsalted butter, cut into small cubes
      • 1 large egg
      • 3–5 tablespoons ice water
    • For the strawberry filling:
      • 1 1/2 cups chopped strawberries (fresh or frozen, thawed)
      • 1/4 cup granulated sugar (adjust to taste)
      • 1 tablespoon lemon juice
      • 2 teaspoons cornstarch (or tapioca starch)
      • 1 teaspoon vanilla extract
    • For assembly:
      • 1 egg, beaten with 1 tablespoon water (egg wash)
    • For the glaze (optional):
      • 1 cup powdered sugar
      • 2–3 tablespoons milk (dairy or dairy-free)
      • 1/2 teaspoon vanilla extract
      • Pinch of salt

    How to Make It

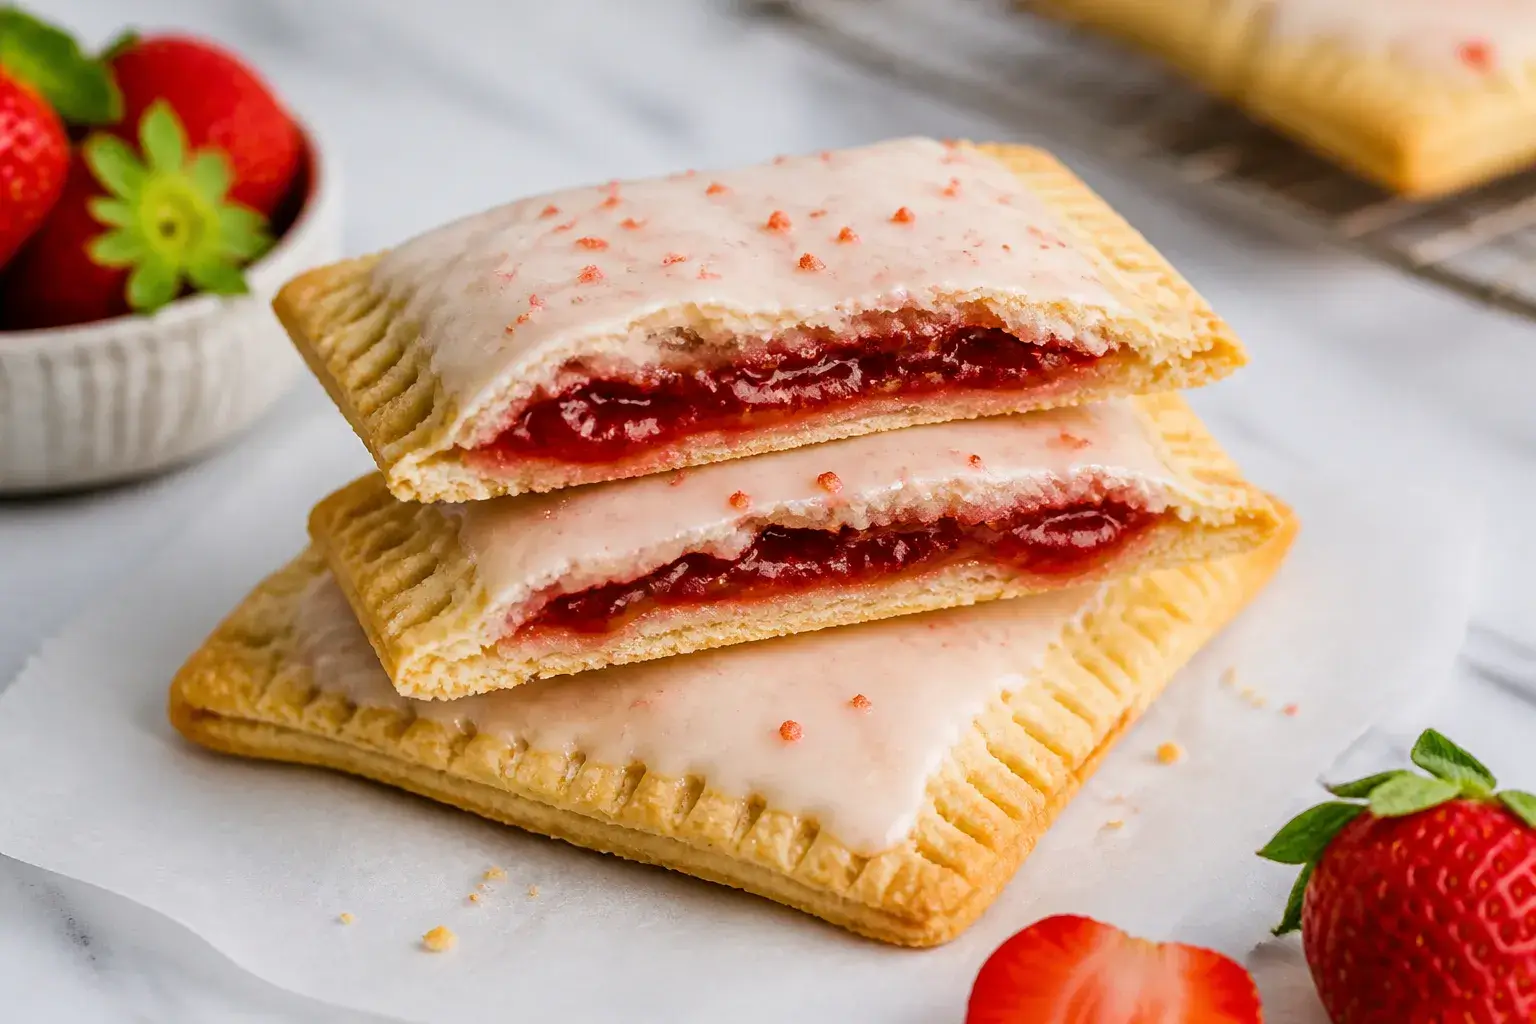
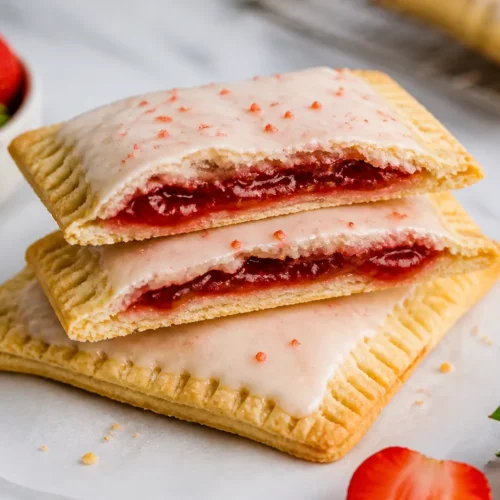
    Close-up final presentation of glazed gluten free strawberry pop tarts on a matte white plate, thick
    1. Make the filling: Add strawberries, sugar, lemon juice, and cornstarch to a small saucepan. Cook over medium heat, stirring, until thick and jammy, 6–8 minutes.

      Stir in vanilla, cool completely.

    2. Start the dough: In a bowl, whisk flour, sugar, and salt. Cut in the cold butter with a pastry cutter or your fingertips until pea-sized bits remain.
    3. Bind the dough: Whisk the egg with 3 tablespoons ice water. Add to the flour mix and stir until it clumps.

      If dry, add more ice water, 1 teaspoon at a time, just until it holds together.

    4. Chill: Divide dough in half, shape into rectangles, wrap, and chill 30–45 minutes. Cold dough is key for flakiness.
    5. Roll it out: Dust parchment with gluten free flour. Roll one portion to about 1/8 inch thick.

      Trim edges to form a neat rectangle.

    6. Cut rectangles: Cut 3×4-inch rectangles. Repeat with remaining dough. You should get 12 rectangles for 6 pop tarts, depending on thickness.
    7. Fill: Place half the rectangles on a parchment-lined sheet.

      Brush edges with egg wash. Spoon 1–1 1/2 tablespoons strawberry filling in the center, leaving a border.

    8. Seal: Top with remaining rectangles. Press edges to seal, then crimp with a fork.

      Prick the tops 3–4 times with a fork to vent.

    9. Chill again: Freeze the tray for 10 minutes while you preheat the oven to 375°F (190°C). Cold pastries bake cleaner and hold shape.
    10. Bake: Brush tops with egg wash. Bake 18–22 minutes, until golden at the edges.

      Cool on a rack completely before glazing.

    11. Glaze: Whisk powdered sugar, milk, vanilla, and a pinch of salt until smooth and thick but pourable. Spoon over cooled pastries and let set 15 minutes.

    Keeping It Fresh

    • Room temp: Store glazed pop tarts in an airtight container for 24 hours.
    • Refrigerate: Keep up to 4 days. Warm in a 300°F (150°C) oven for 5–7 minutes.
    • Freeze: Freeze unglazed pop tarts (baked or unbaked) up to 2 months.

      Bake from frozen, adding 3–5 minutes, or toast the baked ones straight from the freezer.

    Why This is Good for You

    • Real fruit: Strawberries bring fiber, vitamin C, and natural sweetness.
    • Control the ingredients: No artificial dyes, and you can manage the sugar level.
    • Gluten free without compromise: A balanced dough gives structure and flake, so you don’t feel like you’re settling.

    What Not to Do

    • Don’t skip chilling: Warm dough turns greasy and loses its layers.
    • Don’t overfill: Too much filling causes leaks. Keep a clean border.
    • Don’t roll too thick or thin: Thick equals doughy; thin equals cracks. Aim for 1/8 inch.
    • Don’t glaze while hot: The glaze will melt and slide off.

    Recipe Variations

    • Strawberry-rhubarb: Swap 1/2 cup strawberries with chopped rhubarb and add 1 more teaspoon cornstarch.
    • Strawberry chia jam: Stir 1 tablespoon chia seeds into the hot filling; cool to thicken naturally.
    • Dairy-free: Use vegan butter and non-dairy milk for the glaze.
    • Lemon glaze: Replace milk with lemon juice and add zest for a bright finish.
    • Sprinkle top: Add gluten free sprinkles to the wet glaze for a classic look.

    FAQ

    Can I use store-bought strawberry jam?

    Yes.

    Choose a thicker jam so it doesn’t run. If it’s loose, cook 1/2 cup jam with 1 teaspoon cornstarch for 1–2 minutes to tighten it up.

    Do I need xanthan gum?

    If your gluten free flour blend already includes xanthan gum, you’re set. If not, add 1/2 teaspoon to the dry ingredients for better structure.

    How do I make them without eggs?

    Use 3–5 tablespoons ice water plus 1 tablespoon ground flax mixed with 3 tablespoons water (flax egg) for the dough.

    Brush edges with milk instead of egg wash.

    Why did my pop tarts leak?

    Likely too much filling or not enough sealing. Keep a 1/2-inch border, use egg wash on the edges, crimp firmly, and vent the tops.

    Can I toast them like the boxed kind?

    Yes, if they’re unglazed or the glaze is fully set. Toast on a low setting and watch closely to avoid melting glaze onto the toaster.

    In Conclusion

    These gluten free strawberry pop tarts deliver classic pastry vibes with honest ingredients and bright berry flavor.

    They’re flaky, sweet, and easy to customize, whether you like a bold lemon glaze or a light dusting of sugar. Make a batch on Sunday, freeze a few, and treat yourself all week. Simple, nostalgic, and genuinely good—no gluten needed.
    Gluten Free Strawberry Pop Tarts – A Simple, Homemade Treat

    Prep Time 30 minutes
    Cook Time 20 minutes
    Total Time 50 minutes
    Servings 8 servings

    Ingredients
      

    • For the pastry:
    • 2 cups gluten free all-purpose flour blend (with xanthan gum), plus extra for dusting
    • 2 tablespoons granulated sugar
    • 1/2 teaspoon fine salt
    • 1 cup (2 sticks) cold unsalted butter, cut into small cubes
    • 1 large egg
    • 3–5 tablespoons ice water
    • For the strawberry filling:
    • 1 1/2 cups chopped strawberries (fresh or frozen, thawed)
    • 1/4 cup granulated sugar (adjust to taste)
    • 1 tablespoon lemon juice
    • 2 teaspoons cornstarch (or tapioca starch)
    • 1 teaspoon vanilla extract
    • For assembly:
    • 1 egg, beaten with 1 tablespoon water (egg wash)
    • For the glaze (optional):
    • 1 cup powdered sugar
    • 2–3 tablespoons milk (dairy or dairy-free)
    • 1/2 teaspoon vanilla extract
    • Pinch of salt

    Instructions
     

    • Make the filling: Add strawberries, sugar, lemon juice, and cornstarch to a small saucepan. Cook over medium heat, stirring, until thick and jammy, 6–8 minutes. Stir in vanilla, cool completely.
    • Start the dough: In a bowl, whisk flour, sugar, and salt. Cut in the cold butter with a pastry cutter or your fingertips until pea-sized bits remain.
    • Bind the dough: Whisk the egg with 3 tablespoons ice water. Add to the flour mix and stir until it clumps. If dry, add more ice water, 1 teaspoon at a time, just until it holds together.
    • Chill: Divide dough in half, shape into rectangles, wrap, and chill 30–45 minutes. Cold dough is key for flakiness.
    • Roll it out: Dust parchment with gluten free flour. Roll one portion to about 1/8 inch thick. Trim edges to form a neat rectangle.
    • Cut rectangles: Cut 3×4-inch rectangles. Repeat with remaining dough. You should get 12 rectangles for 6 pop tarts, depending on thickness.
    • Fill: Place half the rectangles on a parchment-lined sheet. Brush edges with egg wash. Spoon 1–1 1/2 tablespoons strawberry filling in the center, leaving a border.
    • Seal: Top with remaining rectangles. Press edges to seal, then crimp with a fork. Prick the tops 3–4 times with a fork to vent.
    • Chill again: Freeze the tray for 10 minutes while you preheat the oven to 375°F (190°C). Cold pastries bake cleaner and hold shape.
    • Bake: Brush tops with egg wash. Bake 18–22 minutes, until golden at the edges. Cool on a rack completely before glazing.
    • Glaze: Whisk powdered sugar, milk, vanilla, and a pinch of salt until smooth and thick but pourable. Spoon over cooled pastries and let set 15 minutes.
  • Strawberry Pop Tart Cookie Bars – Soft, Jammy, and Totally Nostalgic

    Strawberry Pop Tart Cookie Bars – Soft, Jammy, and Totally Nostalgic

    These bars taste like a childhood favorite, but upgraded. Think soft sugar cookie base, sweet strawberry jam, and a buttery crumble on top—finished with a milky vanilla glaze. They’re easy to make, easy to share, and always a hit at parties or picnics.

    If you love Pop-Tarts or jam-filled pastries, these bars bring that same joy without the fuss. You just press, spread, crumble, and bake.

    What Makes This Recipe So Good

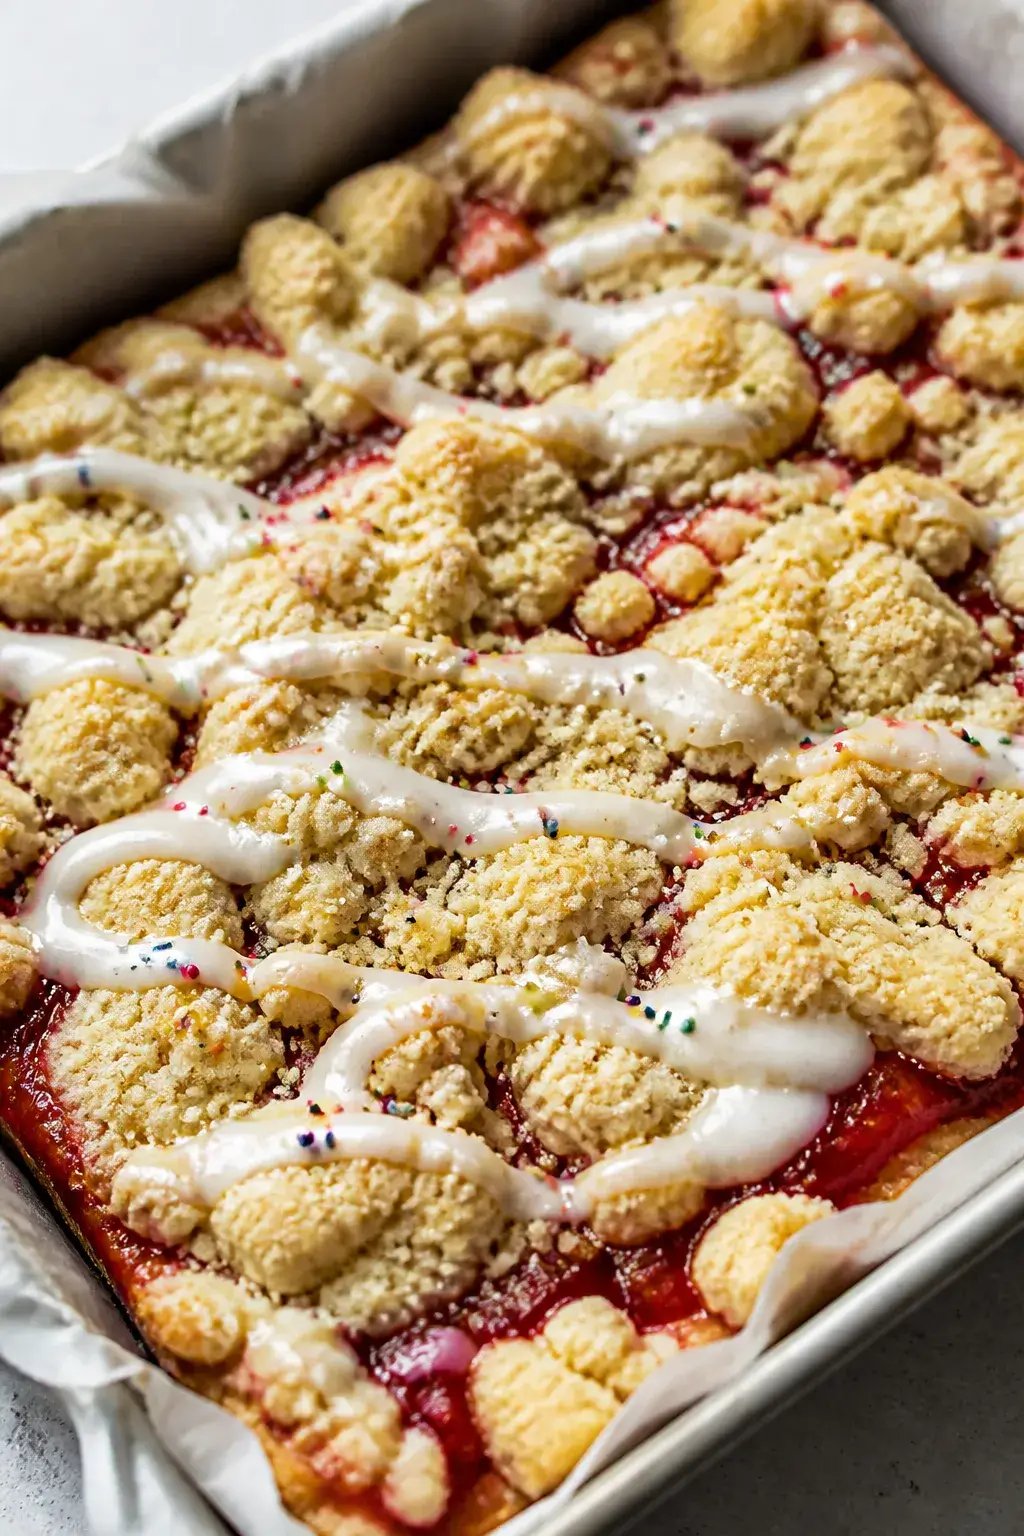
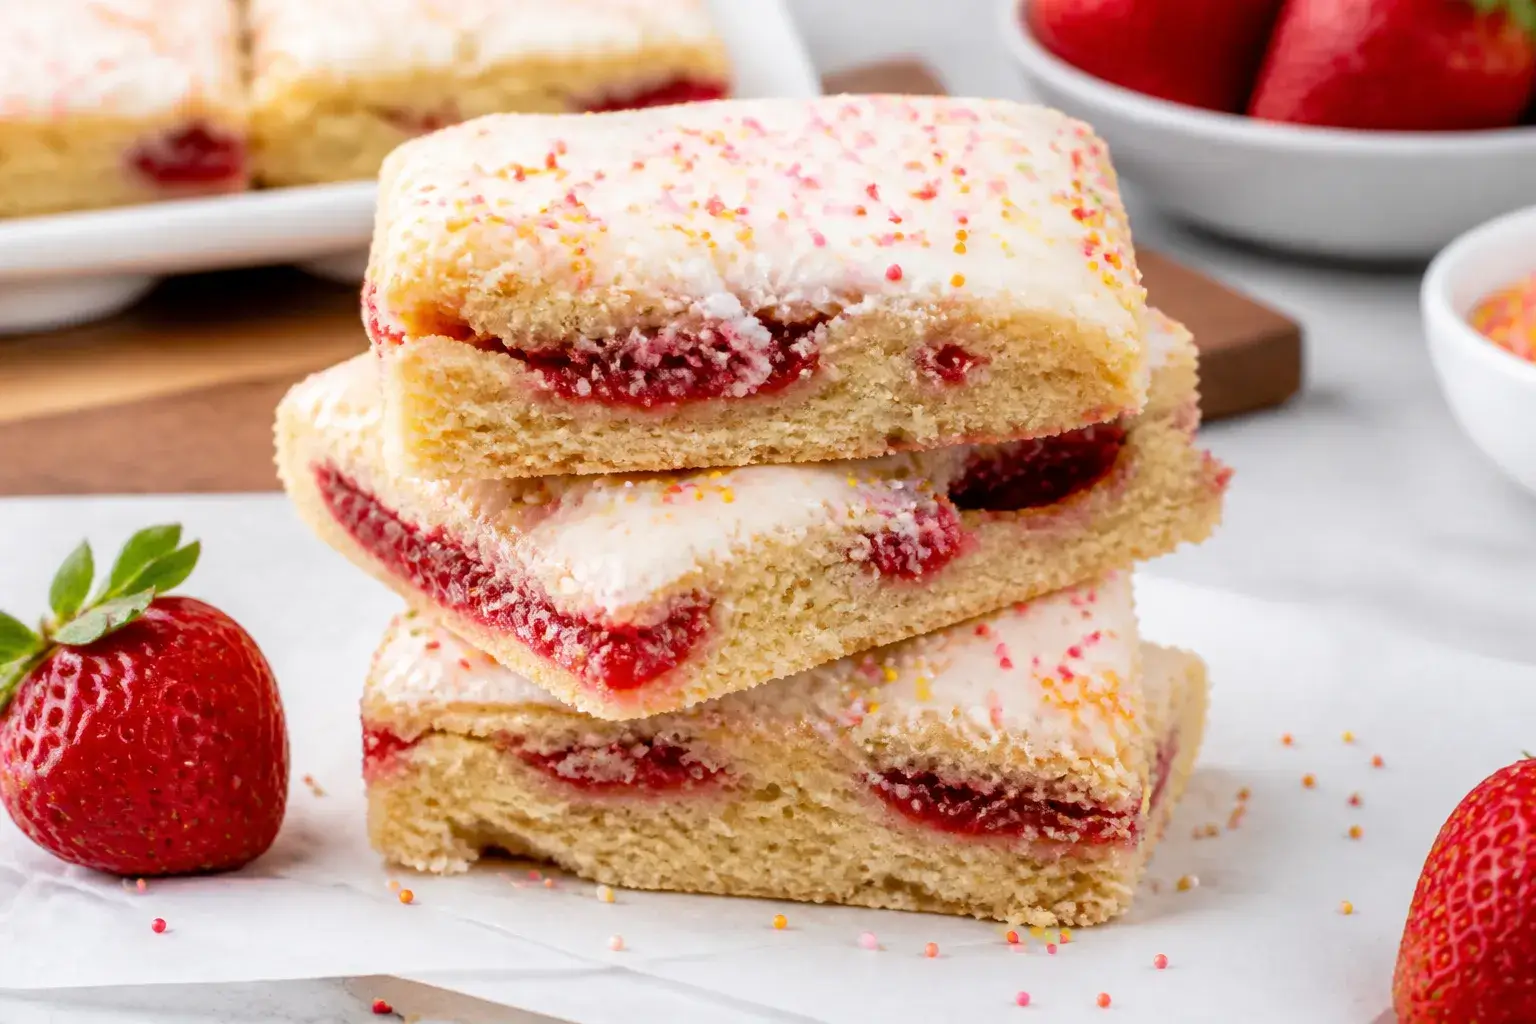
    Close-up detail of freshly baked strawberry pop tart cookie bars cooling in the parchment-lined 9x13
    • Big pop-tart flavor, minimal effort: No rolling dough or crimping edges—just layering.
    • Soft and chewy texture: A buttery cookie base that stays tender, not dry.
    • Balanced sweetness: Bright strawberry jam cuts through the rich cookie and glaze.
    • Make-ahead friendly: Tastes great the next day and travels well.
    • Flexible: Swap in other jams or add-ins without changing the method.

    Ingredients

    • For the Cookie Bars:
      • 1 cup (2 sticks) unsalted butter, softened
      • 3/4 cup granulated sugar
      • 1/2 cup light brown sugar, packed
      • 2 large eggs, room temperature
      • 2 teaspoons pure vanilla extract
      • 2 1/4 cups all-purpose flour
      • 1 teaspoon baking powder
      • 1/2 teaspoon baking soda
      • 1/2 teaspoon fine salt
      • 1 cup strawberry jam or preserves (seedless if preferred)
    • For the Crumble Topping:
      • 3/4 cup all-purpose flour
      • 1/3 cup granulated sugar
      • 1/4 teaspoon salt
      • 5 tablespoons cold unsalted butter, cubed
    • For the Glaze:
      • 1 cup powdered sugar
      • 2–3 tablespoons milk (dairy or non-dairy)
      • 1/2 teaspoon vanilla extract
      • Optional: rainbow sprinkles for that Pop-Tart look

    Step-by-Step Instructions

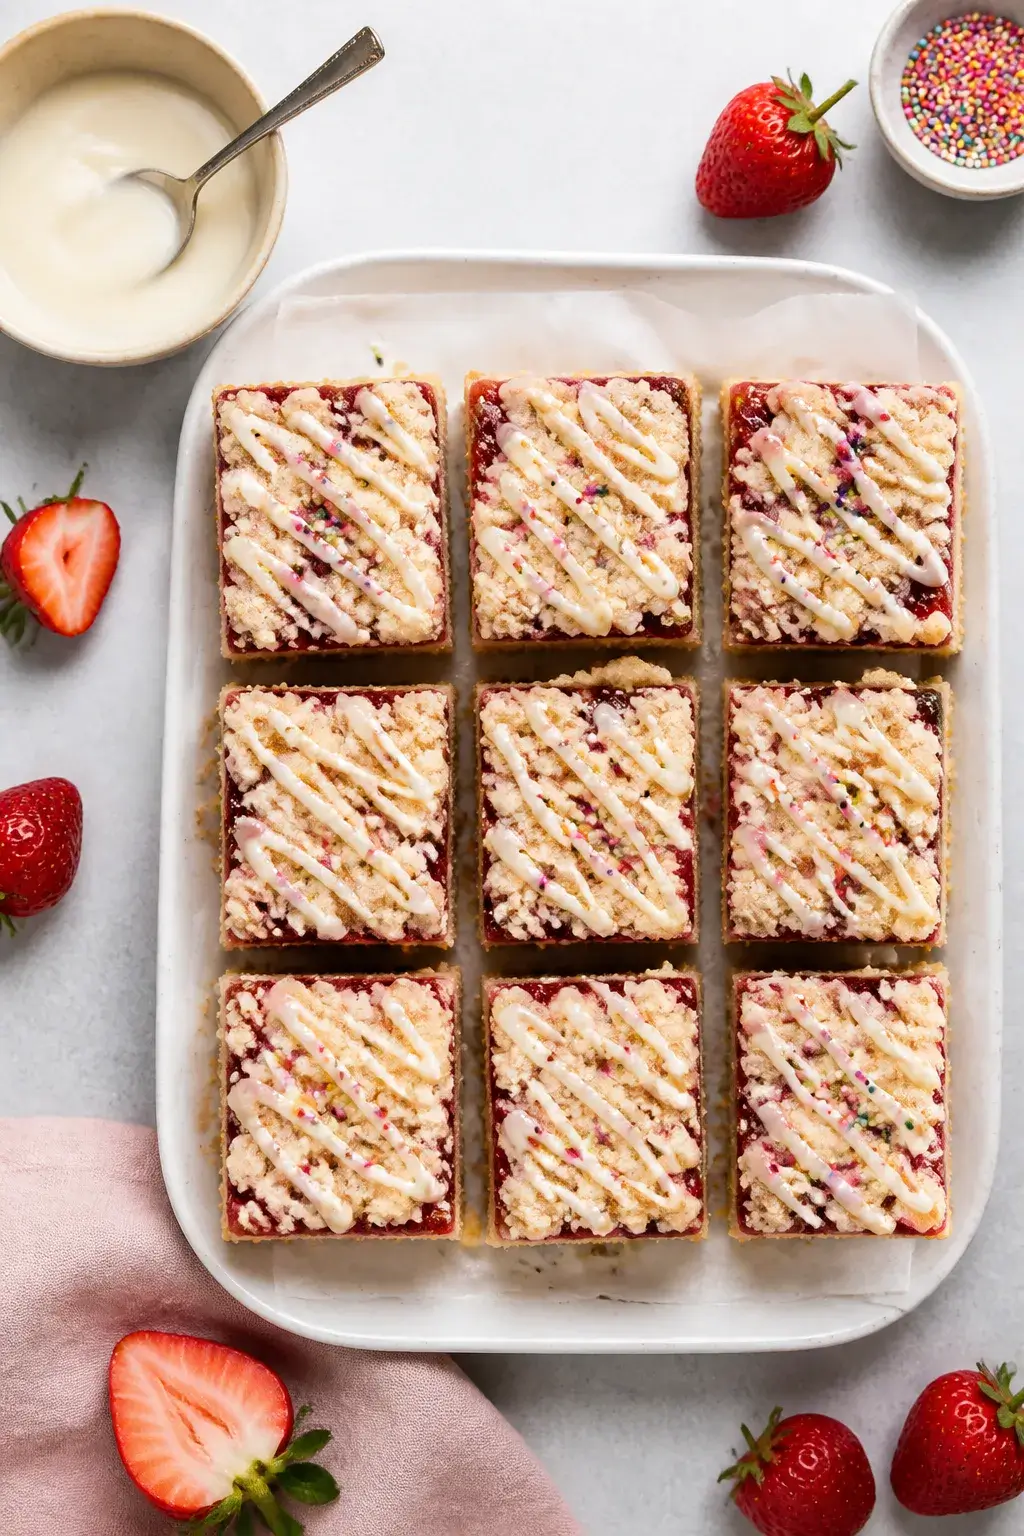
    Overhead final presentation: neat squares of strawberry pop tart cookie bars arranged on a white cer
    1. Preheat the oven to 350°F (175°C). Line a 9×13-inch pan with parchment, leaving overhang for easy lifting.
    2. Make the cookie base: In a large bowl, beat the softened butter with granulated and brown sugars until light and fluffy, about 2–3 minutes.
    3. Add eggs and vanilla.

      Beat until smooth. Scrape the bowl so everything mixes evenly.

    4. Whisk flour, baking powder, baking soda, and salt in a separate bowl. Add to the wet mixture and mix on low until just combined. Do not overmix.
    5. Press about 2/3 of the dough evenly into the prepared pan.

      It helps to use damp fingers or a spatula.

    6. Spread the strawberry jam over the dough in an even layer, leaving a tiny border around the edges.
    7. Make the crumble: Combine flour, sugar, and salt. Cut in the cold butter with a pastry cutter or your fingertips until clumpy and sandy. Sprinkle evenly over the jam.
    8. Crumble the remaining cookie dough over the top in small pieces.

      You want some jam peeking through.

    9. Bake for 25–32 minutes, until the edges are lightly golden and the center looks set. Do not overbake or bars will dry out.
    10. Cool completely in the pan on a rack. Lift out using the parchment once cool.
    11. Glaze: Whisk powdered sugar, milk, and vanilla until thick but pourable. Drizzle over cooled bars.

      Add sprinkles, if using. Let set 15–20 minutes, then slice.

    How to Store

    • Room temperature: In an airtight container for 2–3 days.
    • Refrigerator: Up to 1 week; bring to room temp before serving for best texture.
    • Freezer: Wrap slices individually and freeze up to 2 months. Thaw at room temperature.

    Why This is Good for You

    These bars are comfort food, but they still offer small wins.

    Strawberries bring a touch of vitamin C and natural sweetness. Making them at home means you control the ingredients—quality butter, real vanilla, and your favorite jam. Enjoying a homemade treat can also curb the urge for packaged snacks with additives.

    Pitfalls to Watch Out For

    • Runny jam: Very thin jam can bubble and seep.

      Use a thicker preserve or reduce a runny jam on the stove for a few minutes first.

    • Overbaking: The top should be golden, but the center should remain soft. Check early at 25 minutes.
    • Warm glazing: If you glaze while hot, it will melt into the bars. Cool fully for defined drizzle.
    • Overmixing dough: Leads to tough bars.

      Stop mixing once the flour disappears.

    Variations You Can Try

    • Different jam: Raspberry, blueberry, or mixed berry all work beautifully.
    • Almond twist: Add 1/2 teaspoon almond extract to the dough and sprinkle sliced almonds on top.
    • Lemon pop: Add 1 tablespoon lemon zest to the dough and 1 tablespoon lemon juice to the glaze.
    • Brown butter: Brown the butter for the base, cool to room temp, then proceed for a nutty depth.
    • Gluten-free: Use a 1:1 gluten-free baking flour and ensure your jam and sprinkles are GF-friendly.
    • Dairy-free: Swap in vegan butter and a non-dairy milk for the glaze.

    FAQ

    Can I use fresh strawberries instead of jam?

    Fresh berries release a lot of liquid, which can make the bars soggy. If you want to use fresh fruit, cook them down with a little sugar and cornstarch until thick and jammy, then cool before spreading.

    Do I need to chill the dough?

    No chilling needed. The dough is meant to be pressed in right away, which speeds things up and keeps the texture soft.

    How do I know when they’re done?

    The edges should be lightly golden and the center should look set but still soft.

    If the top jiggles, give it a few more minutes. A toothpick inserted near the edge should come out with a few moist crumbs.
    Can I halve the recipe?

    Yes. Use an 8×8-inch pan and start checking for doneness around 20–23 minutes.
    What if my glaze is too thin?

    Add more powdered sugar a tablespoon at a time until it clings to a spoon but still drizzles.

    If it’s too thick, add milk by the teaspoon.

    Final Thoughts

    Strawberry Pop Tart Cookie Bars bring that bakery-case look with a cozy, homemade feel. They’re simple, flexible, and guaranteed to please anyone who loves a jammy dessert. Keep the ingredients on hand, and you can whip up a pan whenever the craving hits.

    One slice in, and you’ll see why this recipe becomes a staple.

    Strawberry Pop Tart Cookie Bars – Soft, Jammy, and Totally Nostalgic

    Prep Time 20 minutes
    Cook Time 25 minutes
    Total Time 45 minutes
    Servings 16 servings

    Ingredients
      

    • For the Cookie Bars:
    • 1 cup (2 sticks) unsalted butter, softened
    • 3/4 cup granulated sugar
    • 1/2 cup light brown sugar, packed
    • 2 large eggs, room temperature
    • 2 teaspoons pure vanilla extract
    • 2 1/4 cups all-purpose flour
    • 1 teaspoon baking powder
    • 1/2 teaspoon baking soda
    • 1/2 teaspoon fine salt
    • 1 cup strawberry jam or preserves (seedless if preferred)
    • For the Crumble Topping:
    • 3/4 cup all-purpose flour
    • 1/3 cup granulated sugar
    • 1/4 teaspoon salt
    • 5 tablespoons cold unsalted butter, cubed
    • For the Glaze:
    • 1 cup powdered sugar
    • 2–3 tablespoons milk (dairy or non-dairy)
    • 1/2 teaspoon vanilla extract
    • Optional: rainbow sprinkles for that Pop-Tart look

    Instructions
     

    • Preheat the oven to 350°F (175°C). Line a 9×13-inch pan with parchment, leaving overhang for easy lifting.
    • Make the cookie base: In a large bowl, beat the softened butter with granulated and brown sugars until light and fluffy, about 2–3 minutes.
    • Add eggs and vanilla. Beat until smooth. Scrape the bowl so everything mixes evenly.
    • Whisk flour, baking powder, baking soda, and salt in a separate bowl. Add to the wet mixture and mix on low until just combined. Do not overmix.
    • Press about 2/3 of the dough evenly into the prepared pan. It helps to use damp fingers or a spatula.
    • Spread the strawberry jam over the dough in an even layer, leaving a tiny border around the edges.
    • Make the crumble: Combine flour, sugar, and salt. Cut in the cold butter with a pastry cutter or your fingertips until clumpy and sandy. Sprinkle evenly over the jam.
    • Crumble the remaining cookie dough over the top in small pieces. You want some jam peeking through.
    • Bake for 25–32 minutes, until the edges are lightly golden and the center looks set. Do not overbake or bars will dry out.
    • Cool completely in the pan on a rack. Lift out using the parchment once cool.
    • Glaze: Whisk powdered sugar, milk, and vanilla until thick but pourable. Drizzle over cooled bars. Add sprinkles, if using. Let set 15–20 minutes, then slice.
  • Homemade Strawberry Sheet Pan Pop Tart – Big-Batch Breakfast Treat

    Homemade Strawberry Sheet Pan Pop Tart – Big-Batch Breakfast Treat

    Imagine a giant pop tart that you slice like a cake. That’s what this homemade strawberry sheet pan pop tart delivers—flaky crust, sweet-tart filling, and a pretty pink glaze. It’s easy enough for a weekend bake and impressive enough for brunch with friends.

    You can use store-bought dough to keep it simple or make it from scratch if you’re in the mood. Either way, it tastes like a childhood favorite, just better.

    What Makes This Special

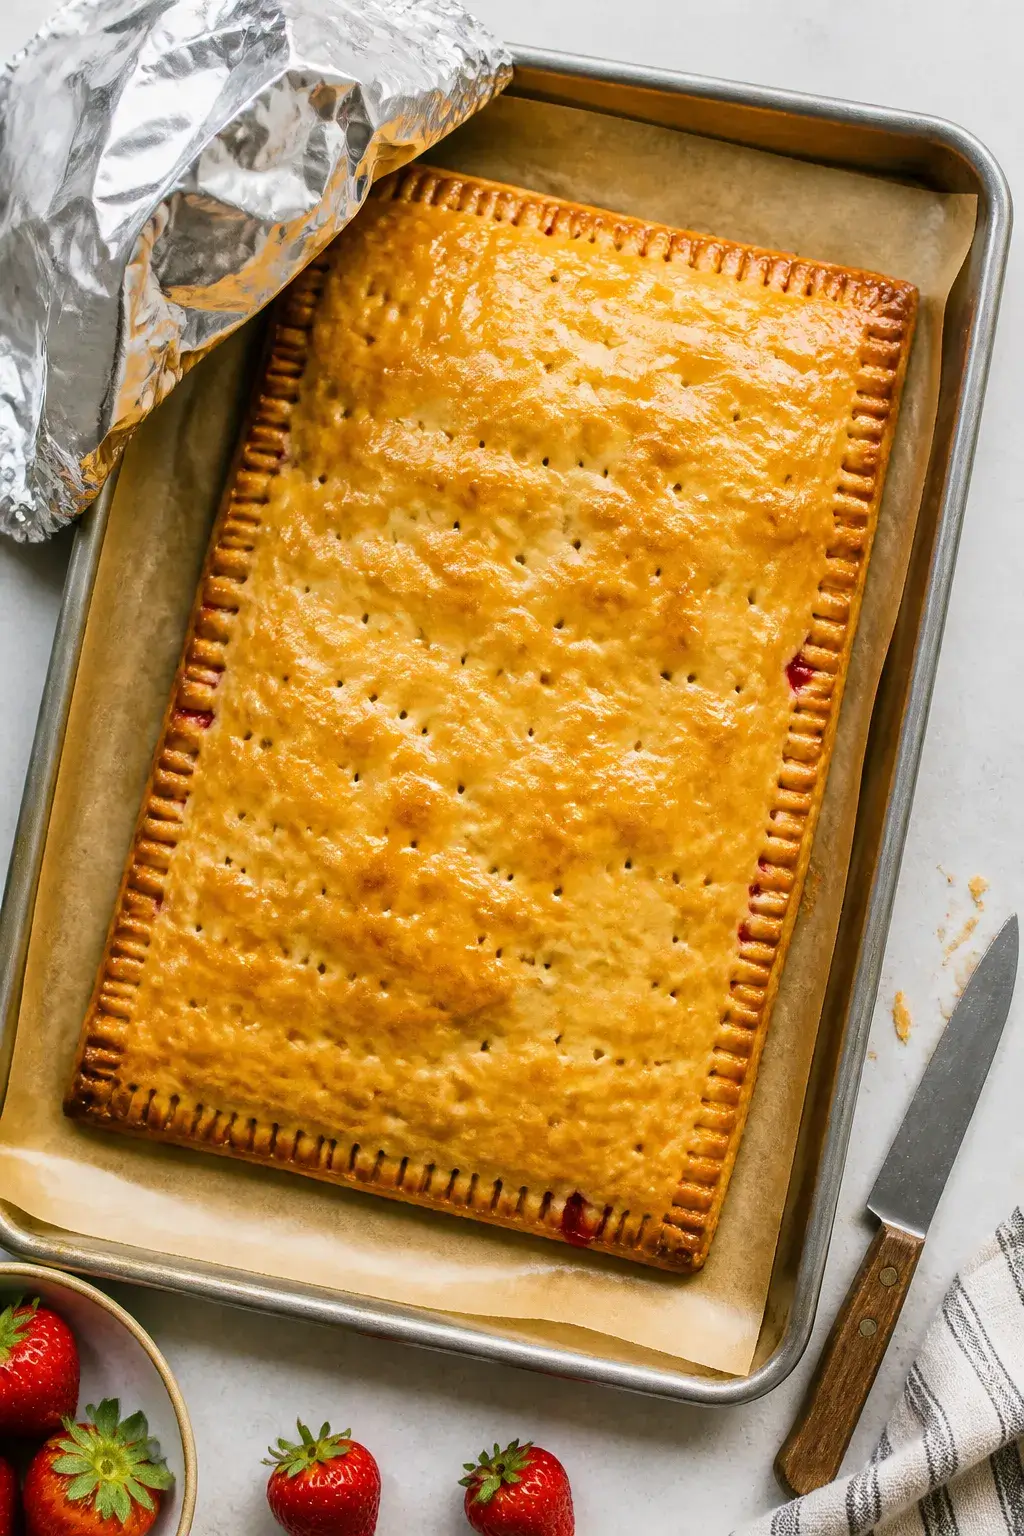
    Overhead shot of a freshly baked strawberry sheet pan pop tart cooling on a parchment-lined quarter-

    This version gives you the joy of a pop tart without the tiny size or foil wrapper. It bakes all at once on a sheet pan, so no fiddly crimping of a dozen minis.

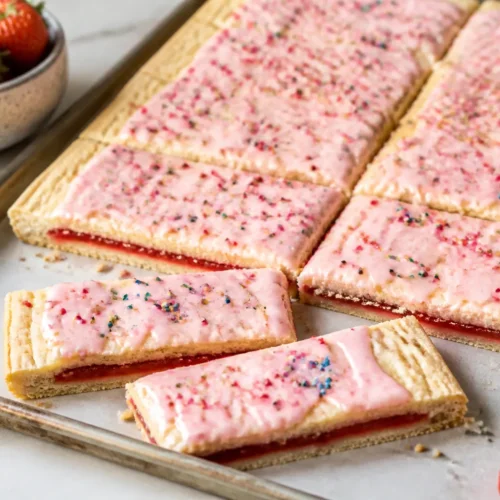
    The strawberry filling stays bright and fruity, not cloying. The glaze is silky with a hint of vanilla, and sprinkles make it fun. Plus, it slices cleanly for sharing, packing, or freezing.

    What You’ll Need

    • Pie Crust: 2 sheets store-bought refrigerated pie crust or 2 batches homemade all-butter pie dough (enough for a top and bottom, about 22–24 ounces total)
    • Strawberry Filling:
      • 3 cups chopped fresh or frozen strawberries
      • 1/3–1/2 cup granulated sugar (to taste, depending on berry sweetness)
      • 1 tablespoon lemon juice
      • 1 tablespoon cornstarch
      • 1 teaspoon vanilla extract
      • Pinch of salt
    • Egg Wash: 1 egg beaten with 1 tablespoon milk or water
    • Glaze:
      • 1 1/2 cups powdered sugar
      • 2–3 tablespoons milk or cream
      • 1/2 teaspoon vanilla extract
      • 1–2 tablespoons strawberry jam (for color and flavor), optional
      • Pinch of salt
    • Optional Toppings: Sprinkles or freeze-dried strawberry crumbs
    • Equipment: Rimmed quarter-sheet pan (9×13 inches) or jelly roll pan, parchment paper, fork, rolling pin

    Step-by-Step Instructions

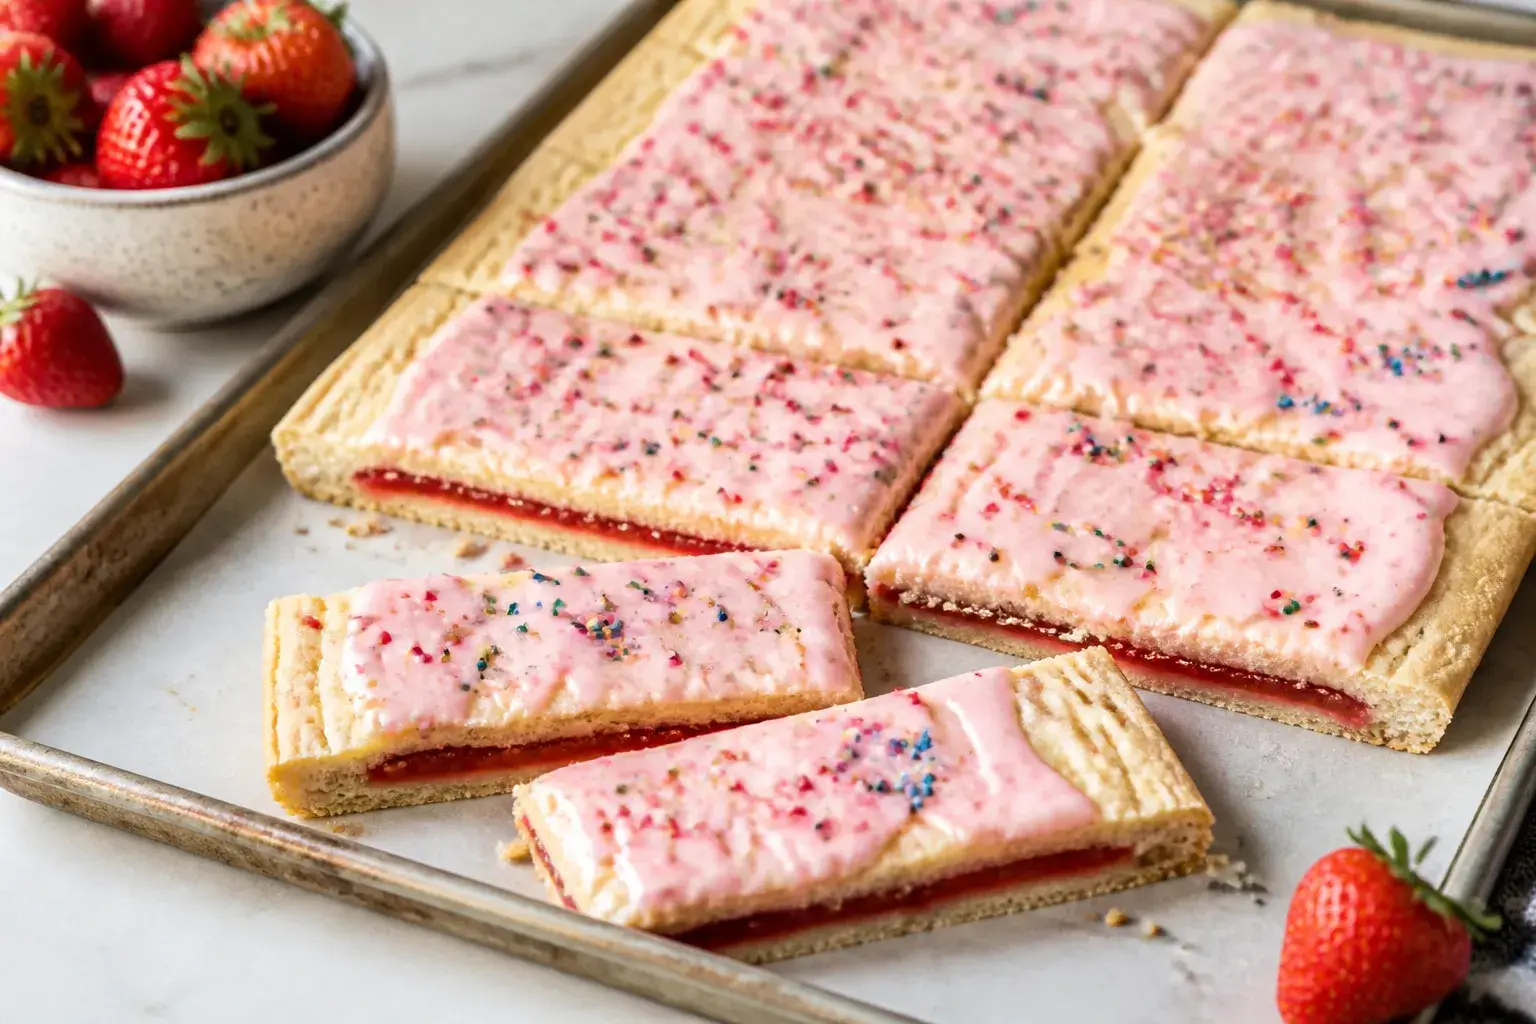
    Close-up detail of the finished strawberry sheet pan pop tart after glazing and slicing, tight crop
    1. Prep the pan. Line a quarter-sheet pan with parchment, leaving overhang for easy lifting.

      Heat oven to 400°F (200°C).

    2. Make the filling. In a saucepan, combine strawberries, sugar, lemon juice, cornstarch, vanilla, and salt. Cook over medium heat, stirring, until berries release juice and the mixture thickens and bubbles, 5–8 minutes. Cool to room temp.
      It should be jammy, not runny.

    3. Roll the dough. On a lightly floured surface, roll one crust into a rectangle to fit the pan with a little overhang. Transfer to the pan. Roll the second crust to a matching rectangle for the top.
    4. Assemble. Brush a 1/2-inch border of egg wash around the bottom crust.

      Spread the cooled strawberry filling inside the border in an even layer.

    5. Seal it. Place the top crust over the filling. Press edges to seal, then crimp with a fork. Trim excess if needed.

      Prick the top all over with a fork to vent.

    6. Bake. Brush the top with remaining egg wash. Bake 22–28 minutes until golden brown and crisp. If edges brown too fast, tent loosely with foil.
    7. Cool completely. Let it cool in the pan 45–60 minutes.
      Warm crust will melt the glaze, so patience helps.

    8. Glaze. Whisk powdered sugar, milk, vanilla, jam (if using), and a pinch of salt until smooth and spreadable. Adjust with a few drops more milk if too thick. Spread over the cooled tart.

      Add sprinkles or strawberry crumbs.

    9. Set and slice. Let the glaze set 15–20 minutes. Lift out using the parchment and slice into 12–16 squares.
    Storage Instructions

    • Room temperature: Keep covered for up to 24 hours.
    • Refrigerator: Store slices in an airtight container for 3–4 days.
    • Freezer: Wrap slices individually and freeze up to 2 months. Thaw overnight in the fridge.
    • Reheating: Warm in a 300°F (150°C) oven for 8–10 minutes to re-crisp.

      Avoid the toaster if glaze is on.

    Why This is Good for You

    Strawberries bring vitamin C, fiber, and antioxidants. Making this at home means fewer additives and the chance to control sugar. Using real fruit gives better flavor and more nutrients than a boxed version.

    And sharing a pan-baked treat encourages mindful portions instead of mindless snacking.

    Pitfalls to Watch Out For

    • Runny filling: If the filling looks soupy, cook it longer. It should coat a spoon and hold a slow line.
    • Soggy bottom: Fully cool the filling before assembly, and bake until the underside is golden and set.
    • Tearing dough: Keep dough chilled but workable. If it cracks, patch with scraps and a dab of water.
    • Melting glaze: Only glaze when the tart is completely cool.
    • Over-sweet glaze: Balance with a pinch of salt and lemon juice if needed.

    Alternatives

    • Filling swaps: Blueberry-lemon, raspberry-rose, or mixed-berry jam all work.

      Add 1–2 teaspoons citrus zest for brightness.

    • Crust options: Puff pastry makes a lighter, flakier version; bake at 400°F and watch closely.
    • Dairy-free: Use a splash of water for egg wash or skip it; use plant milk in the glaze.
    • Whole grain: Replace up to 1/3 of the flour in homemade dough with whole wheat pastry flour.
    • Less sugar: Reduce filling sugar to 1/4 cup if berries are peak-season sweet.

    FAQ

    Can I use store-bought jam instead of making the filling?

    Yes. Use 1 to 1 1/4 cups thick jam and stir in 1 teaspoon lemon juice and a pinch of salt. If your jam is very loose, simmer it for a few minutes to thicken before using.

    What if I only have a larger sheet pan?

    Use a half-sheet pan but don’t stretch the dough to the edges.

    Build your pop tart in the center as a smaller rectangle on parchment. Baking time will be similar; check for golden color.

    Do I have to use an egg wash?

    No, but it helps seal the edges and gives shine. Water works in a pinch for sealing, and you can brush the top with milk for gentle browning.

    How do I keep the edges from burning?

    If they brown faster than the center, tent the edges with a loose strip of foil during the last 10 minutes of baking.

    Can I make it ahead?

    Assemble the unbaked tart and refrigerate up to 24 hours, or freeze it unbaked for up to 1 month.

    Bake from chilled or frozen, adding extra time as needed, then glaze after cooling.

    In Conclusion

    This homemade strawberry sheet pan pop tart is simple, nostalgic, and perfect for sharing. It’s big-batch baking with fresh fruit and a glossy, pink finish. Keep it classic with sprinkles or switch up the filling to match the season.

    Either way, it’s the kind of bake that brings people to the kitchen fast.

    Homemade Strawberry Sheet Pan Pop Tart – Big-Batch Breakfast Treat

    Prep Time 20 minutes
    Cook Time 30 minutes
    Total Time 50 minutes
    Servings 12 servings

    Ingredients
      

    • Pie Crust: 2 sheets store-bought refrigerated pie crust or 2 batches homemade all-butter pie dough (enough for a top and bottom, about 22–24 ounces total)
    • Strawberry Filling: 3 cups chopped fresh or frozen strawberries
    • 1/3–1/2 cup granulated sugar (to taste, depending on berry sweetness)
    • 1 tablespoon lemon juice
    • 1 tablespoon cornstarch
    • 1 teaspoon vanilla extract
    • Pinch of salt
    • Egg Wash: 1 egg beaten with 1 tablespoon milk or water
    • Glaze: 1 1/2 cups powdered sugar
    • 2–3 tablespoons milk or cream
    • 1/2 teaspoon vanilla extract
    • 1–2 tablespoons strawberry jam (for color and flavor), optional
    • Pinch of salt
    • Optional Toppings: Sprinkles or freeze-dried strawberry crumbs
    • Equipment: Rimmed quarter-sheet pan (9×13 inches) or jelly roll pan, parchment paper, fork, rolling pin

    Instructions
     

    • Prep the pan. Line a quarter-sheet pan with parchment, leaving overhang for easy lifting. Heat oven to 400°F (200°C).
    • Make the filling. In a saucepan, combine strawberries, sugar, lemon juice, cornstarch, vanilla, and salt. Cook over medium heat, stirring, until berries release juice and the mixture thickens and bubbles, 5–8 minutes. Cool to room temp. It should be jammy, not runny.
    • Roll the dough. On a lightly floured surface, roll one crust into a rectangle to fit the pan with a little overhang. Transfer to the pan. Roll the second crust to a matching rectangle for the top.
    • Assemble. Brush a 1/2-inch border of egg wash around the bottom crust. Spread the cooled strawberry filling inside the border in an even layer.
    • Seal it. Place the top crust over the filling. Press edges to seal, then crimp with a fork. Trim excess if needed. Prick the top all over with a fork to vent.
    • Bake. Brush the top with remaining egg wash. Bake 22–28 minutes until golden brown and crisp. If edges brown too fast, tent loosely with foil.
    • Cool completely. Let it cool in the pan 45–60 minutes. Warm crust will melt the glaze, so patience helps.
    • Glaze. Whisk powdered sugar, milk, vanilla, jam (if using), and a pinch of salt until smooth and spreadable. Adjust with a few drops more milk if too thick. Spread over the cooled tart. Add sprinkles or strawberry crumbs.
    • Set and slice. Let the glaze set 15–20 minutes. Lift out using the parchment and slice into 12–16 squares.
  • Fresh Chicken Cucumber Avocado Salad for Summer – Cool, Bright, and Satisfying

    Fresh Chicken Cucumber Avocado Salad for Summer – Cool, Bright, and Satisfying

    This salad is everything you want on a warm day: crisp cucumber, creamy avocado, juicy chicken, and a lemony dressing that wakes everything up. It’s simple to make, easy to love, and keeps you full without feeling heavy. You can prep most of it ahead and toss it together right before serving.

    It works for lunch, dinner, or bringing to a picnic. If you’re looking for a fresh, no-stress meal, this one belongs in your rotation.

    What Makes This Recipe So Good

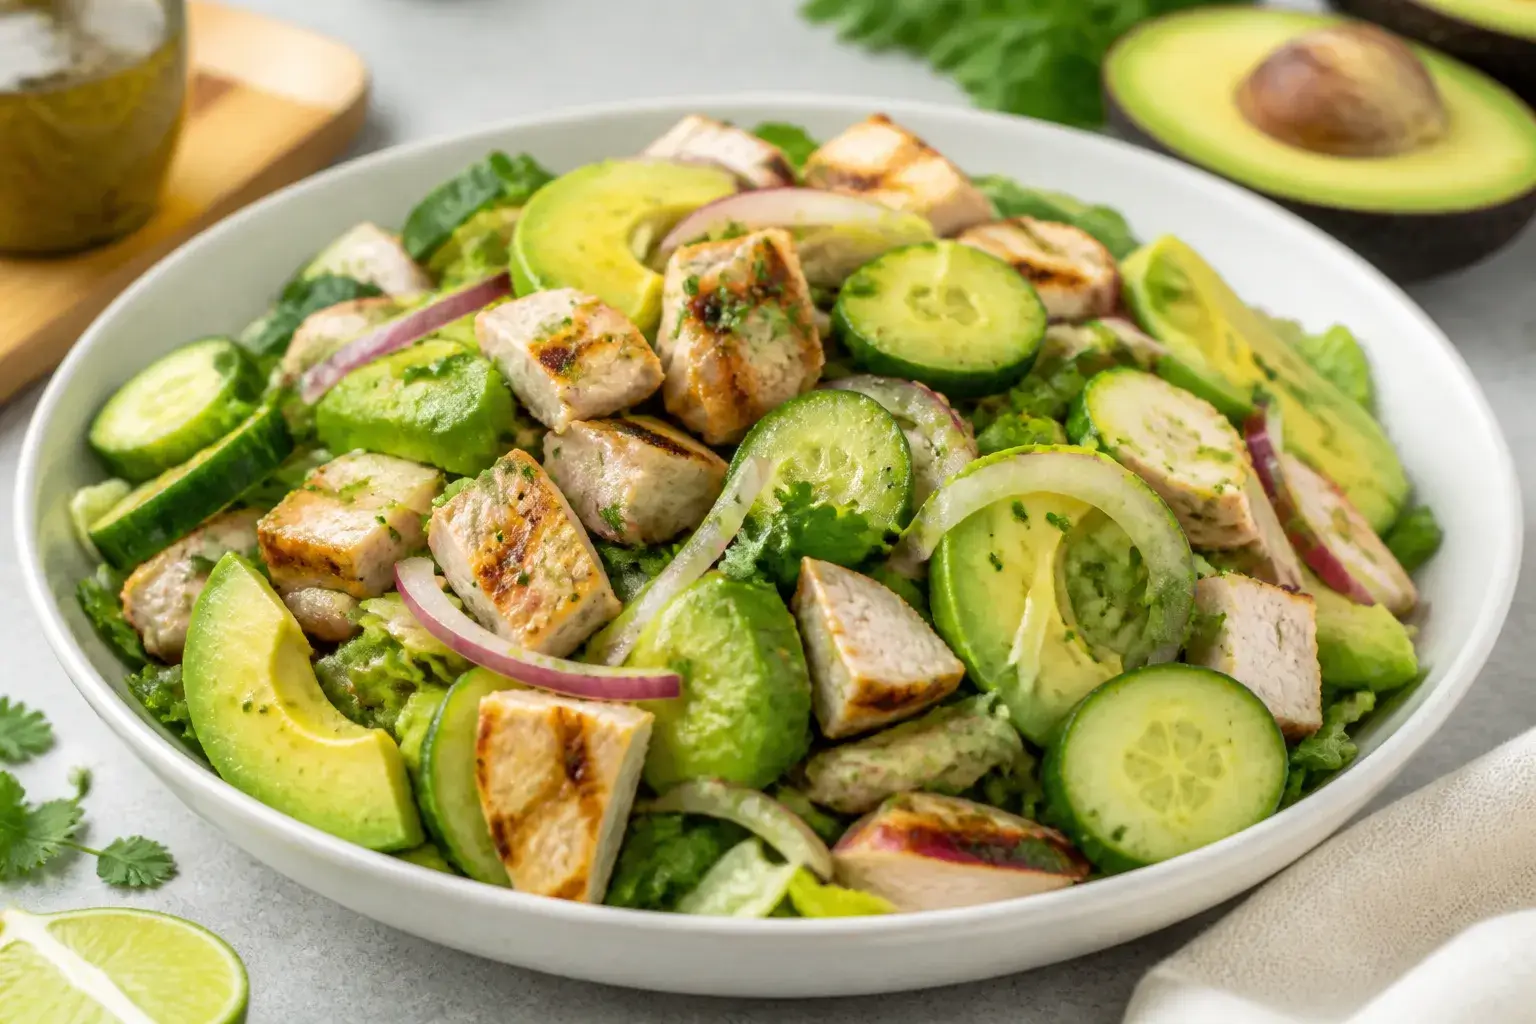
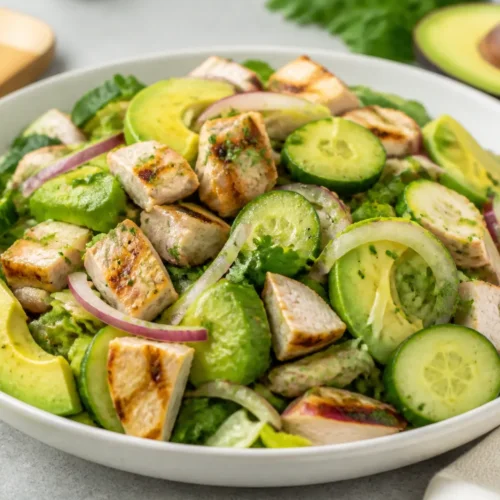
    Overhead shot of the finished Chicken Cucumber Avocado Salad in a wide, shallow white bowl: juicy ch
    • Balanced textures: Crunchy cucumber, creamy avocado, and tender chicken make every bite feel satisfying.
    • Bright, clean flavors: A lemon and olive oil dressing keeps it fresh and light.
    • Fast and flexible: Use rotisserie chicken or leftover grilled chicken to cut time.
    • Meal-prep friendly: Prep components in advance and assemble right before eating.
    • Nutritious and filling: Protein, healthy fats, and fiber keep you full without weighing you down.

    Shopping List

    • Cooked chicken breast or thighs (about 2 cups, chopped or shredded)
    • English cucumber or Persian cucumbers (2 cups, chopped)
    • Avocado (1–2 ripe, diced)
    • Cherry or grape tomatoes (1 cup, halved)
    • Red onion (1/4 small, thinly sliced)
    • Fresh herbs: cilantro, parsley, or dill (about 1/4 cup, chopped)
    • Romaine, butter lettuce, or mixed greens (optional base)
    • Feta cheese or goat cheese (optional, 1/3 cup crumbled)
    • Extra-virgin olive oil (3 tablespoons)
    • Fresh lemon (1 large, juiced; about 3 tablespoons)
    • Dijon mustard (1 teaspoon)
    • Honey or maple syrup (1/2–1 teaspoon, optional)
    • Garlic (1 small clove, finely grated)
    • Kosher salt and freshly ground black pepper

    Instructions

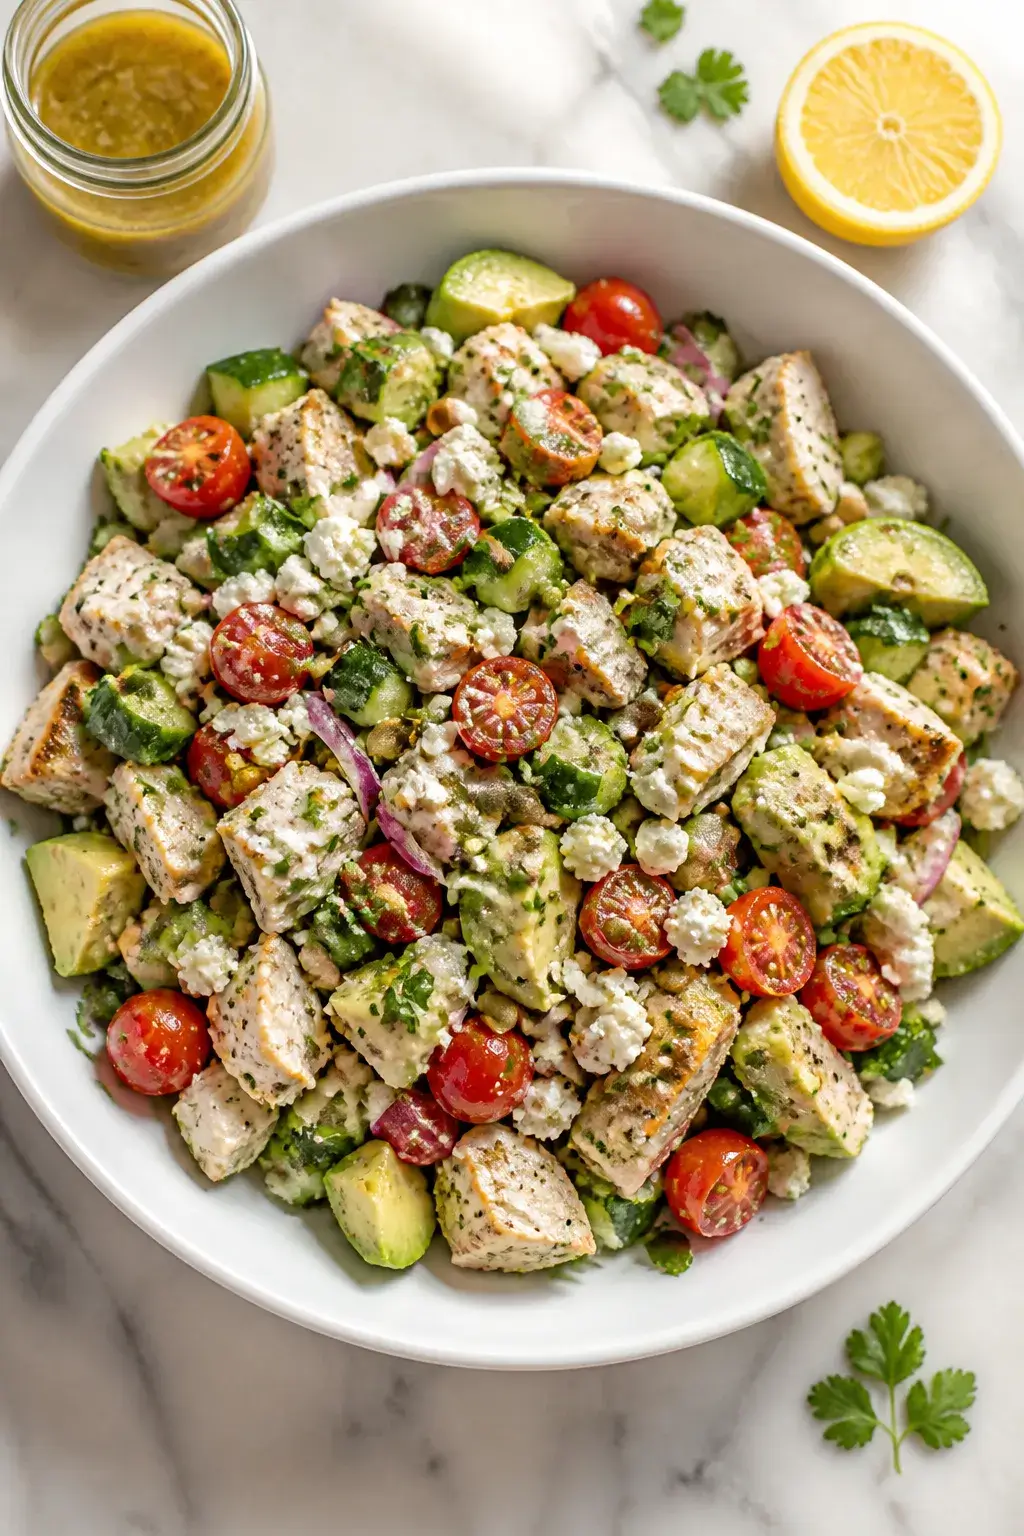
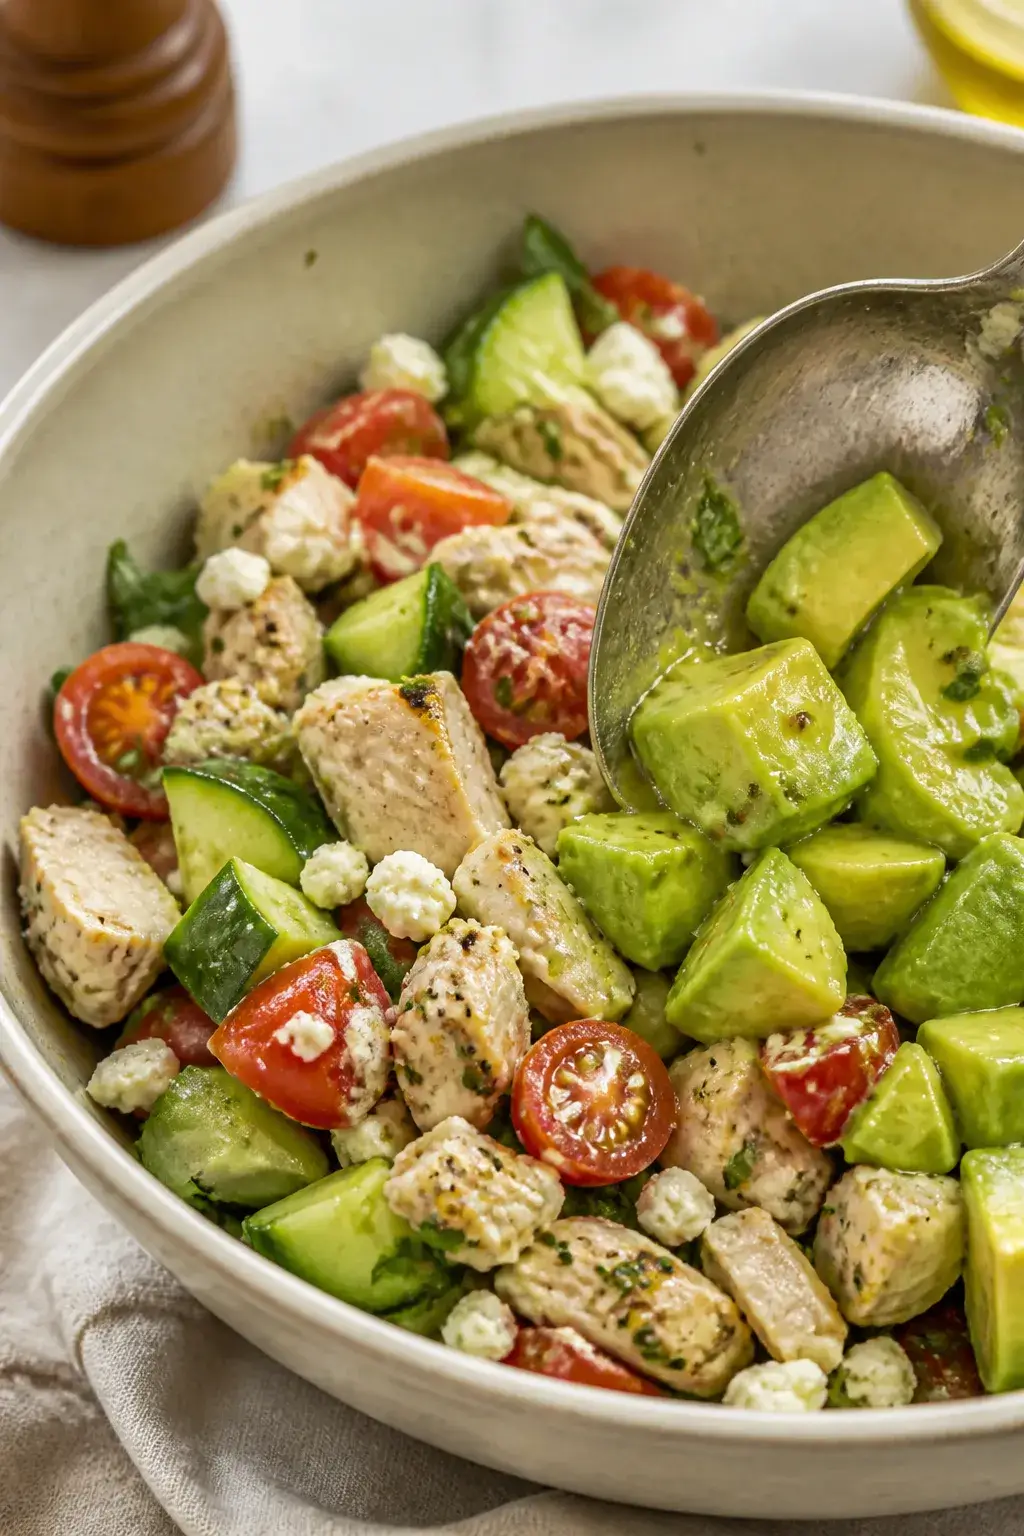
    Close-up detail of the tossing stage: prepared salad components in a large neutral ceramic bowl, sho
    1. Prep the chicken: Use cooled cooked chicken. Chop or shred into bite-size pieces.

      Rotisserie chicken works great.

    2. Chop the vegetables: Dice cucumber, halve tomatoes, and thinly slice red onion. Dice avocado last to keep it fresh.
    3. Make the dressing: In a small bowl, whisk olive oil, lemon juice, Dijon, honey, garlic, salt, and pepper until smooth and glossy.
    4. Toss the base: In a large bowl, combine chicken, cucumber, tomatoes, onion, and herbs. Drizzle most of the dressing over and toss gently.
    5. Add avocado: Fold in avocado and feta (if using).

      Add the rest of the dressing as needed. Taste and adjust salt and pepper.

    6. Serve: Spoon over greens or enjoy as-is. For extra crunch, add toasted pumpkin seeds or crushed pita chips on top.

    How to Store

    • Keep components separate: Store chopped veggies, chicken, and dressing in separate containers for up to 3 days.
    • Add avocado last minute: Avocado browns quickly, so cut and add right before serving.
    • Dressed salad: If already dressed, eat within 24 hours for best texture.
    • Refrigeration: Store everything in airtight containers in the fridge.

      Do not freeze.

    Why This is Good for You

    • High-quality protein: Chicken supports muscle repair and keeps you full.
    • Healthy fats: Avocado and olive oil provide heart-healthy monounsaturated fats.
    • Hydrating veggies: Cucumber and tomatoes are water-rich and light.
    • Micronutrients: Fresh herbs add antioxidants, while lemon offers vitamin C.
    • Balanced meal: Protein, fiber, and fats help steady energy and cravings.

    Pitfalls to Watch Out For

    • Watery salad: If using very juicy tomatoes or standard cucumbers, scoop seeds or pat dry to avoid extra liquid.
    • Bland chicken: Season leftover chicken with a pinch of salt, pepper, and a splash of lemon before adding.
    • Overmixing avocado: Fold gently to avoid mushy texture.
    • Too tart or too oily: Taste the dressing. Adjust with a pinch of salt, a touch more honey, or extra lemon to balance.

    Alternatives

    • Protein swaps: Use grilled shrimp, canned chickpeas, or baked tofu instead of chicken.
    • Herb variations: Try basil and mint for a brighter, more fragrant spin.
    • Dairy-free: Skip the cheese and add toasted nuts or seeds for richness.
    • Low-carb or higher-carb: Keep it as-is for low-carb, or add quinoa, farro, or orzo for a heartier bowl.
    • Different dressings: A yogurt-lemon dressing or a light tahini-lemon sauce also works well.

    FAQ

    Can I use canned chicken?

    Yes, but choose a high-quality brand and drain it well. Toss it with a squeeze of lemon and a pinch of salt to perk up the flavor before adding.

    How do I keep avocado from browning?

    Add it right before serving and coat it in the dressing.

    If prepping ahead, store diced avocado with a little lemon juice, tightly covered with plastic wrap pressed onto the surface.

    What kind of cucumber is best?

    English or Persian cucumbers are ideal because they’re crisp and have thin skins. If using standard cucumbers, peel and scoop the seeds to reduce wateriness.

    Can I make the dressing in a jar?

    Absolutely. Add all dressing ingredients to a jar, seal, and shake until emulsified.

    It keeps in the fridge for about 4 days.

    Is this salad good for meal prep?

    Yes, if you store the components separately. Keep the dressing and avocado aside and combine just before eating for best texture.

    What if I don’t like raw onion?

    Soak sliced onion in cold water for 10 minutes to mellow the bite, or swap with thinly sliced scallions.

    In Conclusion

    This Fresh Chicken Cucumber Avocado Salad for Summer is crisp, creamy, and bright without any fuss. It’s quick to pull together, easy to customize, and satisfying in the best way.

    Keep the dressing on hand, prep the core ingredients, and you’ll have a cool, wholesome meal ready whenever you are. Perfect for warm days, busy nights, and everything in between.

    Fresh Chicken Cucumber Avocado Salad for Summer – Cool, Bright, and Satisfying

    Prep Time 15 minutes
    Total Time 15 minutes
    Servings 4 servings

    Ingredients
      

    • Cooked chicken breast or thighs (about 2 cups, chopped or shredded)
    • English cucumber or Persian cucumbers (2 cups, chopped)
    • Avocado (1–2 ripe, diced)
    • Cherry or grape tomatoes (1 cup, halved)
    • Red onion (1/4 small, thinly sliced)
    • Fresh herbs: cilantro, parsley, or dill (about 1/4 cup, chopped)
    • Romaine, butter lettuce, or mixed greens (optional base)
    • Feta cheese or goat cheese (optional, 1/3 cup crumbled)
    • Extra-virgin olive oil (3 tablespoons)
    • Fresh lemon (1 large, juiced; about 3 tablespoons)
    • Dijon mustard (1 teaspoon)
    • Honey or maple syrup (1/2–1 teaspoon, optional)
    • Garlic (1 small clove, finely grated)
    • Kosher salt and freshly ground black pepper

    Instructions
     

    • Prep the chicken: Use cooled cooked chicken. Chop or shred into bite-size pieces. Rotisserie chicken works great.
    • Chop the vegetables: Dice cucumber, halve tomatoes, and thinly slice red onion. Dice avocado last to keep it fresh.
    • Make the dressing: In a small bowl, whisk olive oil, lemon juice, Dijon, honey, garlic, salt, and pepper until smooth and glossy.
    • Toss the base: In a large bowl, combine chicken, cucumber, tomatoes, onion, and herbs. Drizzle most of the dressing over and toss gently.
    • Add avocado: Fold in avocado and feta (if using). Add the rest of the dressing as needed. Taste and adjust salt and pepper.
    • Serve: Spoon over greens or enjoy as-is. For extra crunch, add toasted pumpkin seeds or crushed pita chips on top.
  • Chicken Bacon Avocado Salad That Tastes Restaurant-Worthy – Fresh, Satisfying, and Simple

    Chicken Bacon Avocado Salad That Tastes Restaurant-Worthy – Fresh, Satisfying, and Simple

    This salad hits that sweet spot between hearty and fresh. It’s loaded with juicy chicken, crispy bacon, creamy avocado, and crunchy greens, all tied together with a bright, zesty dressing. It feels like something you’d order at your favorite café—but it’s easy enough for a weeknight.

    The flavors are clean, the textures are balanced, and it’s endlessly customizable. If you want a salad that actually fills you up and tastes special, this is it.

    What Makes This Special

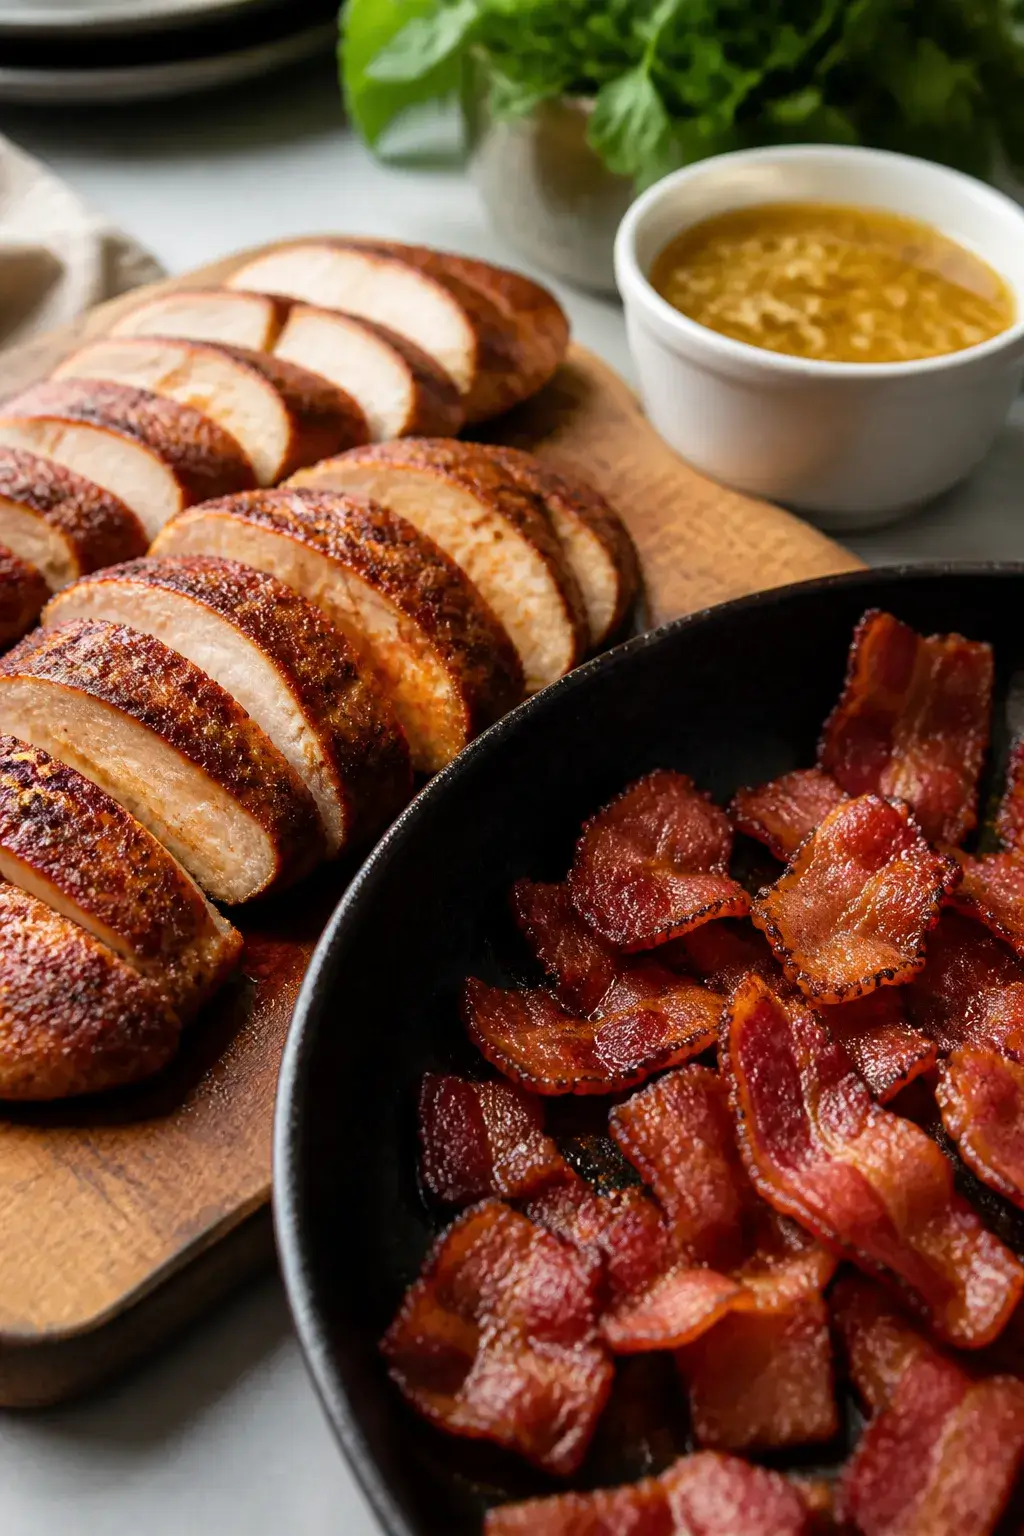
    Cooking process close-up: Sliced, golden-seared chicken breasts resting on a wooden board beside a s
    • Balanced textures: Crunchy lettuce, creamy avocado, and crisp bacon keep every bite interesting.
    • Big, clean flavor: A lemon-garlic dressing cuts through the richness of the chicken and bacon.
    • Meal-prep friendly: Cook the chicken and bacon ahead, then assemble in minutes.
    • Restaurant vibe at home: Simple techniques deliver juicy chicken and a polished presentation.
    • Flexible: Easy to tweak for dairy-free, low-carb, or high-protein needs.

    Shopping List

    • Chicken: 2 boneless, skinless chicken breasts (about 1 lb total)
    • Bacon: 6 slices, thick-cut if possible
    • Avocado: 1–2 ripe avocados
    • Greens: 6–8 cups mixed greens (romaine, spring mix, or baby spinach)
    • Tomatoes: 1 cup cherry or grape tomatoes, halved
    • Cucumber: 1 small, sliced
    • Red onion: 1/4 small, thinly sliced
    • Herbs (optional but great): Fresh chives or parsley
    • Parmesan or feta (optional): 1/3 cup, shaved or crumbled
    • Olive oil: Extra-virgin
    • Lemon: 1 large (zest and juice)
    • Dijon mustard: 1 teaspoon
    • Honey or maple syrup: 1–2 teaspoons
    • Garlic: 1 small clove, grated or minced
    • Salt and black pepper
    • Smoked paprika (optional): For the chicken

    Step-by-Step Instructions

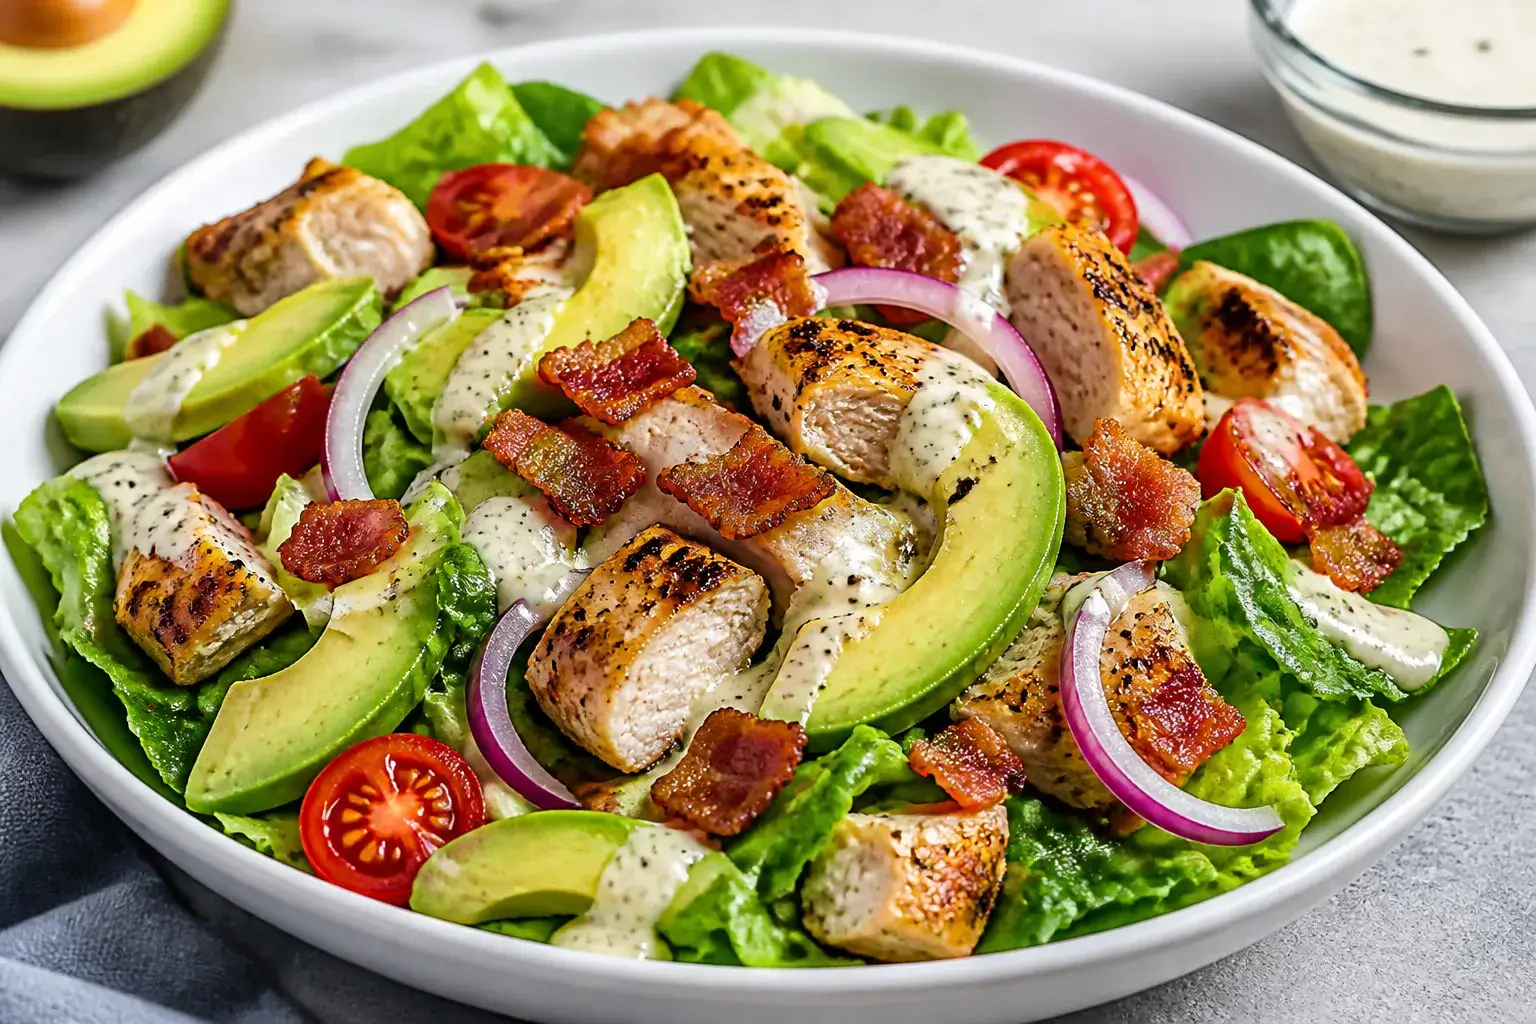
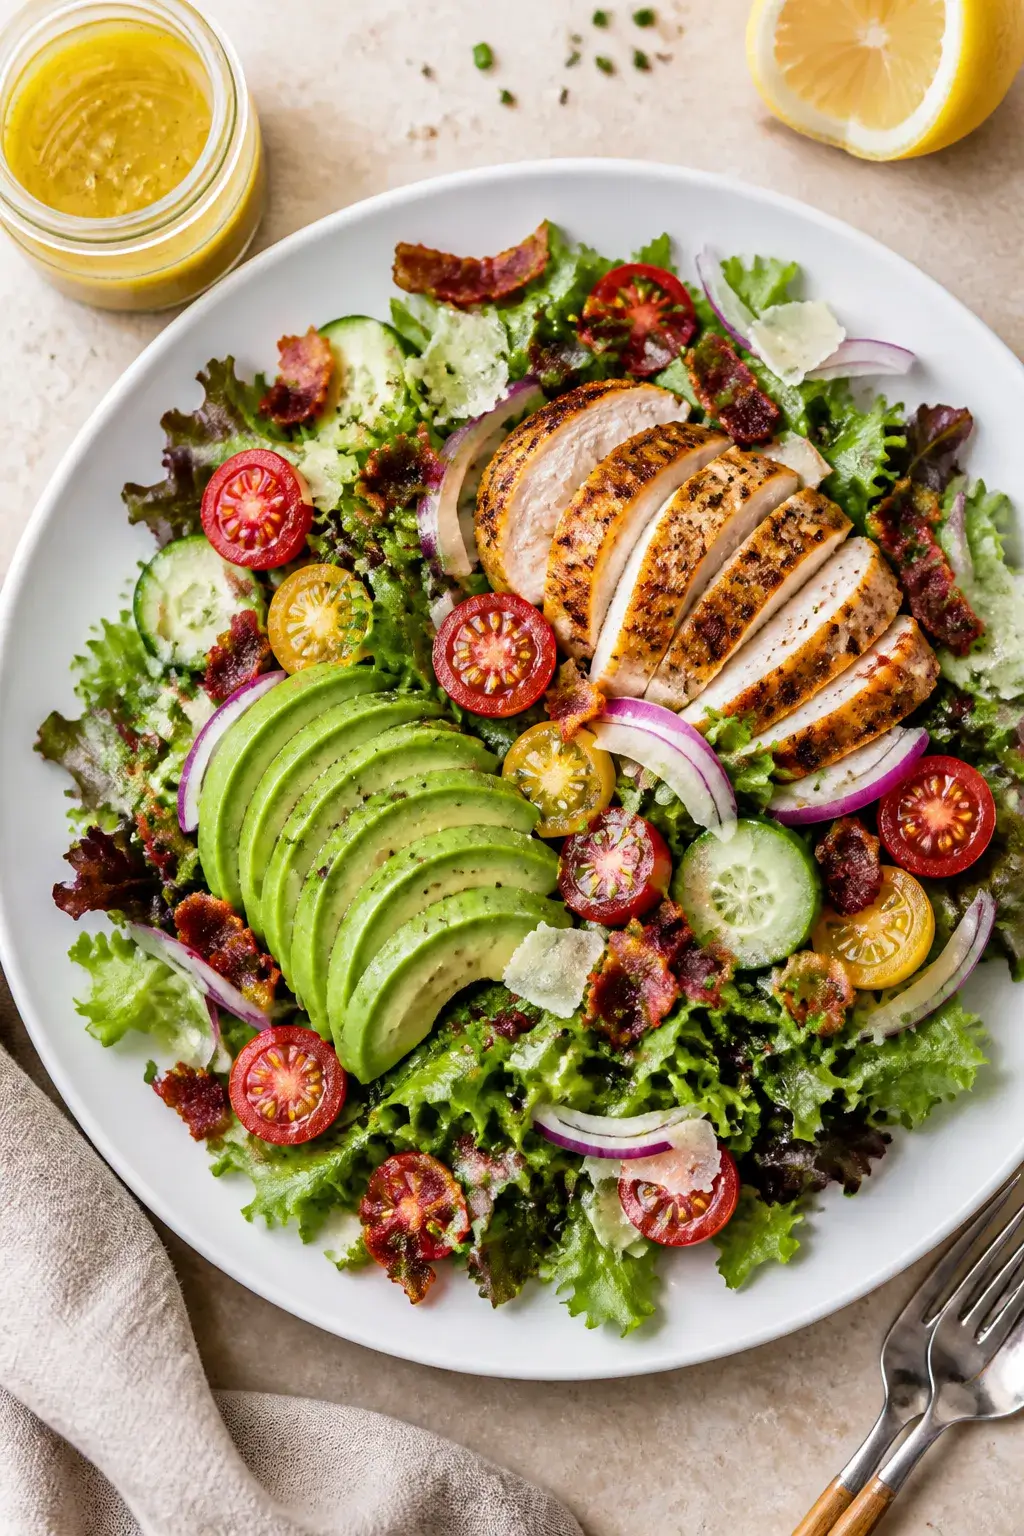
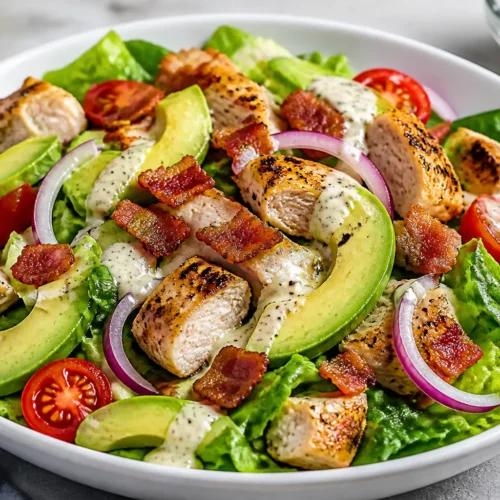
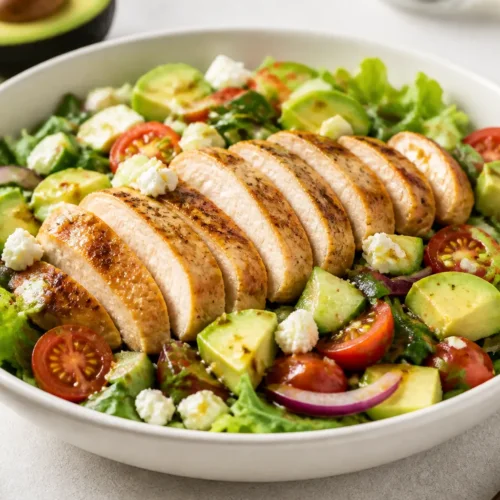
    Final plated overhead: Restaurant-worthy Chicken Bacon Avocado Salad arranged on a wide, matte white
    1. Prep the chicken: Pat chicken dry. Season both sides with 1 teaspoon salt, 1/2 teaspoon pepper, and a pinch of smoked paprika if using.
    2. Cook the bacon: Add bacon to a cold skillet.

      Cook over medium heat until crisp, 8–10 minutes. Transfer to a paper towel–lined plate. Reserve 1 teaspoon bacon fat for the chicken (optional).

    3. Sear the chicken: In the same skillet, add 1 tablespoon olive oil (or the reserved bacon fat plus a bit of oil).

      Cook chicken over medium heat 5–6 minutes per side, until golden and internal temp reaches 165°F (74°C). Rest 5 minutes, then slice.

    4. Make the dressing: In a small bowl, whisk 3 tablespoons olive oil, zest and juice of 1 lemon, 1 teaspoon Dijon, 1–2 teaspoons honey, the minced garlic, and a pinch of salt and pepper. Taste and adjust acidity or sweetness.
    5. Prep the veg: Halve tomatoes, slice cucumber, thinly slice red onion, and chop herbs.

      Halve and slice avocado just before serving to prevent browning.

    6. Assemble: In a large bowl, toss greens with 2–3 tablespoons dressing until lightly coated. Top with sliced chicken, crumbled bacon, avocado, tomatoes, cucumber, and onion.
    7. Finish: Drizzle a bit more dressing over the toppings. Add cheese and herbs if using.

      Crack fresh pepper on top.

    8. Serve: Plate immediately for the best texture. Pass extra dressing at the table.

    Storage Instructions

    • Keep components separate: Store chicken, bacon, dressing, and chopped veggies in separate containers for up to 3 days.
    • Greens and avocado: Don’t dress greens until serving. Cut avocado last-minute or brush slices with lemon and store airtight for up to 24 hours.
    • Reheating: Enjoy chicken cold or gently warm in a skillet over low heat to avoid drying out.

    Health Benefits

    • High-quality protein: Chicken supports muscle repair and steady energy.
    • Healthy fats: Avocado and olive oil provide heart-friendly monounsaturated fats.
    • Fiber and micronutrients: Greens, tomatoes, and cucumber add vitamins A, C, K, potassium, and hydration.
    • Balanced meal: Protein, fat, and fiber help keep you full and satisfied without heaviness.

    Pitfalls to Watch Out For

    • Overcooked chicken: Dry chicken ruins the salad.

      Use medium heat and a thermometer.

    • Greens drowning in dressing: Lightly coat; add more only if needed.
    • Underripe or overripe avocado: Choose avocados that yield slightly to gentle pressure.
    • Skipping seasoning: Season each layer—chicken, dressing, and a pinch of salt on the avocado.

    Recipe Variations

    • Cobb-inspired: Add hard-boiled eggs and blue cheese; swap lemon dressing for red wine vinaigrette.
    • Southwest twist: Add corn, black beans, cilantro, and a lime-cumin dressing; sprinkle with chili powder.
    • Mediterranean: Use feta, olives, and a oregano-lemon dressing; add cucumber generously.
    • Grilled version: Grill chicken for smoky flavor; grill halved lemons for a deeper dressing.
    • Dairy-free: Skip cheese and add roasted pepitas for crunch.
    • Low-carb: Keep the base as-is; optional to add extra greens and omit honey in the dressing.

    FAQ

    Can I use rotisserie chicken?

    Yes. Shred or slice rotisserie chicken and warm it briefly, or serve it cold. Season with a pinch of salt, pepper, and lemon to brighten it up.

    What’s the best bacon for this salad?

    Thick-cut bacon stays crispy longer and adds great texture.

    Turkey bacon works if you prefer it, but cook until well browned for maximum flavor.

    How do I keep the avocado from browning?

    Cut it just before serving. If prepping ahead, brush slices with lemon juice and store in an airtight container with plastic wrap pressed directly on the surface.

    Can I make the dressing ahead?

    Absolutely. Store it in a jar in the fridge for up to 5 days.

    Shake well before using and adjust salt to taste.

    What greens work best?

    Romaine for crunch, spring mix for tenderness, or a 50/50 mix. Baby spinach also works but benefits from a little extra acidity in the dressing.

    How can I add more protein?

    Toss in hard-boiled eggs, chickpeas, or double the chicken. A sprinkle of hemp seeds also boosts protein without changing the flavor much.

    Wrapping Up

    This Chicken Bacon Avocado Salad delivers big flavor with minimal fuss.

    Crisp, creamy, and bright, it tastes like a restaurant favorite but fits into any busy week. Keep the components ready in the fridge, and you can assemble a satisfying meal in minutes. Simple, fresh, and reliably delicious—this one’s worth keeping in your regular rotation.

    Chicken Bacon Avocado Salad That Tastes Restaurant-Worthy – Fresh, Satisfying, and Simple

    Prep Time 15 minutes
    Cook Time 20 minutes
    Total Time 35 minutes
    Servings 4 servings

    Ingredients
      

    • Chicken: 2 boneless, skinless chicken breasts (about 1 lb total)
    • Bacon: 6 slices, thick-cut if possible
    • Avocado: 1–2 ripe avocados
    • Greens: 6–8 cups mixed greens (romaine, spring mix, or baby spinach)
    • Tomatoes: 1 cup cherry or grape tomatoes, halved
    • Cucumber: 1 small, sliced
    • Red onion: 1/4 small, thinly sliced
    • Herbs (optional but great): Fresh chives or parsley
    • Parmesan or feta (optional): 1/3 cup, shaved or crumbled
    • Olive oil: Extra-virgin
    • Lemon: 1 large (zest and juice)
    • Dijon mustard: 1 teaspoon
    • Honey or maple syrup: 1–2 teaspoons
    • Garlic: 1 small clove, grated or minced
    • Salt and black pepper
    • Smoked paprika (optional): For the chicken

    Instructions
     

    • Prep the chicken: Pat chicken dry. Season both sides with 1 teaspoon salt, 1/2 teaspoon pepper, and a pinch of smoked paprika if using.
    • Cook the bacon: Add bacon to a cold skillet. Cook over medium heat until crisp, 8–10 minutes. Transfer to a paper towel–lined plate. Reserve 1 teaspoon bacon fat for the chicken (optional).
    • Sear the chicken: In the same skillet, add 1 tablespoon olive oil (or the reserved bacon fat plus a bit of oil). Cook chicken over medium heat 5–6 minutes per side, until golden and internal temp reaches 165°F (74°C). Rest 5 minutes, then slice.
    • Make the dressing: In a small bowl, whisk 3 tablespoons olive oil, zest and juice of 1 lemon, 1 teaspoon Dijon, 1–2 teaspoons honey, the minced garlic, and a pinch of salt and pepper. Taste and adjust acidity or sweetness.
    • Prep the veg: Halve tomatoes, slice cucumber, thinly slice red onion, and chop herbs. Halve and slice avocado just before serving to prevent browning.
    • Assemble: In a large bowl, toss greens with 2–3 tablespoons dressing until lightly coated. Top with sliced chicken, crumbled bacon, avocado, tomatoes, cucumber, and onion.
    • Finish: Drizzle a bit more dressing over the toppings. Add cheese and herbs if using. Crack fresh pepper on top.
    • Serve: Plate immediately for the best texture. Pass extra dressing at the table.
  • Creamy Chicken Salad With Avocado (No Mayo!) – Fresh, Fast, and Satisfying

    Creamy Chicken Salad With Avocado (No Mayo!) – Fresh, Fast, and Satisfying

    Skip the mayo and still get all the creaminess you love. This chicken salad leans on ripe avocado, Greek yogurt, and bright lemon to bring everything together. It’s quick to make, super versatile, and perfect for lunches, picnics, or a light dinner.

    Pile it onto toast, tuck it into lettuce wraps, or scoop it with crackers. You’ll get that classic chicken salad vibe—just lighter, fresher, and packed with flavor.

    Why This Recipe Works

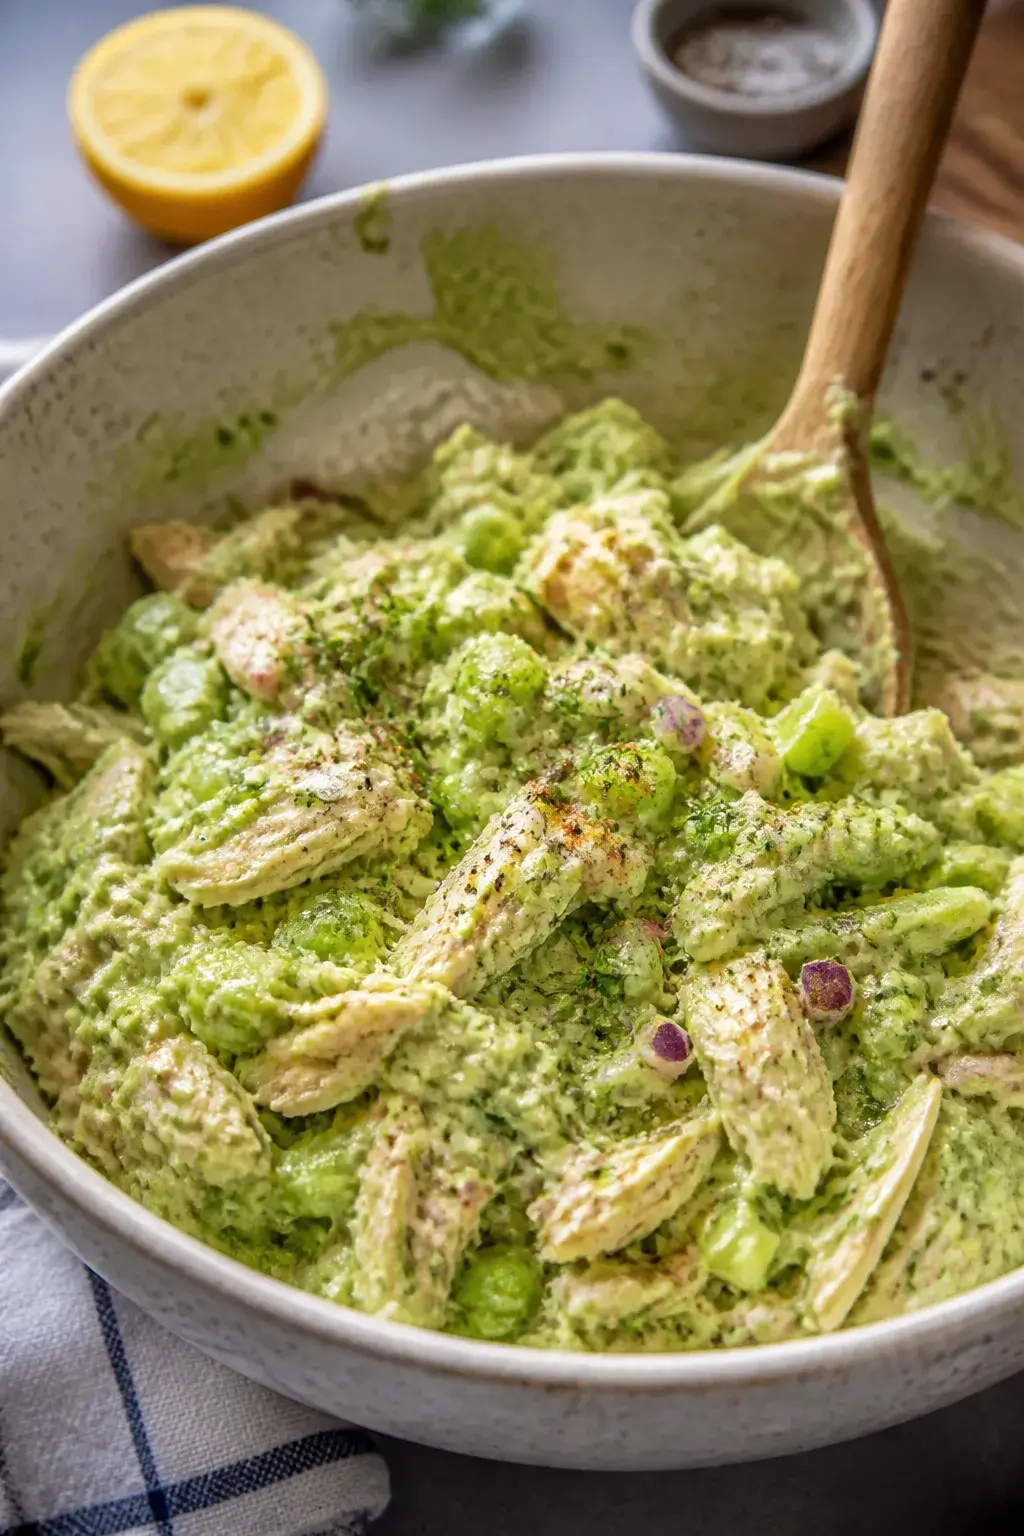
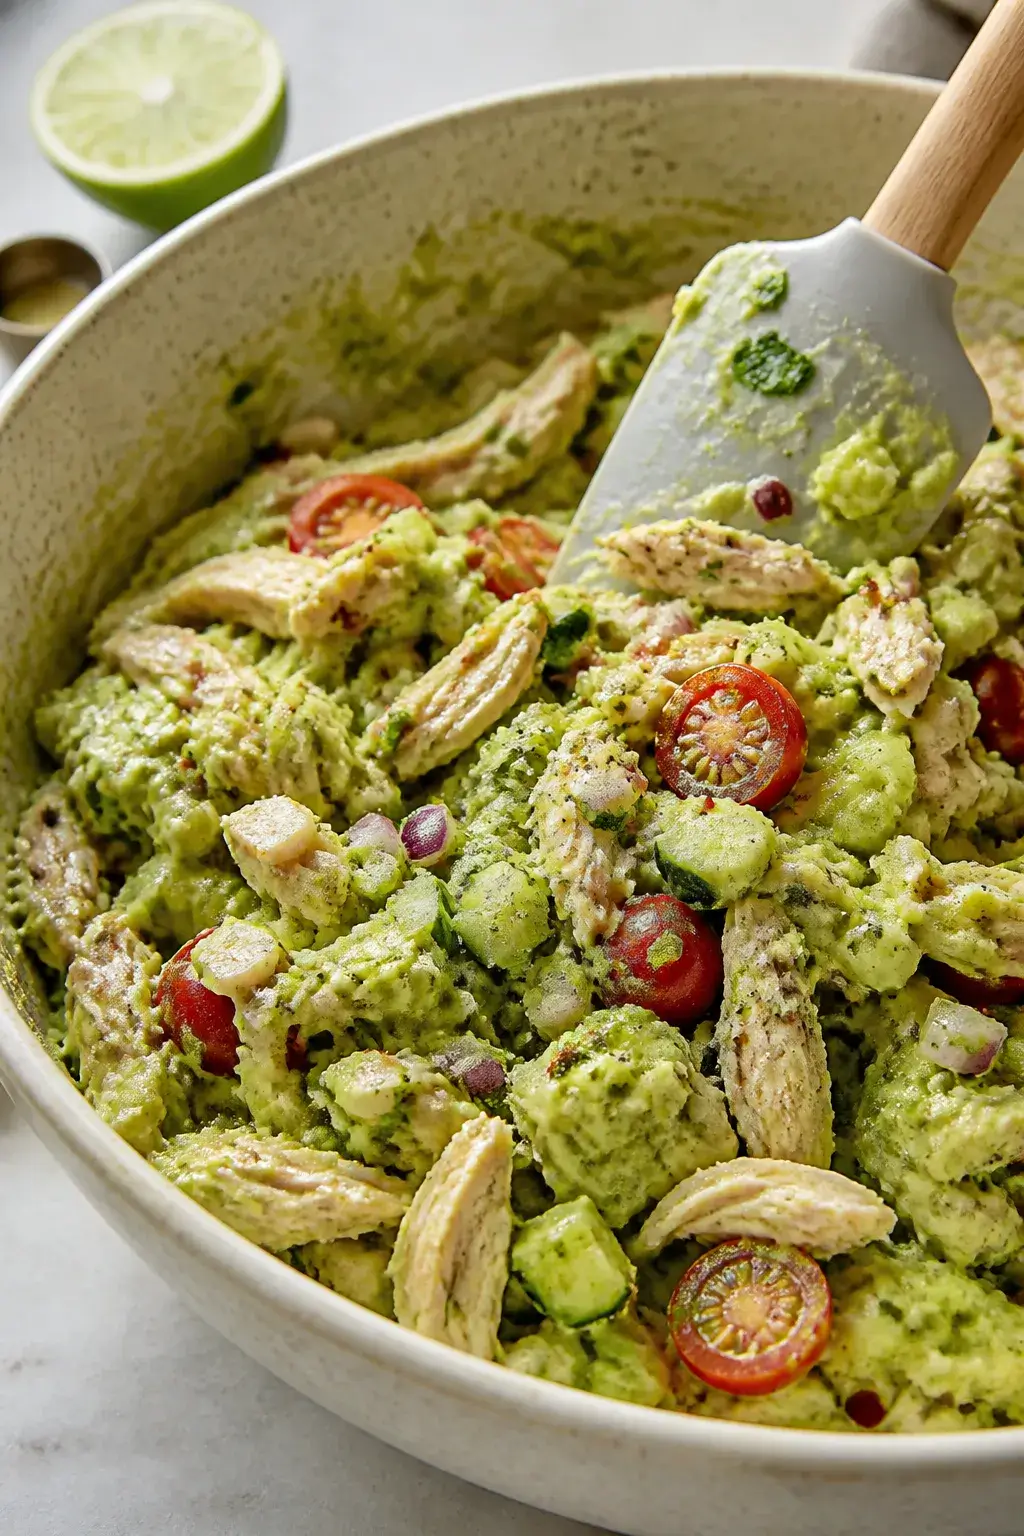
    Close-up detail and process shot: A large ceramic mixing bowl filled with creamy avocado–Greek yog
    • Avocado + Greek yogurt = creamy without heaviness. You get rich texture and a clean finish.
    • Lemon juice keeps the avocado green and adds a bright, fresh note.
    • Crunch from celery and red onion balances the soft chicken and avocado.
    • Rotisserie or leftover chicken saves time, while herbs make it taste fresh and homemade.
    • Simple seasonings let the ingredients shine without fuss.

    Ingredients

    • 2 cups cooked chicken breast, shredded or diced
    • 1 large ripe avocado
    • 1/3 cup plain Greek yogurt (2% or whole milk works best)
    • 2 tablespoons fresh lemon juice, plus more to taste
    • 1 stalk celery, finely diced
    • 1/4 small red onion, finely minced (or 2 tablespoons shallot)
    • 2 tablespoons fresh dill or parsley, chopped
    • 1 teaspoon Dijon mustard
    • 1 small garlic clove, grated or very finely minced (optional)
    • 1/4 teaspoon smoked paprika (optional, for warmth)
    • Salt and black pepper to taste
    • Optional add-ins: 1/3 cup halved grapes, diced cucumber, chopped apple, toasted almonds, or pumpkin seeds
    • To serve: mixed greens, lettuce leaves, whole-grain bread, or crackers

    Step-by-Step Instructions

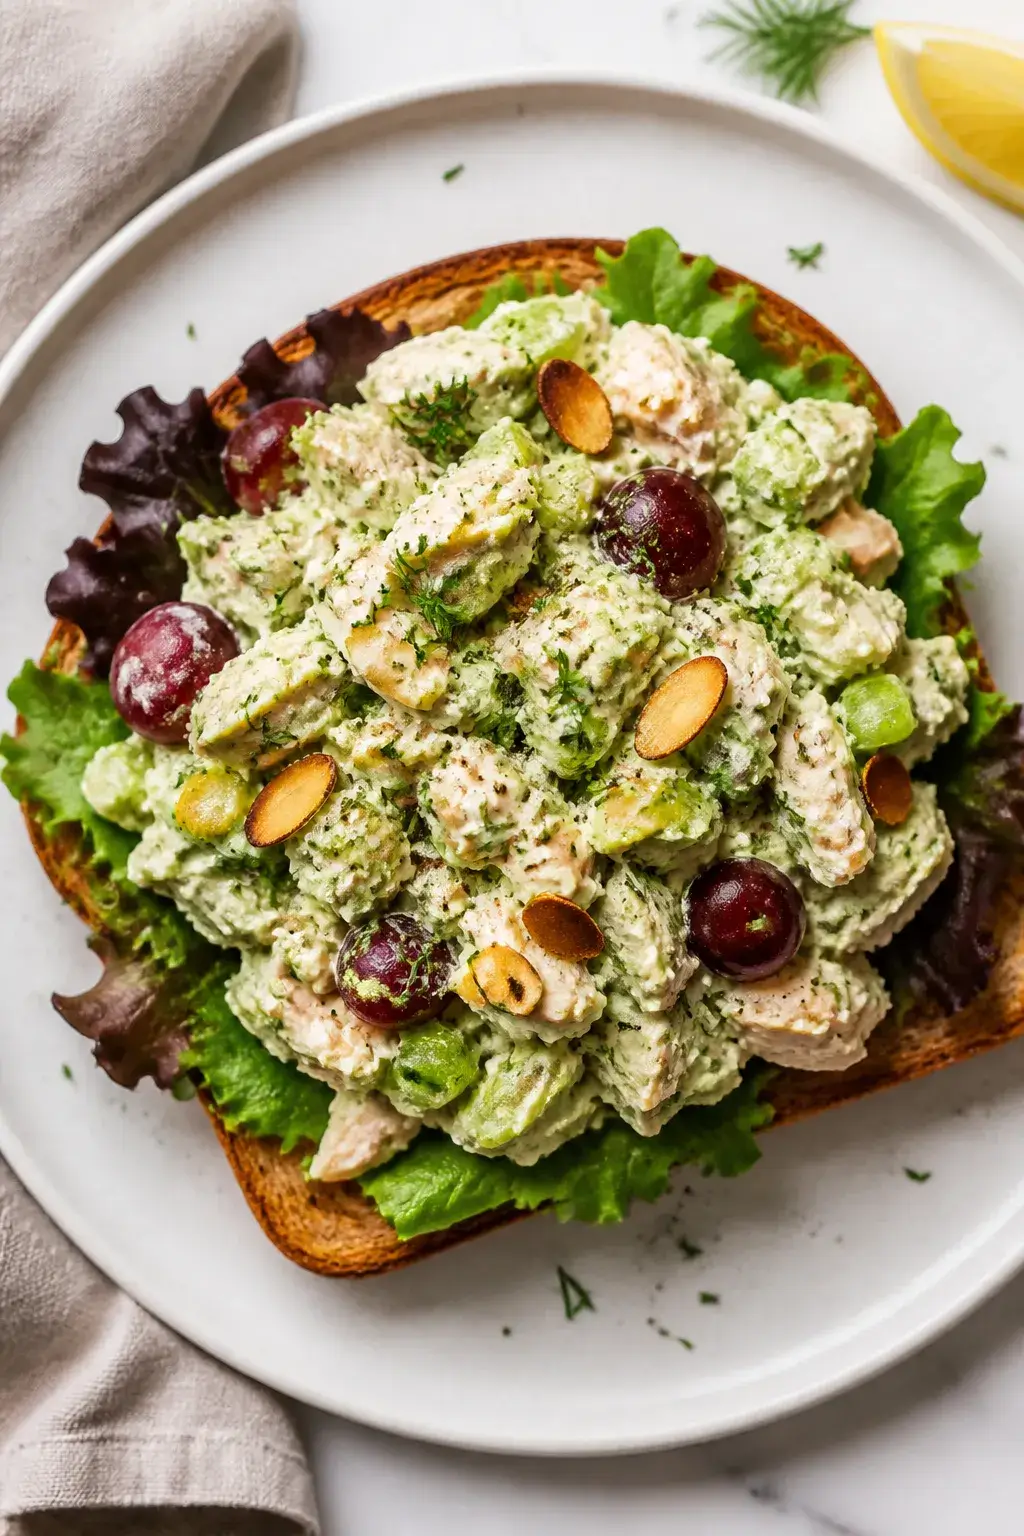
    Final plated overhead: Tasty of the finished creamy chicken salad mounded on toasted whole-grain bre
    1. Prep the base: In a large bowl, mash the avocado with lemon juice until mostly smooth with a few small chunks.
    2. Make it creamy: Stir in Greek yogurt, Dijon, garlic (if using), and smoked paprika. Season with a pinch of salt and pepper.
    3. Add crunch and herbs: Fold in celery, red onion, and dill or parsley.
    4. Mix in the chicken: Add the shredded chicken and gently toss until everything is evenly coated.

      Taste and adjust with more lemon, salt, or pepper.

    5. Customize: Fold in any add-ins you like, such as grapes for sweetness or nuts for extra crunch.
    6. Serve: Spoon onto toast, stuff into lettuce cups, or serve over greens. Finish with a squeeze of lemon and a crack of pepper.

    Keeping It Fresh

    • Acid is your friend: Lemon helps slow avocado browning. Don’t skip it.
    • Cover smart: Press plastic wrap directly onto the surface or store in an airtight container.
    • Chill quickly: Refrigerate within 30 minutes of mixing.
    • Best window: Enjoy within 1–2 days for the brightest flavor and color.

    Why This is Good for You

    • Lean protein: Chicken keeps you full and supports muscle recovery.
    • Healthy fats: Avocado provides heart-healthy monounsaturated fats.
    • Probiotics and calcium: Greek yogurt adds gut-friendly cultures and nutrients.
    • Lower in saturated fat: Skipping mayo keeps things lighter without losing creaminess.
    • Fiber and micronutrients: Veggies and herbs add crunch, vitamins, and antioxidants.

    Common Mistakes to Avoid

    • Using underripe avocado: It won’t mash well or taste creamy.

      Look for slight give when pressed.

    • Skipping the lemon: Your salad may turn brown and taste flat.
    • Overmixing: Stir gently to keep texture. You want some chicken and avocado pieces intact.
    • Going heavy on onion: A little goes a long way. Mince it finely to avoid harsh bites.
    • Under-seasoning: Salt and pepper make the flavors pop—taste and adjust at the end.

    Alternatives

    • Dairy-free: Swap Greek yogurt for unsweetened coconut yogurt or an extra half avocado plus 1 teaspoon olive oil.
    • Herb swap: Try cilantro and lime instead of dill and lemon for a fresh twist.
    • Protein swap: Use canned tuna or leftover turkey instead of chicken.
    • Crunch options: Use chopped pickles, cucumber, or toasted seeds if you’re out of celery.
    • Spice it up: Add jalapeño, red pepper flakes, or a dash of hot sauce.

    FAQ

    Can I make this ahead?

    Yes.

    For the best color, prepare the dressing and chicken first, then stir in avocado right before serving. If fully assembled, keep it airtight and enjoy within 24–48 hours.

    What if my avocado is too firm?

    Use more Greek yogurt and a teaspoon of olive oil to boost creaminess, or let the avocado sit in a paper bag with a banana for a few hours to ripen faster.

    Is rotisserie chicken okay?

    Absolutely. Remove the skin and use the breast meat for a leaner salad, or include a bit of thigh for extra flavor.

    How can I make it higher protein?

    Add extra chicken, bump the Greek yogurt to 1/2 cup, or mix in chopped hard-boiled eggs.

    Can I freeze chicken salad with avocado?

    No.

    The texture turns watery and grainy after thawing. It’s best enjoyed fresh from the fridge.

    Wrapping Up

    This Creamy Chicken Salad With Avocado hits that sweet spot between light and satisfying. It’s quick, flexible, and big on flavor without mayo.

    Keep the lemon handy, taste as you go, and make it your own with herbs and add-ins. Perfect for busy days, meal prep, and easy lunches you’ll actually look forward to.

    Creamy Chicken Salad With Avocado (No Mayo!) – Fresh, Fast, and Satisfying

    Prep Time 15 minutes
    Total Time 15 minutes
    Servings 4 servings

    Ingredients
      

    • 2 cups cooked chicken breast, shredded or diced
    • 1 large ripe avocado
    • 1/3 cup plain Greek yogurt (2% or whole milk works best)
    • 2 tablespoons fresh lemon juice, plus more to taste
    • 1 stalk celery, finely diced
    • 1/4 small red onion, finely minced (or 2 tablespoons shallot)
    • 2 tablespoons fresh dill or parsley, chopped
    • 1 teaspoon Dijon mustard
    • 1 small garlic clove, grated or very finely minced (optional)
    • 1/4 teaspoon smoked paprika (optional, for warmth)
    • Salt and black pepper to taste
    • Optional add-ins: 1/3 cup halved grapes, diced cucumber, chopped apple, toasted almonds, or pumpkin seeds
    • To serve: mixed greens, lettuce leaves, whole-grain bread, or crackers

    Instructions
     

    • Prep the base: In a large bowl, mash the avocado with lemon juice until mostly smooth with a few small chunks.
    • Make it creamy: Stir in Greek yogurt, Dijon, garlic (if using), and smoked paprika. Season with a pinch of salt and pepper.
    • Add crunch and herbs: Fold in celery, red onion, and dill or parsley.
    • Mix in the chicken: Add the shredded chicken and gently toss until everything is evenly coated. Taste and adjust with more lemon, salt, or pepper.
    • Customize: Fold in any add-ins you like, such as grapes for sweetness or nuts for extra crunch.
    • Serve: Spoon onto toast, stuff into lettuce cups, or serve over greens. Finish with a squeeze of lemon and a crack of pepper.
  • Healthy Grilled Chicken Avocado Salad Bowl – Fresh, Filling, and Easy

    Healthy Grilled Chicken Avocado Salad Bowl – Fresh, Filling, and Easy

    This salad bowl is the kind of meal that makes you feel good right after the first bite. It’s bright, crunchy, creamy, and packed with flavor from simple, real ingredients. Think juicy grilled chicken, ripe avocado, crisp greens, and a zesty lime dressing that ties everything together.

    It’s quick enough for a weeknight and satisfying enough to keep you full for hours. No fuss, no fancy steps—just a clean, delicious salad that hits the spot.

    Why This Recipe Works

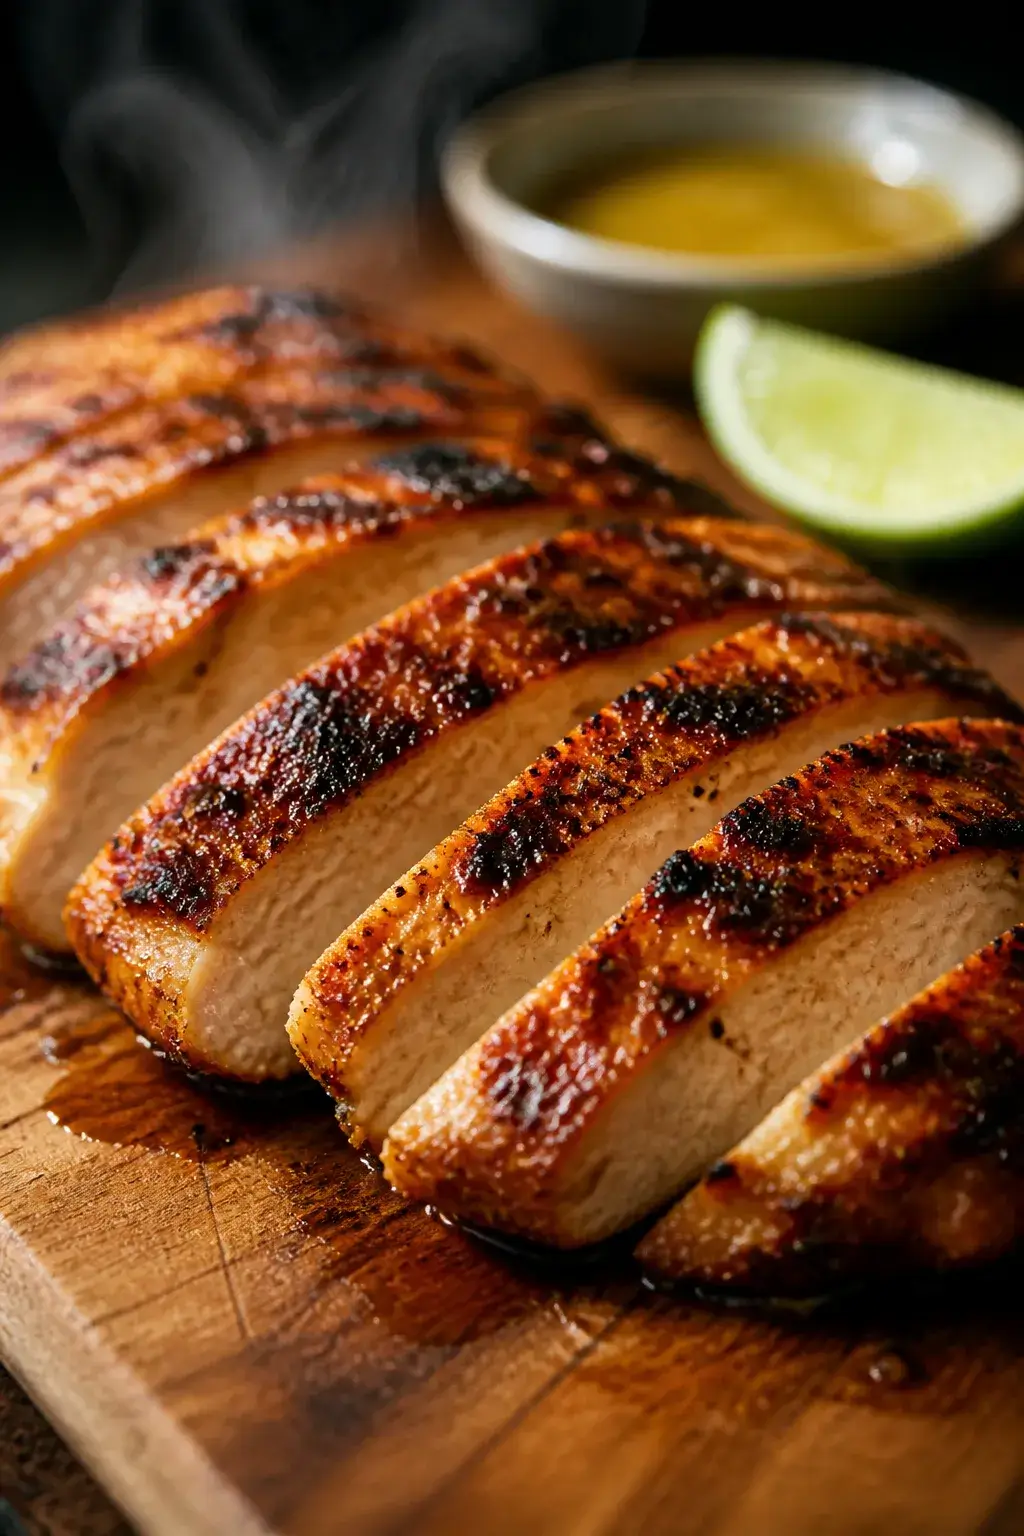
    Cooking process close-up: Sliced grilled chicken breast just off the grill pan, showing perfect cros
    • Balanced flavors: Smoky chicken, creamy avocado, and tangy lime dressing keep every bite interesting.
    • Great texture: Crunchy veggies meet tender chicken for a salad that feels hearty, not flimsy.
    • Meal-prep friendly: The components hold up well, and you can assemble bowls when you’re ready to eat.
    • Simple ingredients: Everything is easy to find and easy to swap based on what you have.

    What You’ll Need

    • For the chicken:
      • 2 boneless, skinless chicken breasts (about 1 lb/450 g total)
      • 1 tablespoon olive oil
      • 1 teaspoon garlic powder
      • 1 teaspoon smoked paprika
      • 1/2 teaspoon ground cumin
      • 1/2 teaspoon salt
      • 1/4 teaspoon black pepper
    • For the salad:
      • 6 cups mixed greens (romaine, spinach, or spring mix)
      • 1 large avocado, sliced
      • 1 cup cherry tomatoes, halved
      • 1 small cucumber, sliced
      • 1/4 small red onion, thinly sliced
      • 1/4 cup fresh cilantro or parsley, chopped
      • 1/2 cup cooked corn or grilled corn kernels (optional)
    • For the dressing:
      • 3 tablespoons olive oil
      • 2 tablespoons fresh lime juice
      • 1 teaspoon honey or maple syrup
      • 1 teaspoon Dijon mustard
      • 1 small garlic clove, minced
      • Salt and black pepper, to taste

    Instructions

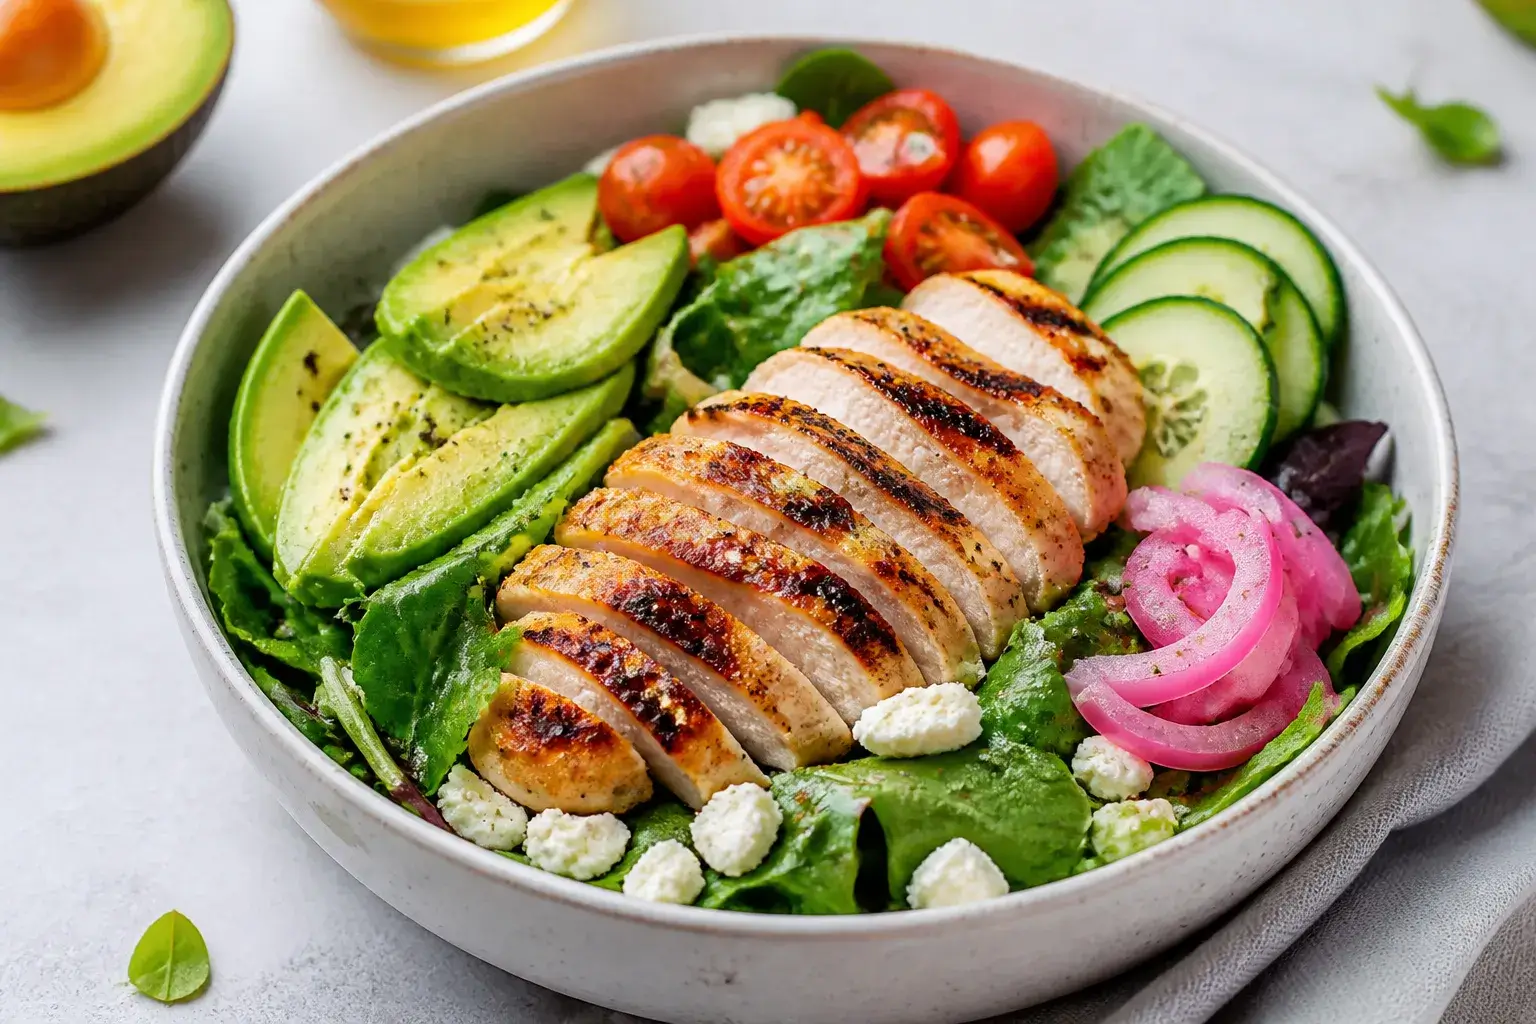
    Final plated overhead: Healthy Grilled Chicken Avocado Salad Bowl in a wide white ceramic bowl, . Mi
    1. Marinate the chicken: In a bowl, mix olive oil, garlic powder, smoked paprika, cumin, salt, and pepper. Coat the chicken and let it rest for 10–20 minutes while you prep the salad.
    2. Preheat the grill or pan: Heat a grill or grill pan over medium-high.

      Lightly oil the grates or pan to prevent sticking.

    3. Grill the chicken: Cook 5–7 minutes per side, until the internal temperature reaches 165°F (74°C) and juices run clear. Rest the chicken for 5 minutes, then slice.
    4. Make the dressing: Whisk olive oil, lime juice, honey, Dijon, garlic, salt, and pepper until emulsified. Taste and adjust acidity or sweetness as needed.
    5. Assemble the base: Add greens to a large bowl.

      Top with tomatoes, cucumber, red onion, herbs, and corn if using.

    6. Add the avocado: Slice just before serving so it stays bright and creamy. Fan it over the salad.
    7. Finish and serve: Add sliced chicken on top. Drizzle with dressing and toss gently, or serve dressing on the side for individual bowls.

    Keeping It Fresh

    • Store components separately: Keep chicken, dressing, and chopped veggies in separate containers for up to 3 days.
    • Dress right before eating: This keeps the greens crisp and prevents sogginess.
    • Avocado tips: Slice fresh or toss cut avocado with a little lime juice, then cover tightly to slow browning.
    • Reheat chicken gently: Warm it in a skillet over low heat or in the microwave for 30–45 seconds to avoid drying out.

    Why This is Good for You

    • Lean protein: Grilled chicken supports muscle repair and keeps you satisfied.
    • Healthy fats: Avocado and olive oil provide monounsaturated fats for heart health.
    • Fiber and micronutrients: Greens and veggies bring vitamins, minerals, and fiber for steady energy and digestion.
    • Smart carbs: Adding corn or beans gives a gentle carb boost without weighing the salad down.

    What Not to Do

    • Don’t skip resting the chicken: Cutting too soon makes it dry.

      A short rest keeps it juicy.

    • Don’t overdress the salad: Too much dressing wilts greens and masks flavors.
    • Don’t use unripe avocado: It won’t mash or slice well and tastes bland. Choose slightly soft, not mushy.
    • Don’t crowd the pan: If using a skillet, cook chicken in batches for a proper sear.

    Recipe Variations

    • Spicy kick: Add chili powder to the chicken rub and a pinch of red pepper flakes to the dressing.
    • Southwest style: Add black beans, grilled corn, and a sprinkle of cotija or feta.
    • Mediterranean twist: Swap lime for lemon, add olives, cucumber, and a little crumbled feta.
    • Low-carb: Skip corn and beans; pile on extra cucumber and leafy greens.
    • Vegetarian: Replace chicken with grilled tofu or chickpeas tossed in the same spices.
    • Grain bowl: Add cooked quinoa or brown rice for more staying power.

    FAQ

    Can I use rotisserie chicken instead of grilling?

    Yes. Shred or slice rotisserie chicken and season lightly with the same spices.

    It’s fast, tasty, and perfect for busy nights.

    What greens work best for this salad?

    Romaine holds up well and adds crunch. Spinach or a spring mix works too—just keep the dressing light so tender greens don’t wilt.

    How can I tell if my avocado is ripe?

    It should yield slightly to gentle pressure and have a dark, even skin. If the stem nub pops off easily and the flesh under it is green, it’s ready.

    Can I make the dressing ahead?

    Absolutely.

    Store it in a jar for up to 5 days. Shake before using to bring it back together.

    What if I don’t have a grill?

    Use a stovetop grill pan or a regular skillet. You’ll still get great flavor with a good sear and the spice blend.

    In Conclusion

    This Healthy Grilled Chicken Avocado Salad Bowl is simple, fresh, and endlessly adaptable.

    With juicy chicken, creamy avocado, and a zippy lime dressing, it turns basic ingredients into a meal that feels special. Prep the parts ahead, assemble when you’re hungry, and enjoy a clean, satisfying bowl any day of the week.

    Healthy Grilled Chicken Avocado Salad Bowl – Fresh, Filling, and Easy

    Prep Time 15 minutes
    Cook Time 12 minutes
    Total Time 27 minutes
    Servings 4 servings

    Ingredients
      

    • For the chicken: 2 boneless, skinless chicken breasts (about 1 lb/450 g total)
    • 1 tablespoon olive oil
    • 1 teaspoon garlic powder
    • 1 teaspoon smoked paprika
    • 1/2 teaspoon ground cumin
    • 1/2 teaspoon salt
    • 1/4 teaspoon black pepper
    • For the salad: 6 cups mixed greens (romaine, spinach, or spring mix)
    • 1 large avocado, sliced
    • 1 cup cherry tomatoes, halved
    • 1 small cucumber, sliced
    • 1/4 small red onion, thinly sliced
    • 1/4 cup fresh cilantro or parsley, chopped
    • 1/2 cup cooked corn or grilled corn kernels (optional)
    • For the dressing: 3 tablespoons olive oil
    • 2 tablespoons fresh lime juice
    • 1 teaspoon honey or maple syrup
    • 1 teaspoon Dijon mustard
    • 1 small garlic clove, minced
    • Salt and black pepper, to taste

    Instructions
     

    • Marinate the chicken: In a bowl, mix olive oil, garlic powder, smoked paprika, cumin, salt, and pepper. Coat the chicken and let it rest for 10–20 minutes while you prep the salad.
    • Preheat the grill or pan: Heat a grill or grill pan over medium-high. Lightly oil the grates or pan to prevent sticking.
    • Grill the chicken: Cook 5–7 minutes per side, until the internal temperature reaches 165°F (74°C) and juices run clear. Rest the chicken for 5 minutes, then slice.
    • Make the dressing: Whisk olive oil, lime juice, honey, Dijon, garlic, salt, and pepper until emulsified. Taste and adjust acidity or sweetness as needed.
    • Assemble the base: Add greens to a large bowl. Top with tomatoes, cucumber, red onion, herbs, and corn if using.
    • Add the avocado: Slice just before serving so it stays bright and creamy. Fan it over the salad.
    • Finish and serve: Add sliced chicken on top. Drizzle with dressing and toss gently, or serve dressing on the side for individual bowls.
  • Chicken Avocado Salad Everyone Is Obsessed With – Fresh, Creamy, and Satisfying

    Chicken Avocado Salad Everyone Is Obsessed With – Fresh, Creamy, and Satisfying

    This Chicken Avocado Salad is the kind of meal you’ll make once and keep on repeat. It’s creamy without being heavy, full of bright flavor, and comes together fast. Think tender chicken, ripe avocado, crisp veggies, and a zesty dressing that ties it all together.

    It’s perfect for lunch meal prep, a quick dinner, or an easy dish to bring to a potluck. Best of all, it uses simple ingredients you probably already have.

    What Makes This Recipe So Good

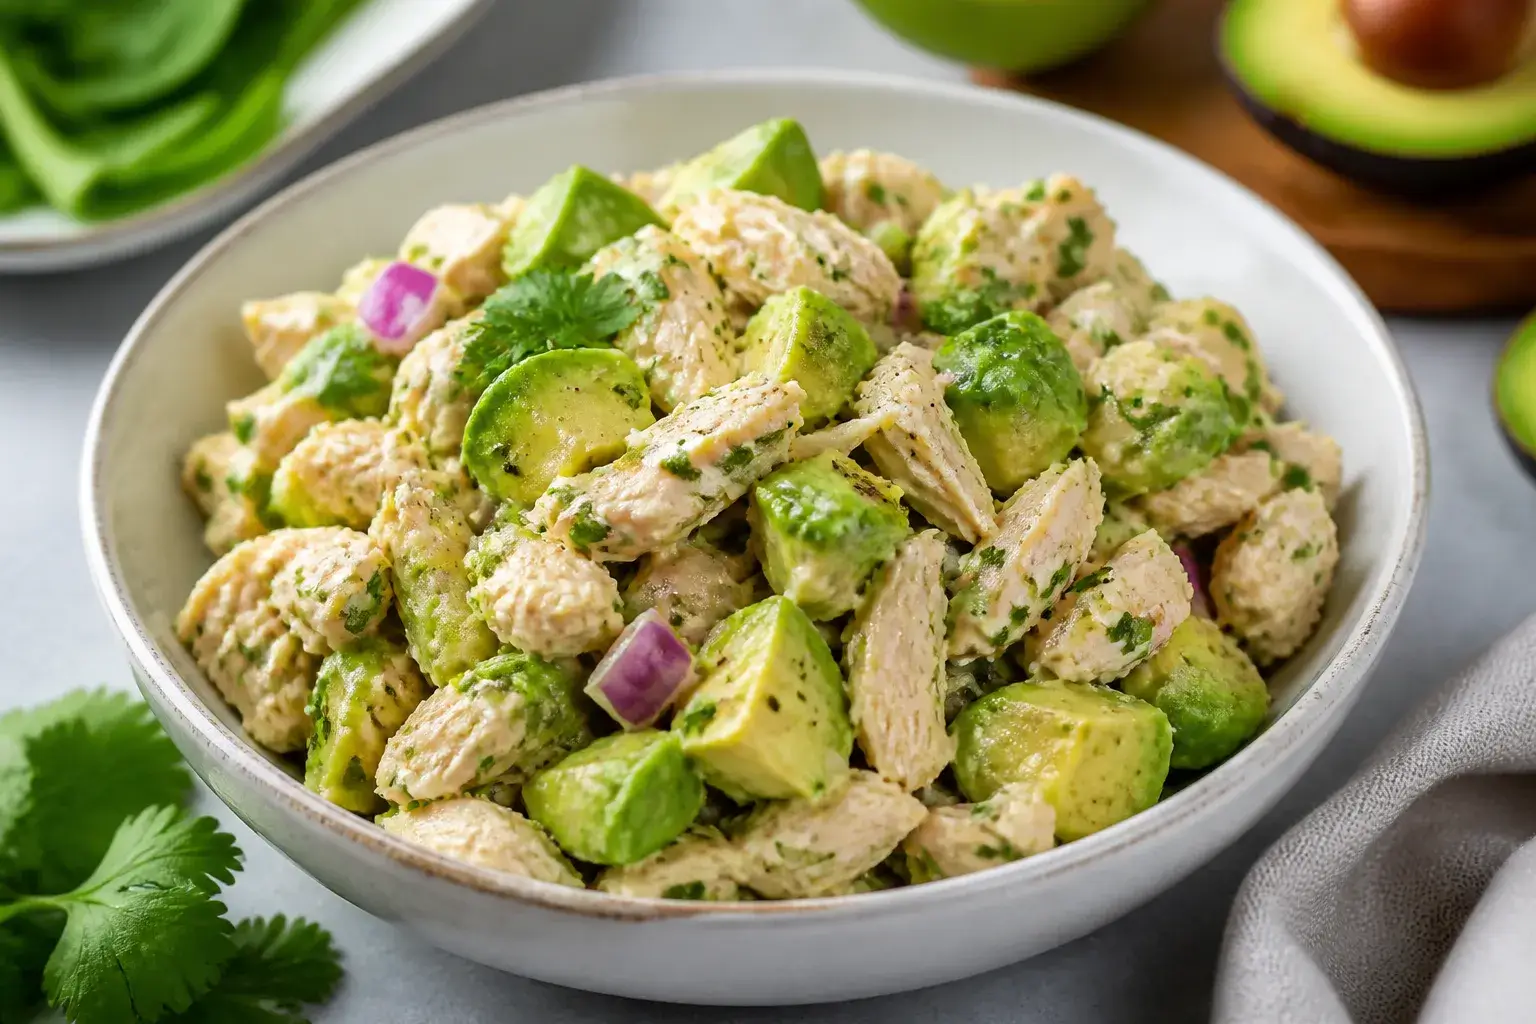
    Overhead shot of the finished Chicken Avocado Salad piled onto a white shallow bowl: juicy shredded
    • Balanced and bright: Creamy avocado meets lemony, herby dressing for a fresh, clean taste.
    • High in protein and fiber: Chicken and avocado keep you full and energized without weighing you down.
    • Quick to assemble: Rotisserie or leftover chicken makes this a 15-minute winner.
    • Great texture: Juicy chicken, buttery avocado, crisp cucumber, and a little crunch from red onion or nuts.
    • Endlessly flexible: Swap herbs, add greens, or make it spicy—this recipe can handle it.

    Shopping List

    • Cooked chicken breast or thigh, shredded or diced (about 3 cups)
    • 2 ripe avocados, diced
    • 1 small English cucumber, chopped
    • 1/3 cup red onion, finely chopped
    • 1/2 cup cherry tomatoes, halved (optional but great)
    • 1/4 cup fresh cilantro or parsley, chopped
    • 2 tablespoons fresh chives or green onion, sliced
    • 1 large lemon (zest and juice) or 2–3 tablespoons lime juice
    • 3 tablespoons extra-virgin olive oil
    • 1–2 teaspoons Dijon mustard
    • 1 small garlic clove, grated or minced
    • 1/2 teaspoon honey or maple syrup (optional, to balance acidity)
    • Salt and black pepper
    • Red pepper flakes (optional, for heat)
    • Handful of arugula or baby spinach (optional, for serving)
    • Toasted sliced almonds or pumpkin seeds (optional, for crunch)

    How to Make It

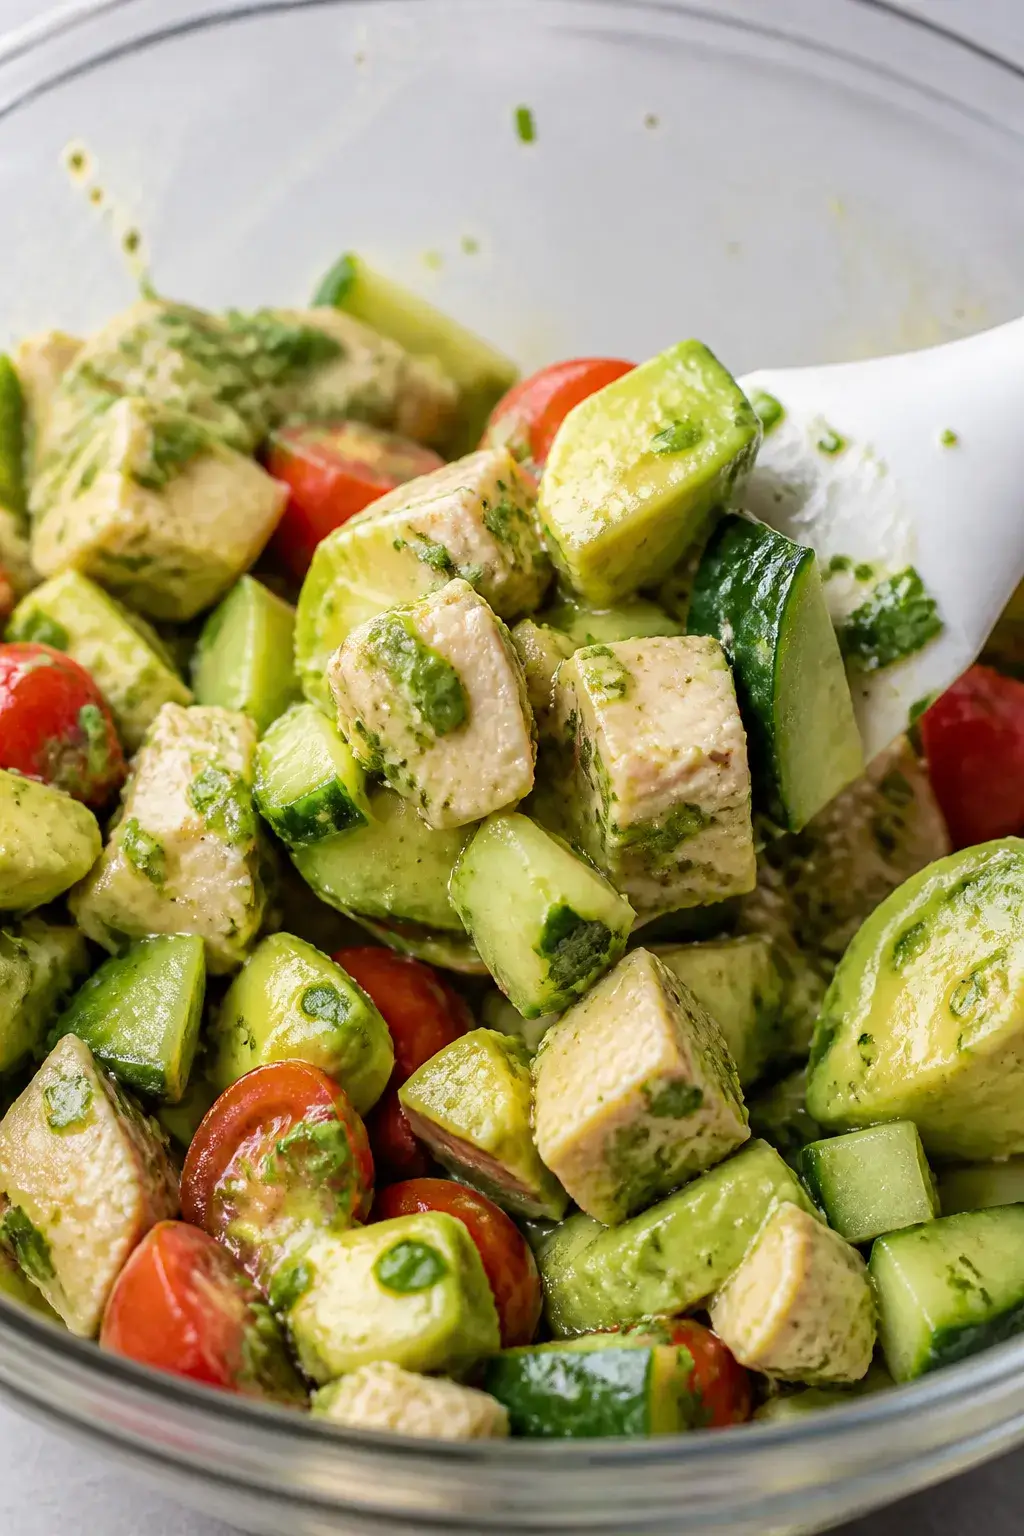
    Close-up process shot of the salad being gently combined in a large glass bowl: tender diced chicken
    1. Prep the chicken: Use shredded rotisserie chicken or chop cooked chicken into bite-size pieces. Aim for tender, not dry.
    2. Mix the dressing: In a small bowl, whisk olive oil, lemon zest and juice, Dijon, garlic, honey (if using), 1/2 teaspoon salt, and a few grinds of black pepper until glossy.
    3. Chop the veggies: Dice avocado, chop cucumber, halve tomatoes, and finely chop red onion.

      Add to a large bowl.

    4. Add herbs: Sprinkle in cilantro/parsley and chives. They brighten everything up.
    5. Combine gently: Add chicken to the bowl. Pour over the dressing and toss gently with a spatula to avoid mashing the avocado.
    6. Adjust and finish: Taste and add more salt, pepper, or a squeeze of lemon.

      Stir in red pepper flakes if you like heat.

    7. Serve your way: Spoon over arugula or spinach, pile onto toast, tuck into lettuce cups, or wrap in a tortilla. Top with toasted nuts or seeds for crunch.

    Keeping It Fresh

    Avocado browns fast, so this salad is best the day it’s made. The lemon juice helps, but for the best texture, cut and add avocado right before serving.

    If meal prepping, store the salad (without avocado) up to 3 days in an airtight container, then fold in fresh avocado when ready to eat. If you must store leftovers with avocado, press plastic wrap directly onto the surface and refrigerate for up to 24 hours.

    Health Benefits

    • Protein-rich: Chicken supports muscle repair and keeps you satisfied.
    • Heart-healthy fats: Avocado and olive oil provide monounsaturated fats that support heart health.
    • Fiber and micronutrients: Veggies and herbs add fiber, vitamin C, potassium, and antioxidants.
    • Lower-carb friendly: Naturally grain-free and easy to fit into lower-carb or gluten-free eating styles.

    Pitfalls to Watch Out For

    • Overripe avocados: They’ll turn mushy fast. Choose avocados that yield slightly to gentle pressure, not squishy.
    • Dry chicken: If using chicken breast, don’t overcook.

      Rotisserie thigh meat stays juicier.

    • Underseasoning: Salt matters. Season in layers—dressing, then final taste test.
    • Watery salad: Seed very juicy tomatoes or use English cucumber for less water.

    Alternatives

    • Protein swaps: Use canned tuna, cooked shrimp, grilled salmon, or chickpeas for a meatless option.
    • Dressing twist: Swap lemon for lime and add a pinch of cumin, or stir in a spoon of Greek yogurt for extra creaminess.
    • Add-ins: Corn, diced mango, roasted red peppers, or feta for a salty pop.
    • Herb variations: Try dill and parsley for a deli vibe, or basil for a summery twist.
    • Make it spicy: Add jalapeño, hot sauce, or chipotle powder.

    FAQ

    Can I use canned chicken?

    Yes, you can. Drain it well and break it up with a fork.

    Rotisserie chicken has better texture, but canned works in a pinch.

    How do I keep the avocado from browning?

    Toss avocado with lemon or lime juice and add it last. Storing with plastic wrap pressed directly on the surface also helps for short-term storage.

    Is this good for meal prep?

    Absolutely, if you keep the avocado separate. Prep the chicken salad base and dressing, then add avocado just before eating for the best texture.

    What can I serve this with?

    It’s great over greens, in a whole-grain wrap, tucked into pita, or on toast.

    For a lighter option, use romaine or butter lettuce cups.

    Can I make it dairy-free and gluten-free?

    It’s naturally dairy-free and gluten-free as written. Just double-check mustards and add-ins for labels you trust.

    How long does it last in the fridge?

    Without avocado, up to 3 days in an airtight container. With avocado mixed in, plan to eat within 24 hours.

    Wrapping Up

    This Chicken Avocado Salad hits that sweet spot of simple, fresh, and deeply satisfying.

    With a handful of pantry staples and a few fresh touches, you’ll have a meal that tastes like you fussed—without the fuss. Keep it classic, or spin it with your favorite herbs and add-ins. Either way, it’s the kind of recipe you’ll come back to again and again.

    Chicken Avocado Salad Everyone Is Obsessed With – Fresh, Creamy, and Satisfying

    Prep Time 15 minutes
    Total Time 15 minutes
    Servings 4 servings

    Ingredients
      

    • Cooked chicken breast or thigh, shredded or diced (about 3 cups)
    • 2 ripe avocados, diced
    • 1 small English cucumber, chopped
    • 1/3 cup red onion, finely chopped
    • 1/2 cup cherry tomatoes, halved (optional but great)
    • 1/4 cup fresh cilantro or parsley, chopped
    • 2 tablespoons fresh chives or green onion, sliced
    • 1 large lemon (zest and juice) or 2–3 tablespoons lime juice
    • 3 tablespoons extra-virgin olive oil
    • 1–2 teaspoons Dijon mustard
    • 1 small garlic clove, grated or minced
    • 1/2 teaspoon honey or maple syrup (optional, to balance acidity)
    • Salt and black pepper
    • Red pepper flakes (optional, for heat)
    • Handful of arugula or baby spinach (optional, for serving)
    • Toasted sliced almonds or pumpkin seeds (optional, for crunch)

    Instructions
     

    • Prep the chicken: Use shredded rotisserie chicken or chop cooked chicken into bite-size pieces. Aim for tender, not dry.
    • Mix the dressing: In a small bowl, whisk olive oil, lemon zest and juice, Dijon, garlic, honey (if using), 1/2 teaspoon salt, and a few grinds of black pepper until glossy.
    • Chop the veggies: Dice avocado, chop cucumber, halve tomatoes, and finely chop red onion. Add to a large bowl.
    • Add herbs: Sprinkle in cilantro/parsley and chives. They brighten everything up.
    • Combine gently: Add chicken to the bowl. Pour over the dressing and toss gently with a spatula to avoid mashing the avocado.
    • Adjust and finish: Taste and add more salt, pepper, or a squeeze of lemon. Stir in red pepper flakes if you like heat.
    • Serve your way: Spoon over arugula or spinach, pile onto toast, tuck into lettuce cups, or wrap in a tortilla. Top with toasted nuts or seeds for crunch.
  • The BEST & Easy Avocado Chicken Salad Recipe – Fresh, Fast, and Flavorful

    The BEST & Easy Avocado Chicken Salad Recipe – Fresh, Fast, and Flavorful

    This avocado chicken salad is the kind of meal you’ll want on repeat. It’s creamy without mayo, bright with fresh lime, and packed with protein. You can spoon it into lettuce wraps, pile it on toast, or scoop it up with crackers.

    It’s quick to make, flexible with add-ins, and perfect for meal prep. If you love simple food that tastes great, this one’s for you.

    What Makes This Recipe So Good

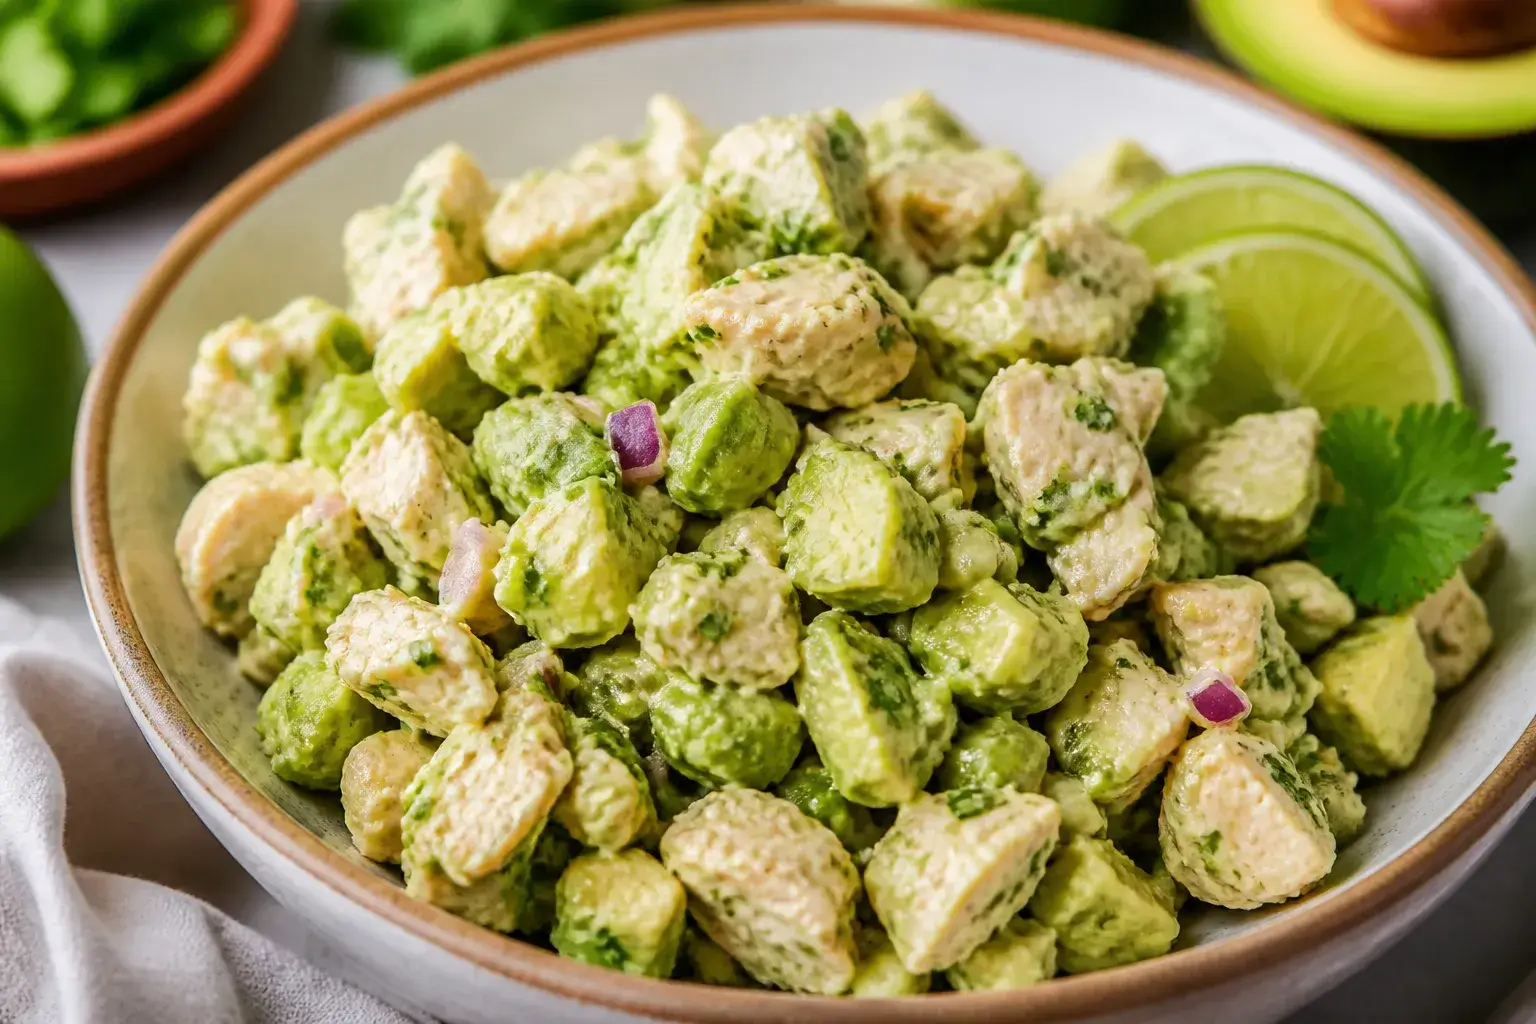
    Close-up detail/process shot: A large ceramic mixing bowl filled with creamy, mashed avocado base be
    • No mayo, all creaminess: Ripe avocado gives you that lush texture with healthy fats.
    • Big, fresh flavor: Lime juice, cilantro, and red onion keep it zesty and bright.
    • Weeknight easy: Use rotisserie or leftover chicken to get it on the table fast.
    • Meal prep friendly: Holds up well for a couple of days with a few simple storage tricks.
    • Versatile: Great in sandwiches, bowls, wraps, or straight from the bowl.

    Shopping List

    • 2 cups cooked chicken, shredded or chopped (rotisserie works great)
    • 2 ripe avocados
    • 1 small red onion, finely diced
    • 1 small cucumber, diced (optional for crunch)
    • 1 celery stalk, finely chopped (optional)
    • 1/2 cup cherry tomatoes, halved (optional)
    • 1/4 cup fresh cilantro or parsley, chopped
    • 1–2 limes, juiced (about 3–4 tablespoons)
    • 1–2 tablespoons olive oil
    • 1 small garlic clove, minced (optional)
    • 1/2 teaspoon ground cumin (optional, but delicious)
    • Salt and black pepper, to taste
    • Red pepper flakes or a pinch of cayenne (optional heat)

    Instructions

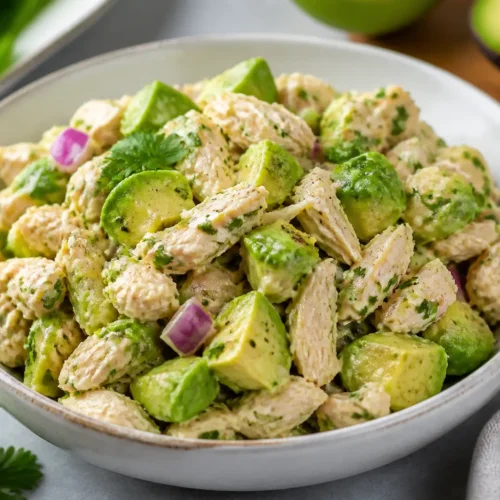
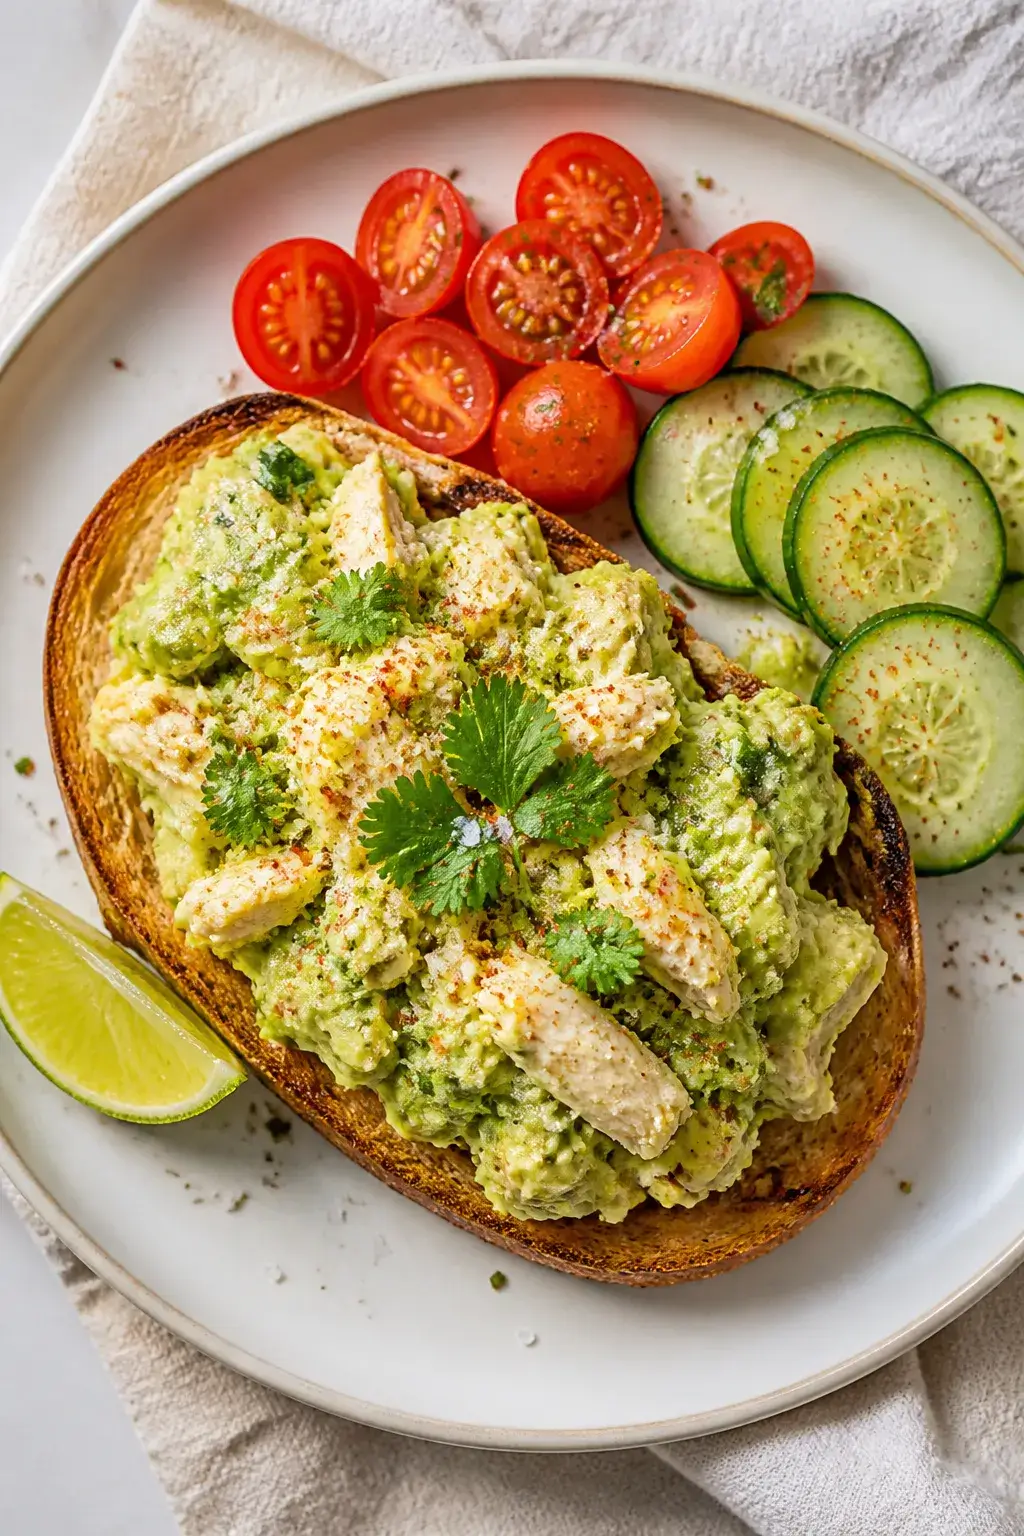
    Final dish/top view: Overhead shot of avocado chicken salad piled high on toasted sourdough, topped
    1. Prep the chicken: If using rotisserie, remove skin and bones, then shred or chop into bite-sized pieces. Aim for small, even pieces for the best texture.
    2. Make the avocado base: In a large bowl, add the avocado flesh.

      Mash with a fork until mostly smooth, leaving a few small chunks for texture.

    3. Add flavor: Stir in lime juice, olive oil, garlic, cumin, salt, and pepper. Taste and adjust the seasoning now so the whole salad is balanced.
    4. Fold in the mix-ins: Add chicken, red onion, cucumber, celery, tomatoes, and herbs. Gently fold until everything is coated but not mashed.
    5. Finish and serve: Taste again and add more lime, salt, pepper, or red pepper flakes if you like heat.

      Serve right away on toast, in lettuce cups, or with crackers.

    Storage Instructions

    • Short-term: Store in an airtight container. Press a piece of plastic wrap directly onto the surface before sealing to limit browning.
    • Fridge time: Keeps well for 1–2 days. The lime helps slow oxidation, but a slight color change is normal.
    • Revive it: Stir before serving and add a squeeze of fresh lime and a pinch of salt to brighten it up.
    • Freezing: Not recommended.

      Avocado loses its texture after thawing.

    Benefits of This Recipe

    • Nutrient-dense: Avocado offers heart-healthy fats and fiber; chicken adds lean protein.
    • Gluten-free and dairy-free: Naturally fits many dietary needs without swaps.
    • Customizable: Easy to tweak for spice, crunch, or extra veggies.
    • Budget-friendly: Rotisserie chicken and pantry spices keep costs down.

    Pitfalls to Watch Out For

    • Underripe avocados: They won’t mash well and the salad will taste flat. Choose avocados that yield slightly to gentle pressure.
    • Skimping on acid and salt: Lime and salt make the flavors pop. Taste and adjust at the end.
    • Overmixing: Stir gently to keep a creamy-but-chunky texture.
    • Watery add-ins: If using juicy tomatoes or cucumber, pat them dry to prevent a runny salad.

    Alternatives

    • Herb swap: Use dill, basil, or parsley instead of cilantro.
    • Crunch factor: Add chopped almonds, roasted pepitas, or sunflower seeds.
    • Spice it up: Stir in diced jalapeño, chipotle powder, or hot sauce.
    • Extra protein: Add a hard-boiled egg, crispy chickpeas, or bacon crumbles.
    • Dressing twist: Replace olive oil with plain Greek yogurt for a tangy, extra-creamy version.
    • Serving ideas: Spoon over mixed greens, stuff into pita, roll in a tortilla, or top grilled sourdough.

    FAQ

    Can I use canned chicken?

    Yes, you can.

    Drain it well, then flake it with a fork. Add a little extra lime and salt to boost flavor.

    How do I keep the avocado from browning?

    Use plenty of lime juice and press plastic wrap directly onto the salad’s surface before sealing the container. Store in the coldest part of your fridge.

    What if I only have frozen avocado?

    It works in a pinch.

    Thaw it fully and drain any excess liquid before mashing. Expect a slightly softer texture.

    Is this good for meal prep?

    Absolutely. Make it the night before and store as directed.

    For best color, add tomatoes or cucumbers right before serving.

    What chicken works best?

    Shredded rotisserie chicken is ideal for speed and tenderness. Leftover grilled or baked chicken works too—just chop it small and season well.

    Can I make it without cilantro?

    Yes. Swap in parsley, dill, or basil.

    The salad will still taste fresh and bright.

    In Conclusion

    This avocado chicken salad is fast, fresh, and reliably delicious. With a handful of simple ingredients, you get a creamy, zesty meal that fits into busy days and many diets. Keep the basics the same, then make it your own with herbs, crunch, or heat.

    It’s a go-to recipe you’ll use again and again.

    The BEST & Easy Avocado Chicken Salad Recipe – Fresh, Fast, and Flavorful

    Prep Time 10 minutes
    Total Time 10 minutes
    Servings 4 servings

    Ingredients
      

    • 2 cups cooked chicken, shredded or chopped (rotisserie works great)
    • 2 ripe avocados
    • 1 small red onion, finely diced
    • 1 small cucumber, diced (optional for crunch)
    • 1 celery stalk, finely chopped (optional)
    • 1/2 cup cherry tomatoes, halved (optional)
    • 1/4 cup fresh cilantro or parsley, chopped
    • 1–2 limes, juiced (about 3–4 tablespoons)
    • 1–2 tablespoons olive oil
    • 1 small garlic clove, minced (optional)
    • 1/2 teaspoon ground cumin (optional, but delicious)
    • Salt and black pepper, to taste
    • Red pepper flakes or a pinch of cayenne (optional heat)

    Instructions
     

    • Prep the chicken: If using rotisserie, remove skin and bones, then shred or chop into bite-sized pieces. Aim for small, even pieces for the best texture.
    • Make the avocado base: In a large bowl, add the avocado flesh. Mash with a fork until mostly smooth, leaving a few small chunks for texture.
    • Add flavor: Stir in lime juice, olive oil, garlic, cumin, salt, and pepper. Taste and adjust the seasoning now so the whole salad is balanced.
    • Fold in the mix-ins: Add chicken, red onion, cucumber, celery, tomatoes, and herbs. Gently fold until everything is coated but not mashed.
    • Finish and serve: Taste again and add more lime, salt, pepper, or red pepper flakes if you like heat. Serve right away on toast, in lettuce cups, or with crackers.
  • Chicken Salad Recipe With Canned Chicken – Simple, Fresh, and Ready Fast

    Chicken Salad Recipe With Canned Chicken – Simple, Fresh, and Ready Fast

    When you need a quick, satisfying meal, chicken salad made with canned chicken is a dependable go-to. It’s creamy, crunchy, and full of bright flavors, without any fuss. You can keep it classic or dress it up with herbs, fruit, or a little heat.

    Serve it on toast, in a wrap, over greens, or with crackers. This is the kind of recipe you’ll want to keep in your back pocket for busy days.

    What Makes This Recipe So Good

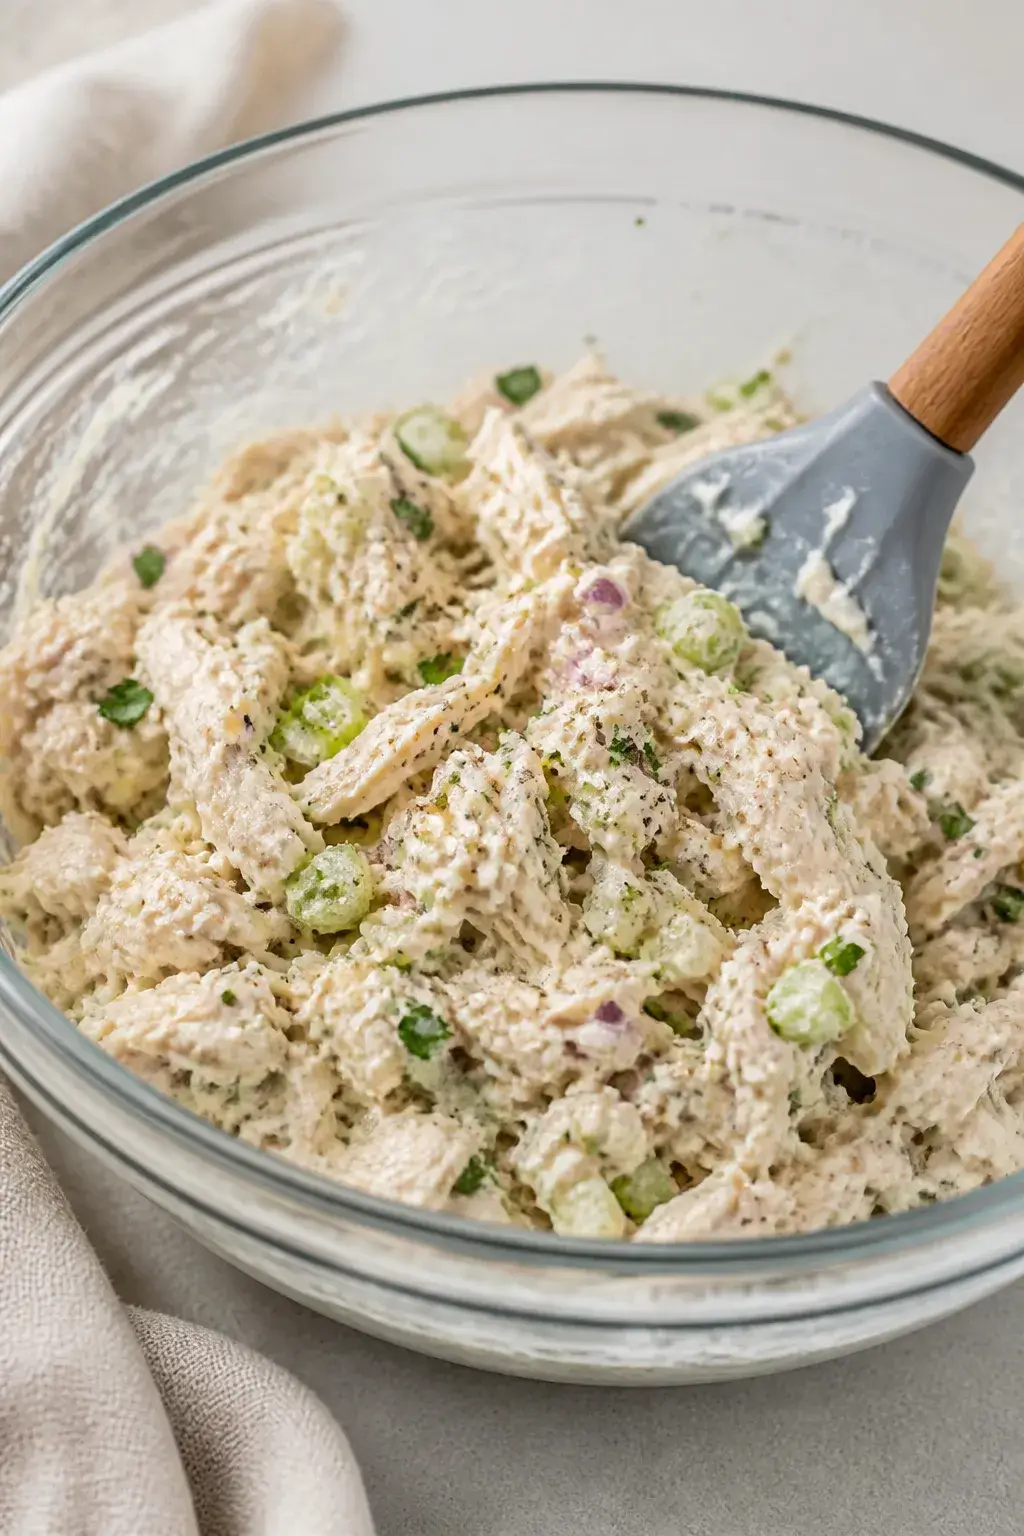
    Close-up detail, process shot: A medium glass bowl of freshly mixed chicken salad made with flaked c
    • Fast and effortless: Uses pantry staples and comes together in 10 minutes.
    • Great texture: Creamy dressing, crisp celery, and tender chicken.
    • Customizable: Easy to adjust seasonings and mix-ins to your taste.
    • Budget-friendly: Canned chicken is affordable and convenient.
    • Meal prep friendly: Tastes even better after chilling.

    What You’ll Need

    • 2 (12.5 oz) cans chicken breast, drained well and flaked
    • 1/3 cup mayonnaise (add more to taste)
    • 2 tablespoons plain Greek yogurt (optional for tang and lightness)
    • 1 teaspoon Dijon mustard
    • 1 stalk celery, finely diced
    • 2 tablespoons red onion, finely minced (or green onion)
    • 1 tablespoon fresh parsley, chopped (optional but fresh-tasting)
    • 1 teaspoon lemon juice (or a splash of pickle juice)
    • 1/4 teaspoon garlic powder
    • 1/4 teaspoon onion powder
    • Salt and black pepper, to taste
    • Optional mix-ins: 1/4 cup chopped pickles or relish, 1/4 cup sliced grapes or dried cranberries, 1/4 cup slivered almonds or chopped pecans

    How to Make It

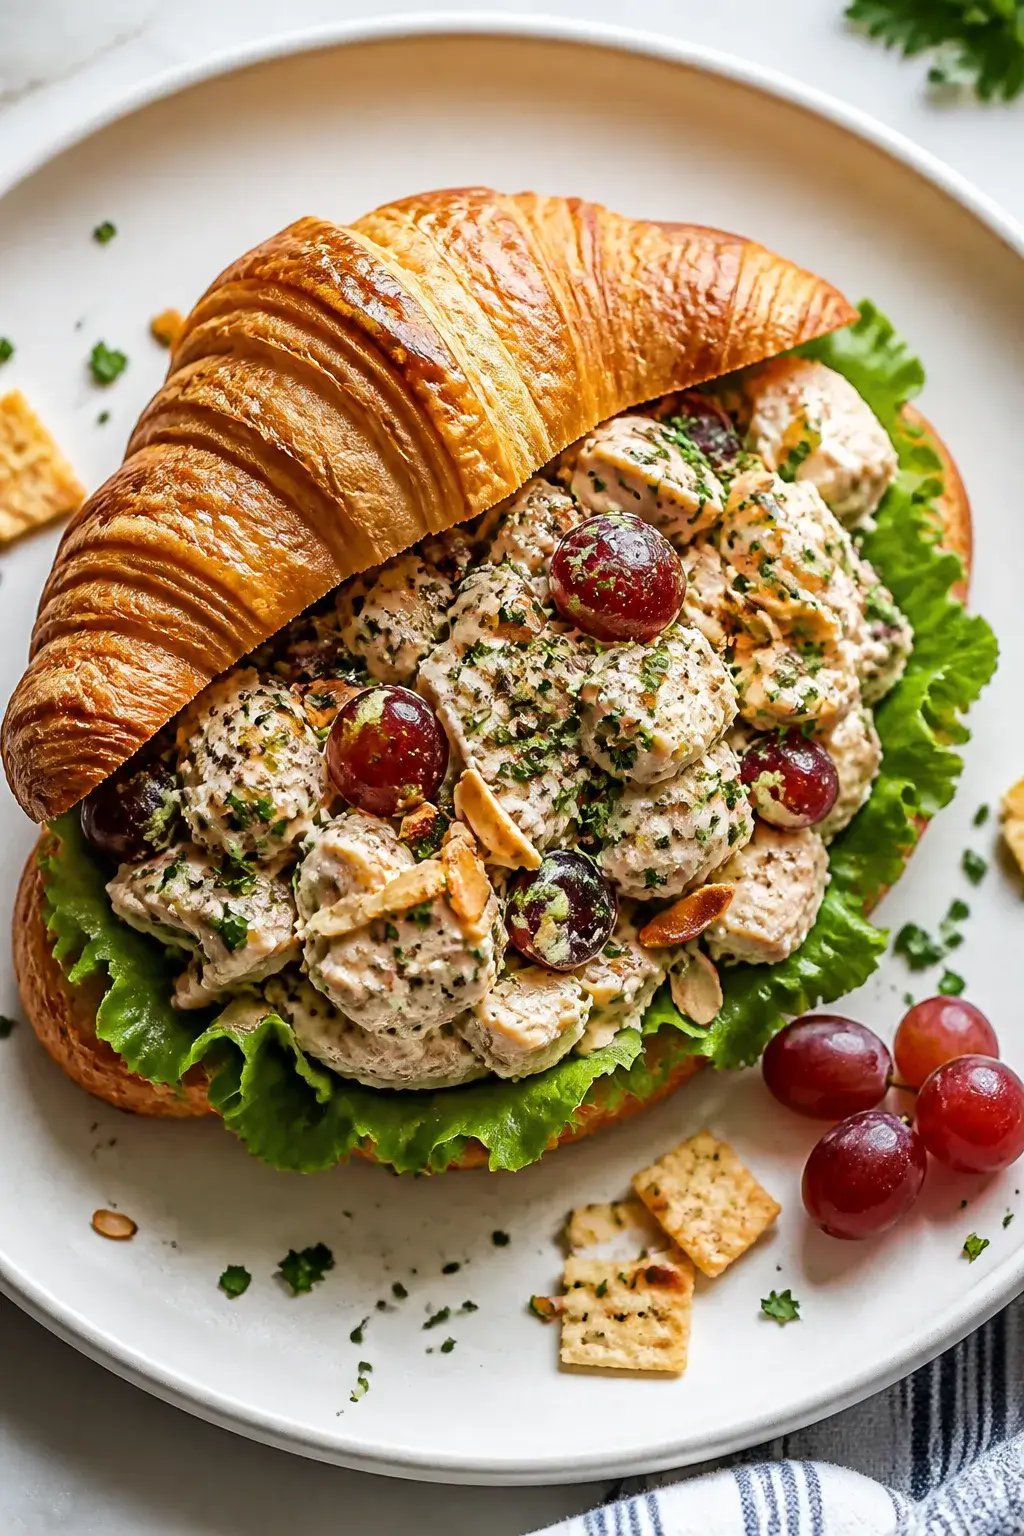
    Final dish, tasty top view: Overhead shot of a generous scoop of chicken salad piled into a buttery
    1. Prep the dressing: In a medium bowl, whisk together mayonnaise, Greek yogurt, Dijon, lemon juice, garlic powder, onion powder, and a pinch of salt and pepper.
    2. Add the aromatics: Stir in celery, red onion, and parsley until evenly coated.
    3. Fold in the chicken: Add drained, flaked canned chicken. Use a fork or spatula to gently combine without mashing.
    4. Taste and adjust: Add more salt, pepper, or lemon juice as needed.

      If you like it creamier, mix in an extra spoonful of mayo.

    5. Customize: Fold in optional mix-ins like pickles, grapes, or nuts for extra flavor and crunch.
    6. Chill: Cover and refrigerate for at least 20–30 minutes to let flavors meld.
    7. Serve: Spoon onto toast or croissants, wrap in a tortilla with lettuce, or pile over mixed greens. Crackers make a great snack option too.

    Storage Instructions

    • Refrigerate: Store in an airtight container for 3–4 days.
    • No freezing: Mayo-based salads don’t freeze well and can separate.
    • Keep it fresh: Stir before serving. If it looks a bit dry, add a teaspoon of mayo or a splash of lemon juice.
    • Pack smart: If making sandwiches for later, store the salad and bread separately to prevent sogginess.

    Benefits of This Recipe

    • Time-saving: No cooking required—perfect for lunch or a quick dinner.
    • Protein-packed: Filling and satisfying, especially with Greek yogurt.
    • Versatile: Works in sandwiches, wraps, lettuce cups, or as a dip.
    • Picky-eater friendly: Simple flavors with room for add-ins you love.

    Common Mistakes to Avoid

    • Not draining the chicken well: Excess liquid makes the salad watery.

      Press gently with a fork after draining.

    • Overmixing: This can make the chicken mushy. Fold gently to keep texture.
    • Skipping acid: A little lemon juice or pickle juice brightens the whole dish.
    • Overloading mix-ins: Too many add-ins can overpower the chicken. Keep a good balance.
    • Undersalting: Canned chicken can be bland.

      Season gradually and taste as you go.

    Variations You Can Try

    • Classic Deli Style: Add chopped dill pickles, extra black pepper, and a pinch of celery seed.
    • Sweet and Crunchy: Mix in halved red grapes, toasted almonds, and a drizzle of honey.
    • Herb Garden: Use fresh dill, chives, and parsley with extra lemon zest.
    • Spicy Kick: Stir in a dash of hot sauce, cayenne, or minced jalapeño.
    • Mediterranean: Add chopped cucumbers, olives, and a bit of crumbled feta; swap Dijon for a touch of olive oil.
    • Lightened-Up: Use more Greek yogurt than mayo and serve in lettuce wraps.

    FAQ

    Can I use only mayonnaise and skip the yogurt?

    Yes. Using only mayonnaise will give you a richer, classic flavor. If it’s too thick, thin slightly with lemon juice.

    What type of canned chicken works best?

    Use white meat or mixed canned chicken packed in water.

    Drain it well and flake with a fork for the best texture.

    How can I make this dairy-free?

    Skip the Greek yogurt and use all mayo or a dairy-free mayo alternative. The flavor will still be great.

    How do I keep the onions from being too strong?

    Rinse minced red onion under cold water and pat dry before adding. You can also use green onions for a milder bite.

    What can I serve with chicken salad?

    Try butter lettuce, croissants, whole-grain toast, crackers, pita, or cucumber slices.

    A side of fruit or a cup of soup rounds it out.

    Final Thoughts

    This chicken salad recipe with canned chicken is dependable, quick, and easy to customize. With a bright, creamy dressing and just the right crunch, it’s a no-stress meal that tastes like you spent more time than you did. Keep the ingredients on hand, and you’ll always have a satisfying option ready to go.

    Make it your own and enjoy it your way.

    Chicken Salad Recipe With Canned Chicken – Simple, Fresh, and Ready Fast

    Prep Time 10 minutes
    Total Time 10 minutes
    Servings 4 servings

    Ingredients
      

    • 2 (12.5 oz) cans chicken breast, drained well and flaked
    • 1/3 cup mayonnaise (add more to taste)
    • 2 tablespoons plain Greek yogurt (optional for tang and lightness)
    • 1 teaspoon Dijon mustard
    • 1 stalk celery, finely diced
    • 2 tablespoons red onion, finely minced (or green onion)
    • 1 tablespoon fresh parsley, chopped (optional but fresh-tasting)
    • 1 teaspoon lemon juice (or a splash of pickle juice)
    • 1/4 teaspoon garlic powder
    • 1/4 teaspoon onion powder
    • Salt and black pepper, to taste
    • Optional mix-ins: 1/4 cup chopped pickles or relish, 1/4 cup sliced grapes or dried cranberries, 1/4 cup slivered almonds or chopped pecans

    Instructions
     

    • Prep the dressing: In a medium bowl, whisk together mayonnaise, Greek yogurt, Dijon, lemon juice, garlic powder, onion powder, and a pinch of salt and pepper.
    • Add the aromatics: Stir in celery, red onion, and parsley until evenly coated.
    • Fold in the chicken: Add drained, flaked canned chicken. Use a fork or spatula to gently combine without mashing.
    • Taste and adjust: Add more salt, pepper, or lemon juice as needed. If you like it creamier, mix in an extra spoonful of mayo.
    • Customize: Fold in optional mix-ins like pickles, grapes, or nuts for extra flavor and crunch.
    • Chill: Cover and refrigerate for at least 20–30 minutes to let flavors meld.
    • Serve: Spoon onto toast or croissants, wrap in a tortilla with lettuce, or pile over mixed greens. Crackers make a great snack option too.