Author: Elise Bauer

  • Easy Sopapilla Cheesecake – A Simple, Crowd-Pleasing Dessert

    Easy Sopapilla Cheesecake – A Simple, Crowd-Pleasing Dessert

    If you love the taste of warm cinnamon sugar and creamy cheesecake, this dessert will be your new favorite. Easy sopapilla cheesecake starts with buttery crescent dough, a sweet cream cheese layer, and a golden, cinnamon-sugar top that crackles when you bite in. It’s quick to prep, bakes up beautifully, and feeds a crowd without fuss.

    Bring it to a potluck or serve it after taco night—either way, plates come back clean. Best of all, you don’t need any special skills to make it taste amazing.

    What Makes This Recipe So Good
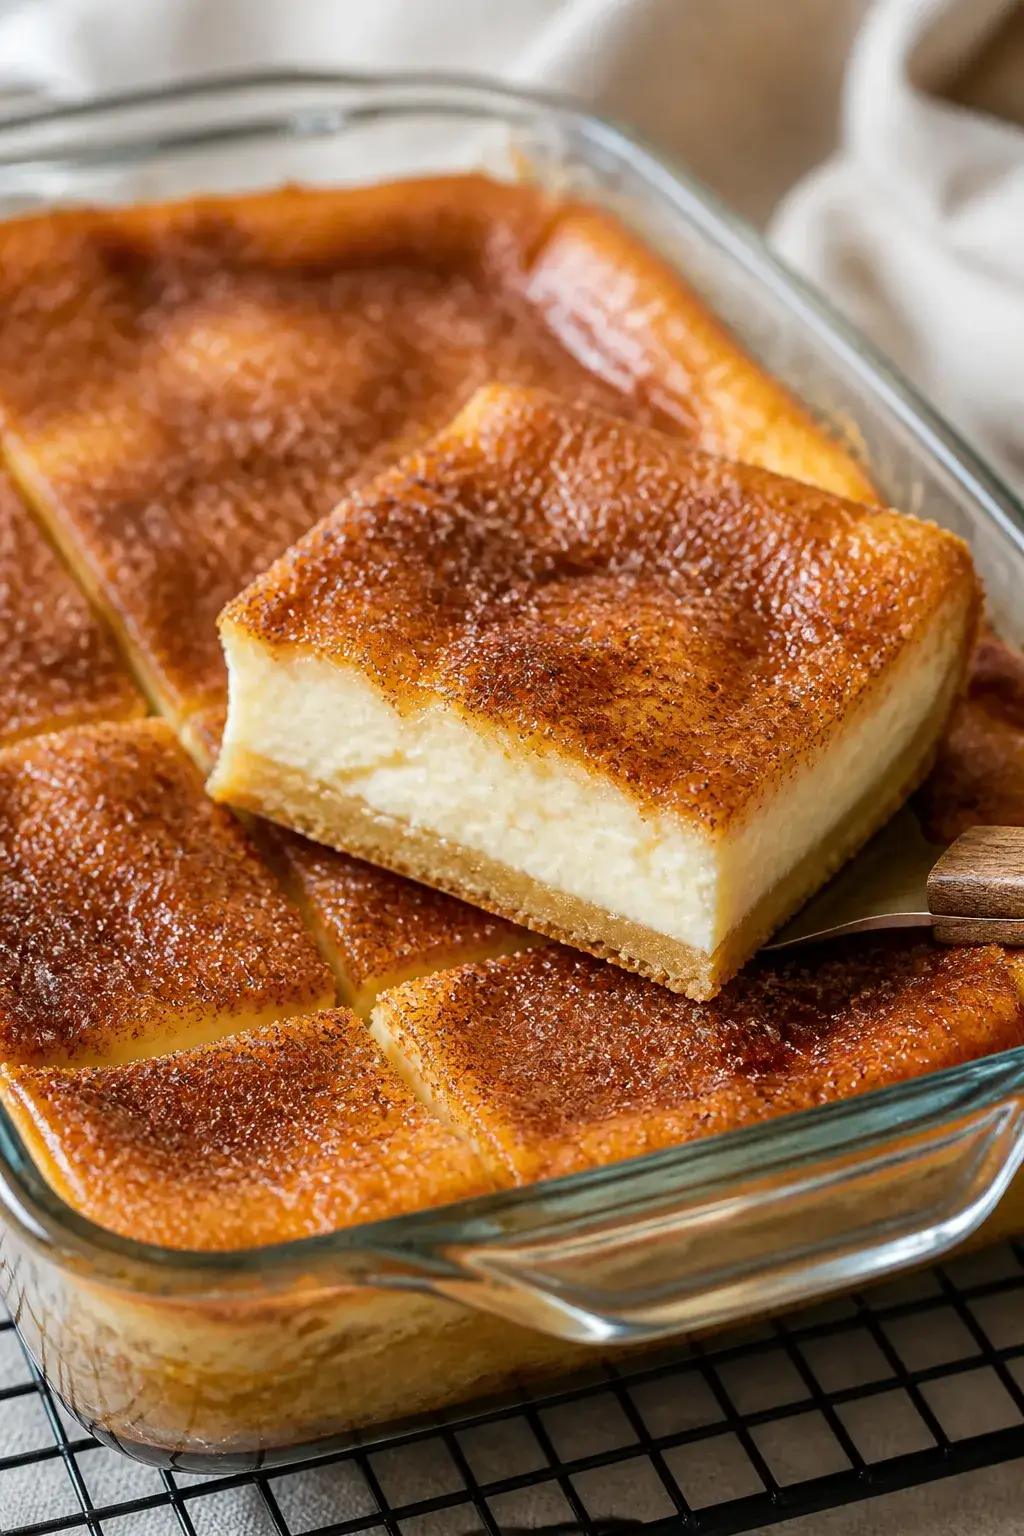
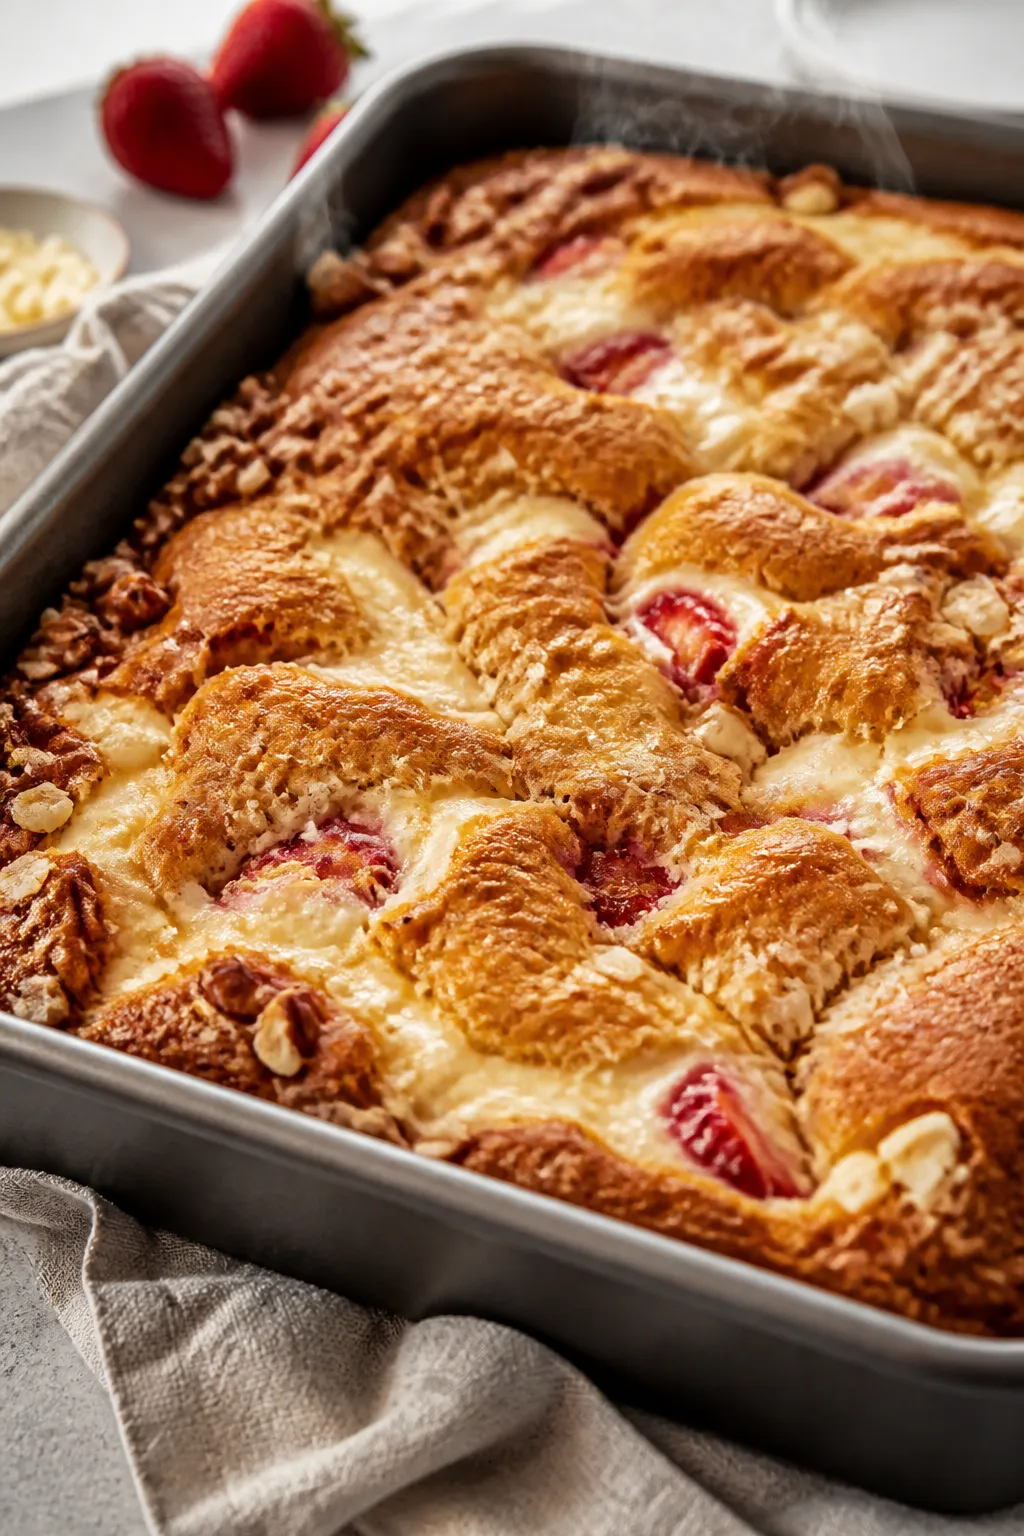
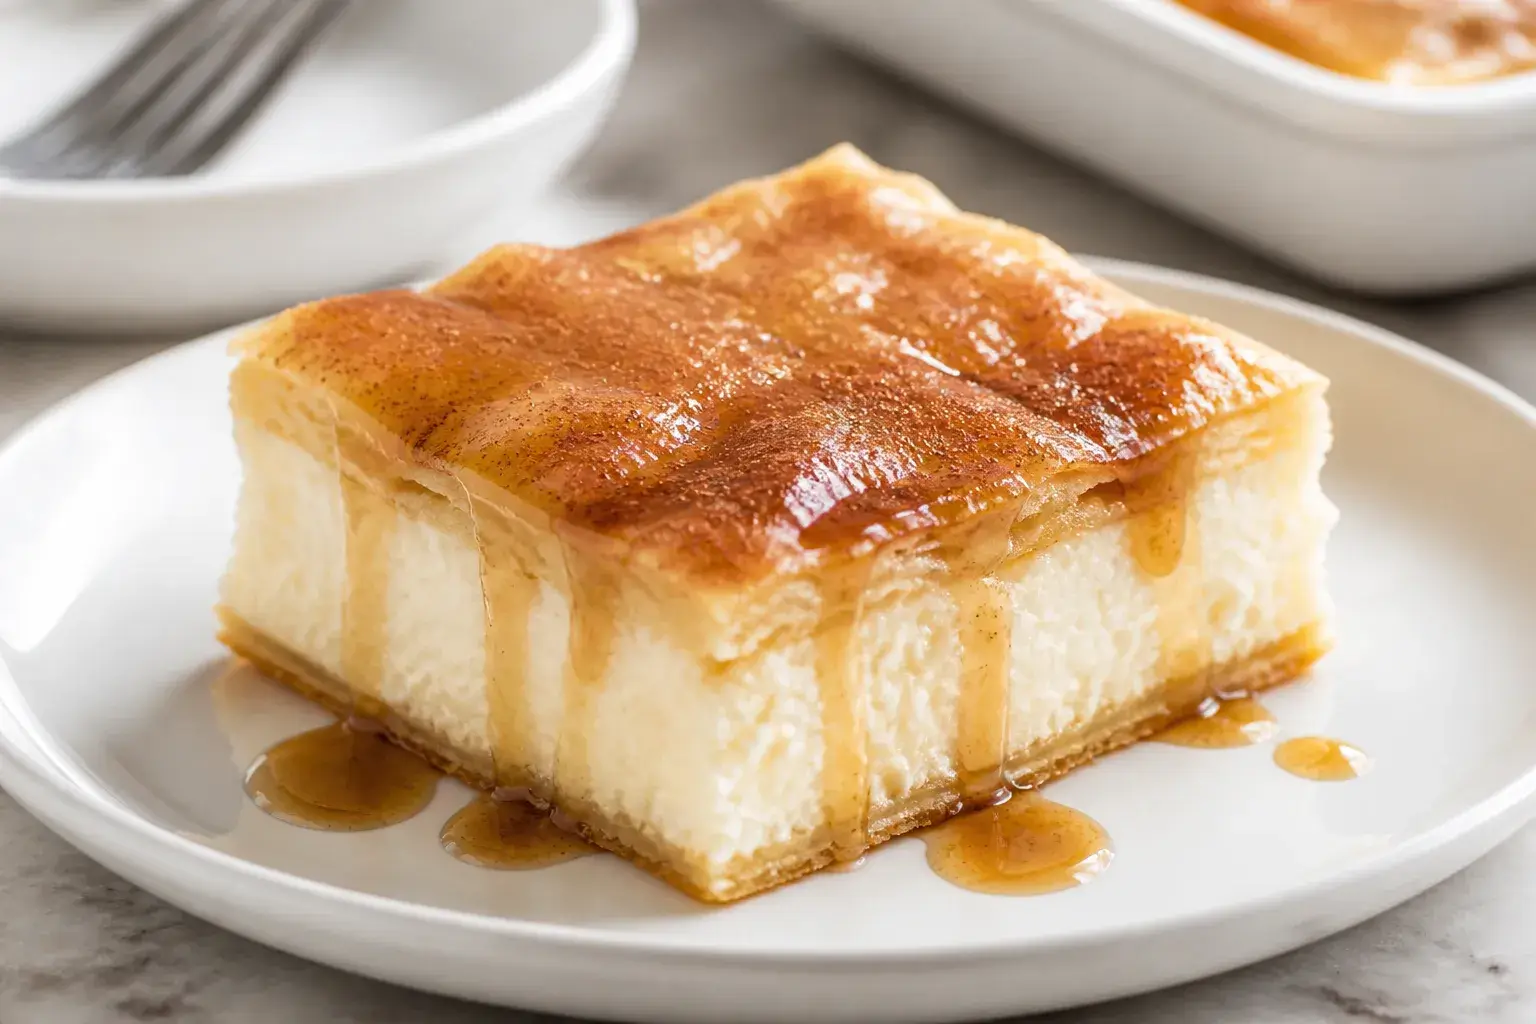
    Close-up detail shot: A just-baked pan of sopapilla cheesecake in a 9x13 glass baking dish, top crus
    • Quick and simple: Uses store-bought crescent roll dough for a no-stress crust and topping.
    • Creamy and crunchy: Silky cheesecake filling contrasts with a buttery, crisp cinnamon-sugar top.
    • Reliable for gatherings: Bakes in a 9×13 pan and slices neatly for sharing.
    • Customizable: Easy to flavor with citrus zest, vanilla, or a drizzle of honey.
    • Make-ahead friendly: Tastes great chilled or at room temperature the next day.

    Ingredients

    • 2 cans refrigerated crescent roll dough (8 ounces each)
    • 16 ounces cream cheese, softened
    • 3/4 cup granulated sugar, divided
    • 1/4 cup light brown sugar
    • 1 large egg
    • 1 1/2 teaspoons vanilla extract
    • 1/2 teaspoon ground cinnamon (plus more for dusting)
    • 1/4 teaspoon fine salt
    • 4 tablespoons unsalted butter, melted
    • Optional: 2–3 tablespoons honey for drizzling
    • Optional add-ins: 1 teaspoon orange or lemon zest; 1/4 teaspoon almond extract

    Step-by-Step Instructions
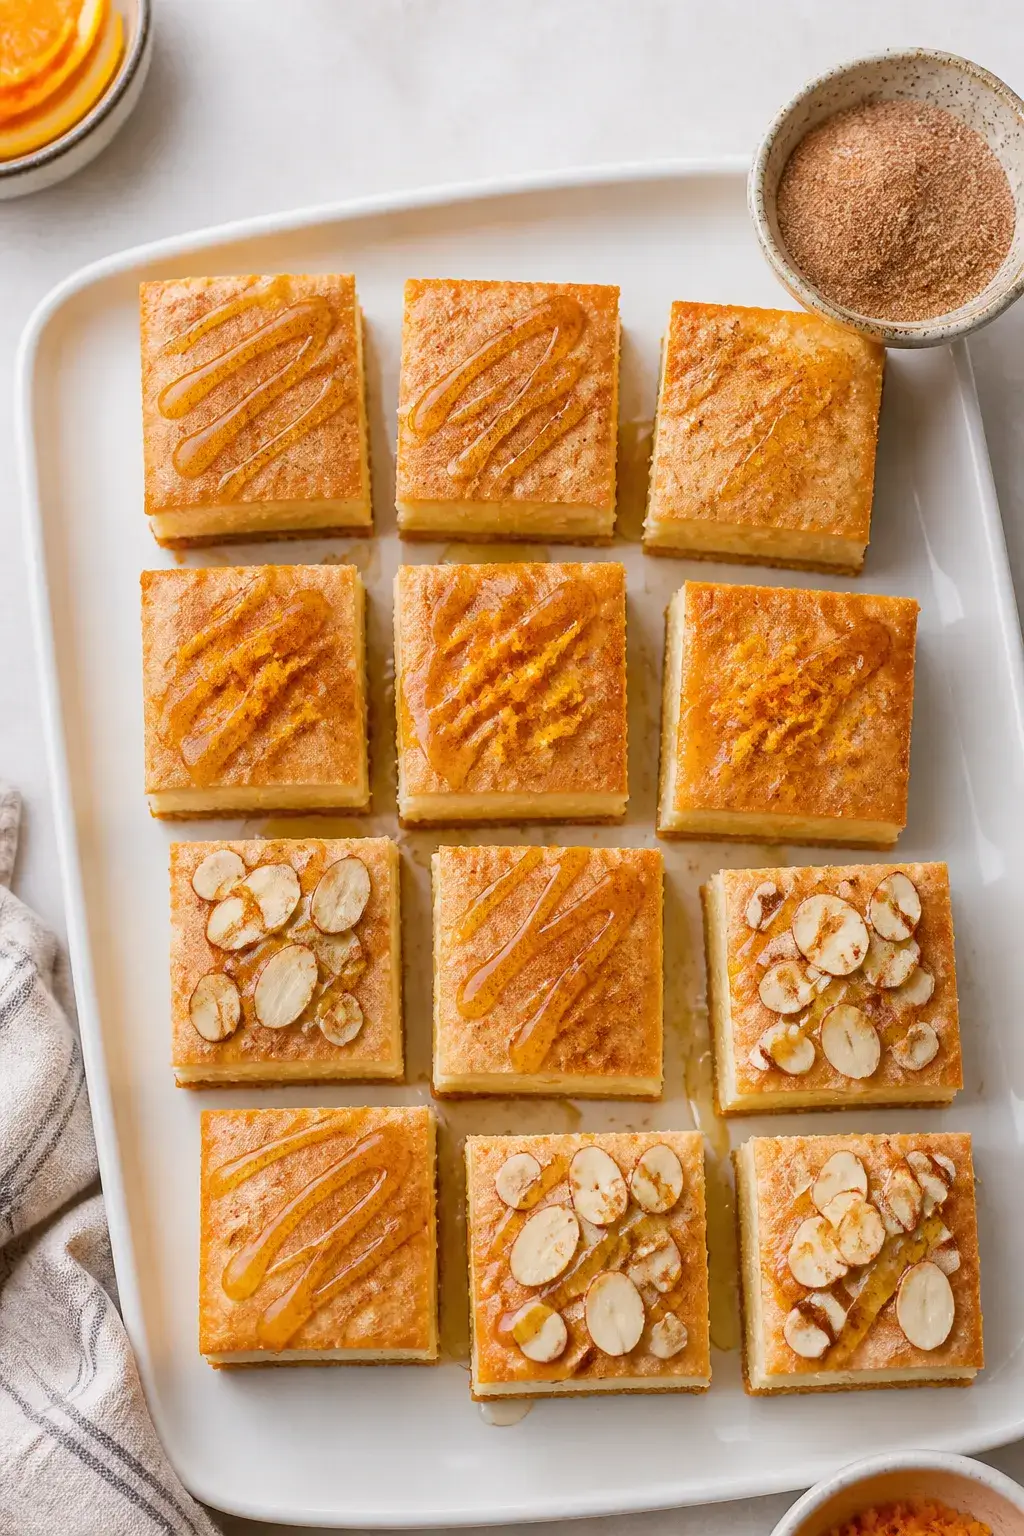
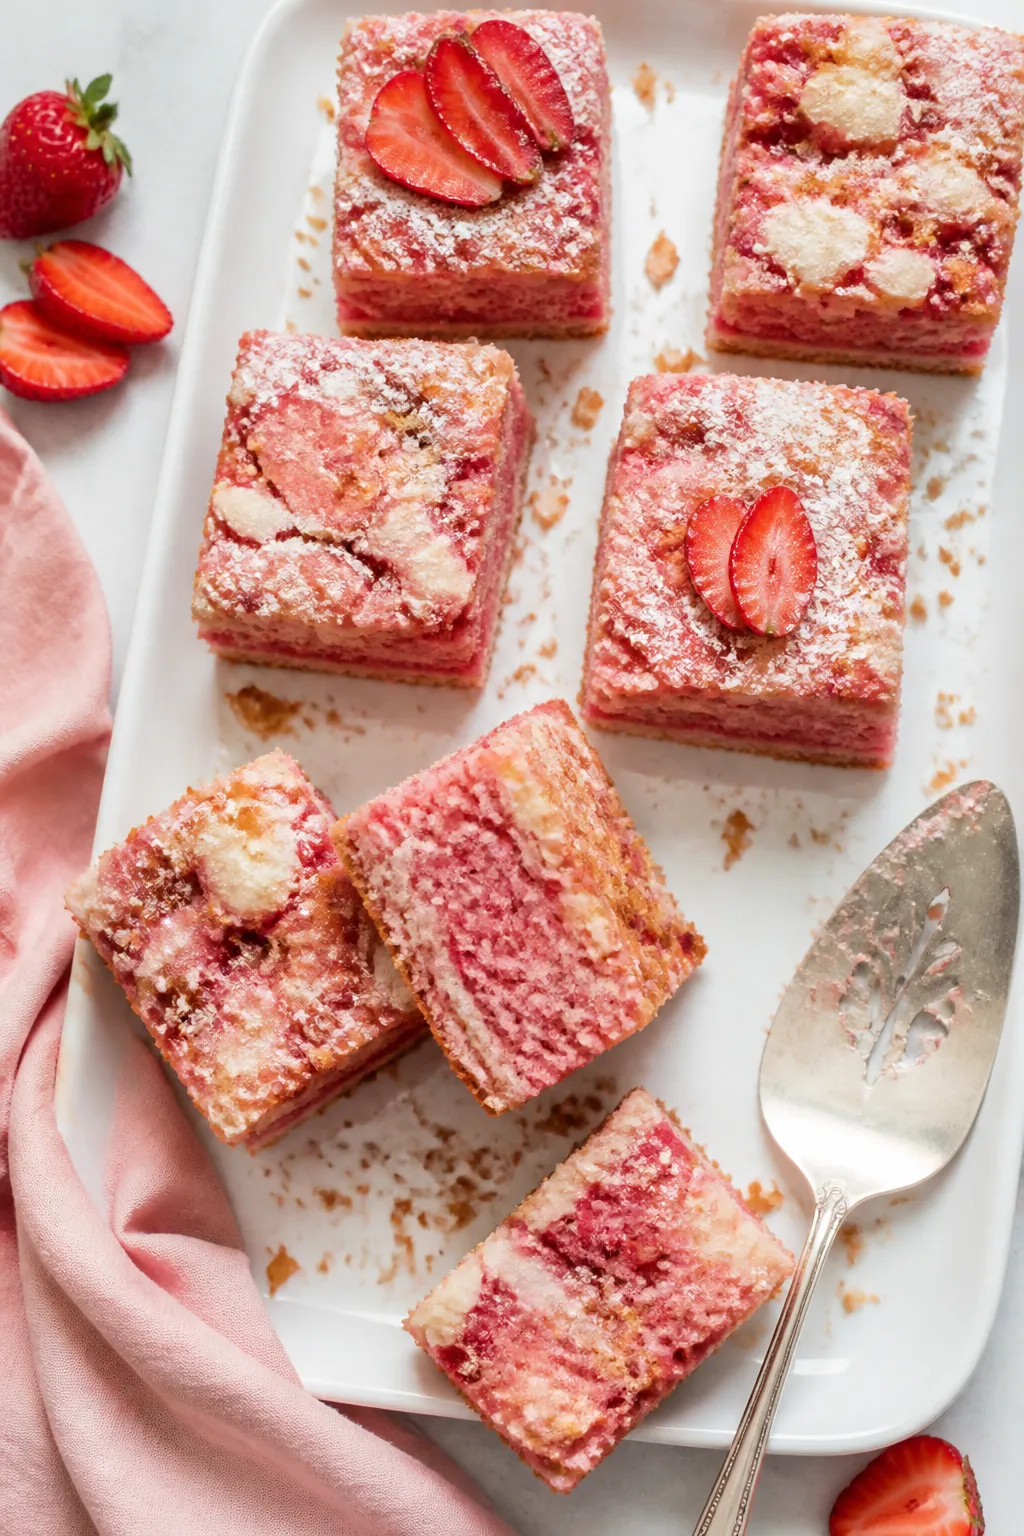
    Tasty top-view final presentation: Overhead shot of neatly cut sopapilla cheesecake squares arranged
    1. Prep the pan: Heat oven to 350°F (175°C). Lightly grease a 9×13-inch baking dish.
    2. Lay the base: Unroll one can of crescent dough.

      Press the seams together and fit it into the bottom of the dish. Keep the second can chilled for the top.

    3. Make the filling: In a bowl, beat cream cheese, 1/2 cup granulated sugar, brown sugar, egg, vanilla, cinnamon, and salt until smooth and fluffy, about 1–2 minutes. Scrape the bowl once for a silky texture.
    4. Spread evenly: Pour the filling over the dough base and smooth it into an even layer.
    5. Add the top crust: Unroll the second can of dough.

      Press seams to seal, then gently place it over the filling. It doesn’t have to be perfect—just cover as evenly as possible.

    6. Butter and sugar: Brush the melted butter over the top crust. Mix remaining 1/4 cup granulated sugar with a pinch of cinnamon and sprinkle generously over the buttered surface.
    7. Bake: Bake 28–35 minutes, until the top is golden and slightly puffed.

      The center should look set, not jiggly.

    8. Cool and set: Let cool at least 30 minutes. For clean slices, chill another 1–2 hours. Drizzle with honey right before serving if you like.
    9. Serve: Cut into squares.

      Enjoy warm, room temp, or chilled.

    How to Store

    • Refrigerate: Cover and chill for up to 4 days. The texture stays creamy and the topping keeps a light crunch.
    • Freeze: Wrap tightly and freeze up to 2 months. Thaw overnight in the fridge before serving.
    • Reheat: Warm slices in a 300°F oven for 8–10 minutes if you prefer them slightly toasty.

      Avoid the microwave to keep the top from getting soggy.

    Why This is Good for You

    • Portion control: It’s baked in a tray, so you can serve small squares for a lighter treat.
    • Satisfies cravings: A little goes a long way thanks to the rich, creamy filling and bold cinnamon flavor.
    • Simple ingredients: You know what’s going in—no mystery flavors or preservatives beyond the dough.

    Common Mistakes to Avoid

    • Using cold cream cheese: It won’t blend smoothly and can leave lumps. Soften it first.
    • Skipping the egg: The egg helps the filling set cleanly. Don’t omit unless adapting for an egg-free version.
    • Not sealing seams: Press crescent seams together so the filling doesn’t leak to the top layer.
    • Overbaking: If the center cracks or looks dry, it’s overdone.

      Pull it when golden and just set.

    • Slicing too soon: Let it cool so the layers firm up and cut neatly.

    Recipe Variations

    • Citrus Twist: Add lemon or orange zest to the filling and a touch of zest to the cinnamon sugar.
    • Honey-Almond: Add 1/4 teaspoon almond extract to the filling and finish with a honey drizzle and sliced almonds.
    • Apple Pie Sopapilla: Spread a thin layer of apple pie filling over the cream cheese before adding the top crust.
    • Chocolate Swirl: Drizzle 1/4 cup melted dark chocolate over the filling and swirl lightly before topping with dough.
    • Spiced Churro: Increase cinnamon to 1 teaspoon and add a pinch of nutmeg and cardamom to the sugar topping.

    FAQ

    Can I use reduced-fat cream cheese?

    Yes, but the filling will be slightly less rich and may set a bit softer. Full-fat gives the best texture.

    What if I only have puff pastry?

    You can substitute it, but the texture changes. Bake the bottom sheet 8–10 minutes first, then add the filling and top sheet and continue baking until deeply golden.

    Do I have to use the egg?

    You can skip it if needed.

    The filling will be softer; chill well before slicing so it holds together.

    How do I prevent a soggy bottom?

    Make sure the base layer fully covers the pan, avoid overmixing the filling (which can add excess air and moisture), and bake until the top is golden and the center is set.

    Can I make it a day ahead?

    Absolutely. Chill overnight, then slice before serving. Add any honey drizzle just before bringing it to the table.

    Wrapping Up

    Easy sopapilla cheesecake is the kind of dessert that always disappears fast.

    It’s buttery, creamy, and warmly spiced, yet simple enough for a weeknight. Keep the ingredients on hand, and you can whisk it together whenever a craving hits or company drops by. One pan, minimal effort, and sweet, cozy flavor in every bite.
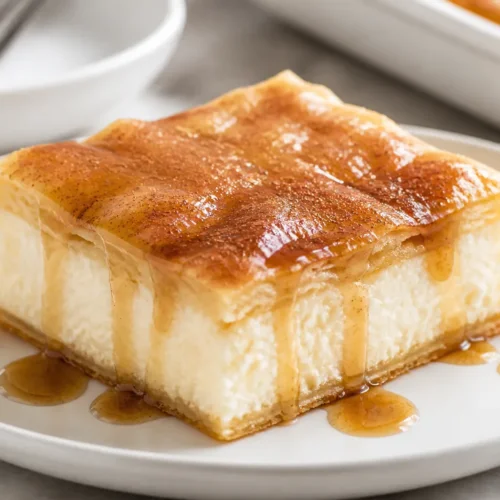
    Easy Sopapilla Cheesecake – A Simple, Crowd-Pleasing Dessert

    Prep Time 15 minutes
    Cook Time 30 minutes
    Total Time 45 minutes
    Servings 12 servings

    Ingredients
      

    • 2 cans refrigerated crescent roll dough (8 ounces each)
    • 16 ounces cream cheese, softened
    • 3/4 cup granulated sugar, divided
    • 1/4 cup light brown sugar
    • 1 large egg
    • 1 1/2 teaspoons vanilla extract
    • 1/2 teaspoon ground cinnamon (plus more for dusting)
    • 1/4 teaspoon fine salt
    • 4 tablespoons unsalted butter, melted
    • Optional: 2–3 tablespoons honey for drizzling
    • Optional add-ins: 1 teaspoon orange or lemon zest; 1/4 teaspoon almond extract

    Instructions
     

    • Prep the pan: Heat oven to 350°F (175°C). Lightly grease a 9×13-inch baking dish.
    • Lay the base: Unroll one can of crescent dough. Press the seams together and fit it into the bottom of the dish. Keep the second can chilled for the top.
    • Make the filling: In a bowl, beat cream cheese, 1/2 cup granulated sugar, brown sugar, egg, vanilla, cinnamon, and salt until smooth and fluffy, about 1–2 minutes. Scrape the bowl once for a silky texture.
    • Spread evenly: Pour the filling over the dough base and smooth it into an even layer.
    • Add the top crust: Unroll the second can of dough. Press seams to seal, then gently place it over the filling. It doesn’t have to be perfect—just cover as evenly as possible.
    • Butter and sugar: Brush the melted butter over the top crust. Mix remaining 1/4 cup granulated sugar with a pinch of cinnamon and sprinkle generously over the buttered surface.
    • Bake: Bake 28–35 minutes, until the top is golden and slightly puffed. The center should look set, not jiggly.
    • Cool and set: Let cool at least 30 minutes. For clean slices, chill another 1–2 hours. Drizzle with honey right before serving if you like.
    • Serve: Cut into squares. Enjoy warm, room temp, or chilled.
  • Strawberry Cheesecake Dump Cake – Easy & Creamy

    Strawberry Cheesecake Dump Cake – Easy & Creamy

    Think of this as the easiest cheesecake-meets-cobbler you’ll ever make. You get a creamy cheesecake layer, juicy strawberries, and a buttery, golden cake top—all from a few pantry staples. No mixer, no fancy steps, just stir, dump, and bake.

    It’s a crowd-pleaser for potlucks, birthdays, or cozy weekends. If you can open a can and a box, you can make this dessert.

    Why This Recipe Works

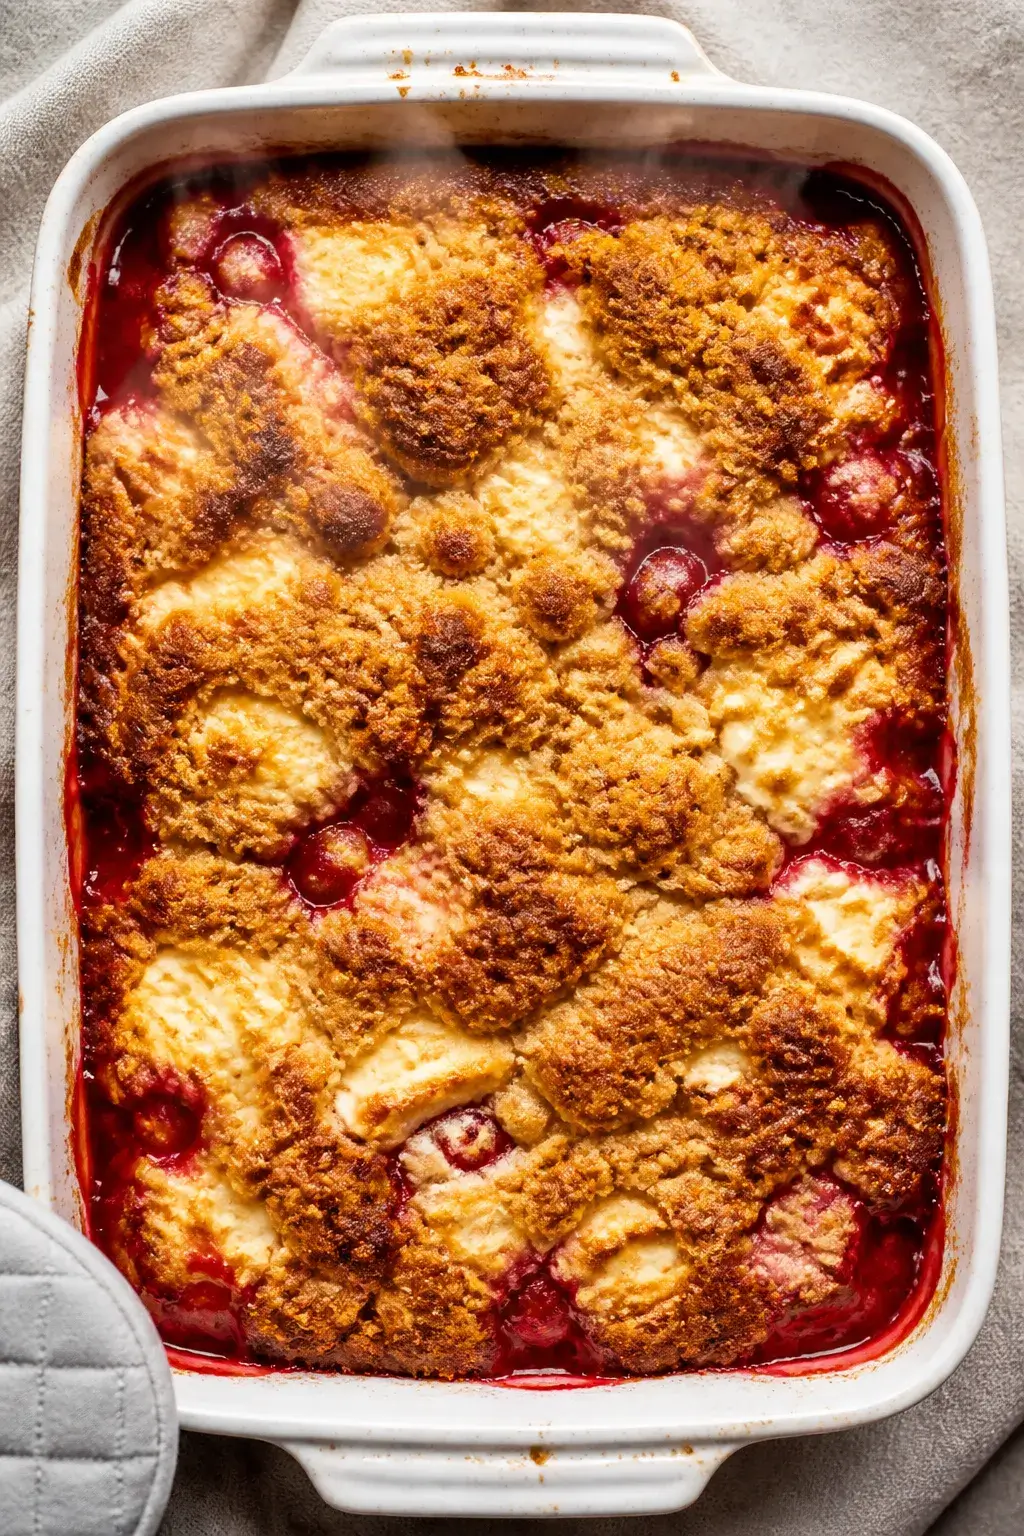
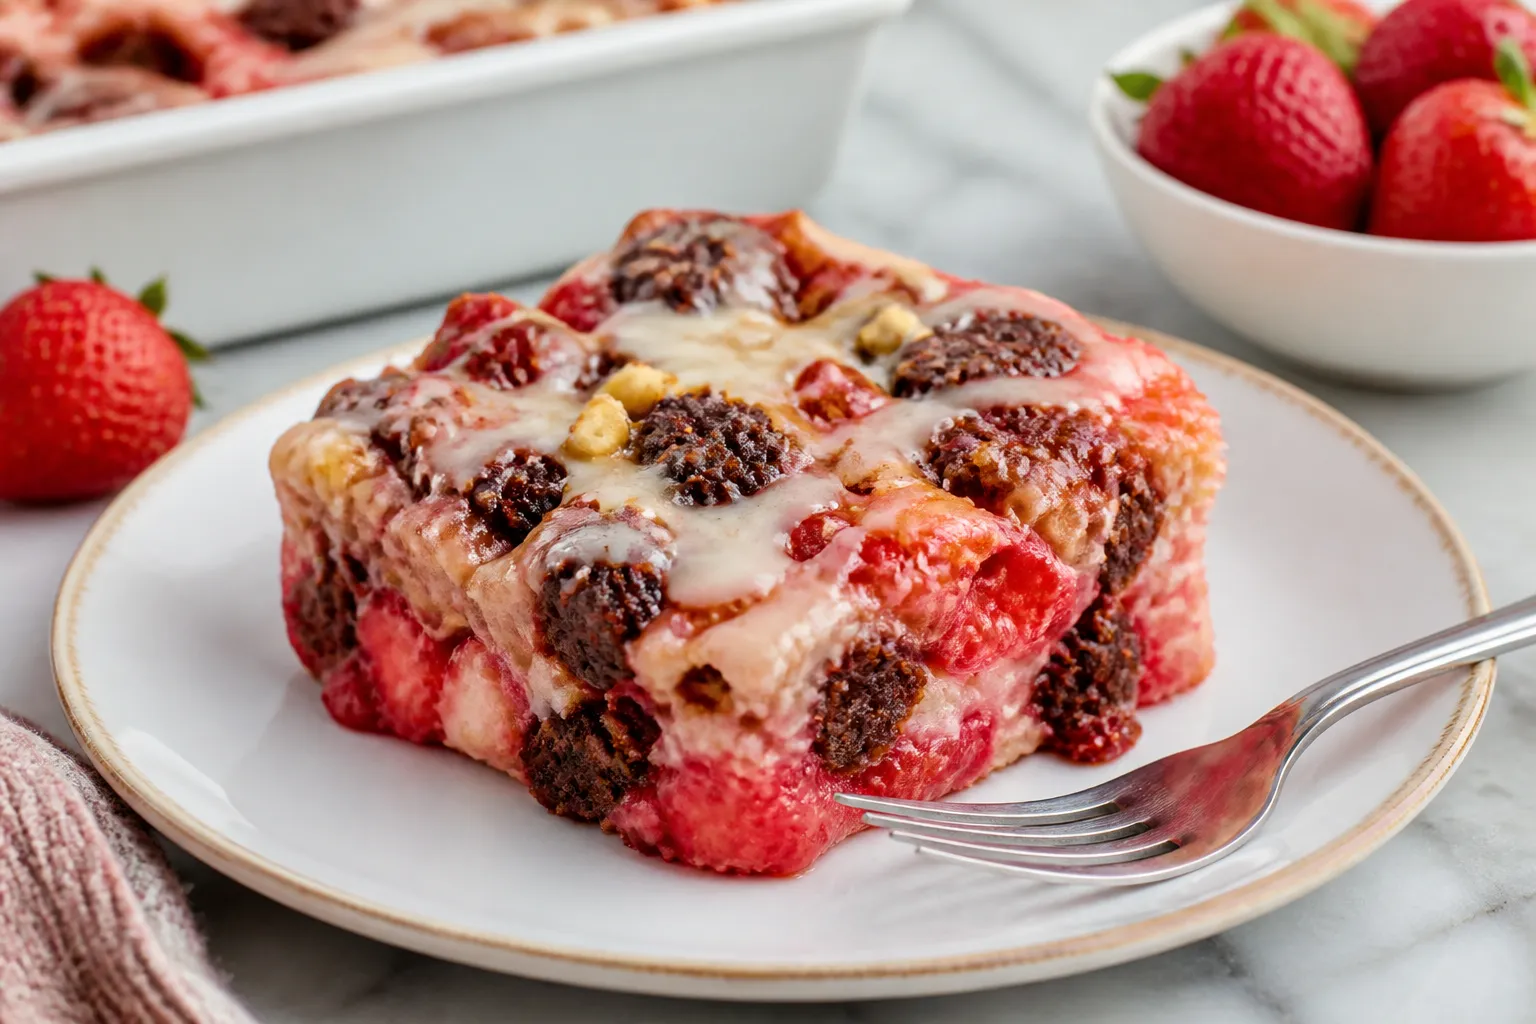
    Overhead cooking process shot: 9x13-inch baking dish just out of the oven showing the Strawberry Che
    • Layered texture: Creamy cheesecake filling, jammy fruit, and a crisp-buttery topping give every bite contrast.
    • Minimal prep: Uses canned pie filling and a boxed cake mix for speed without sacrificing flavor.
    • Foolproof moisture: The cream cheese and butter keep the cake tender and rich—no dry bites.
    • Customizable: Swap fruit flavors, cake mix types, or add-ins to suit your taste.

    Ingredients

    • 2 cans (21 oz each) strawberry pie filling
    • 8 oz cream cheese, softened
    • 1/3 cup granulated sugar
    • 1 teaspoon vanilla extract
    • 1 box (15.25 oz) yellow cake mix
    • 1/2 cup (1 stick) unsalted butter, melted
    • 1/4 teaspoon fine salt (optional, boosts flavor)
    • 1/2 cup chopped fresh strawberries (optional, for extra freshness)
    • Whipped cream or vanilla ice cream, for serving (optional)

    How to Make It

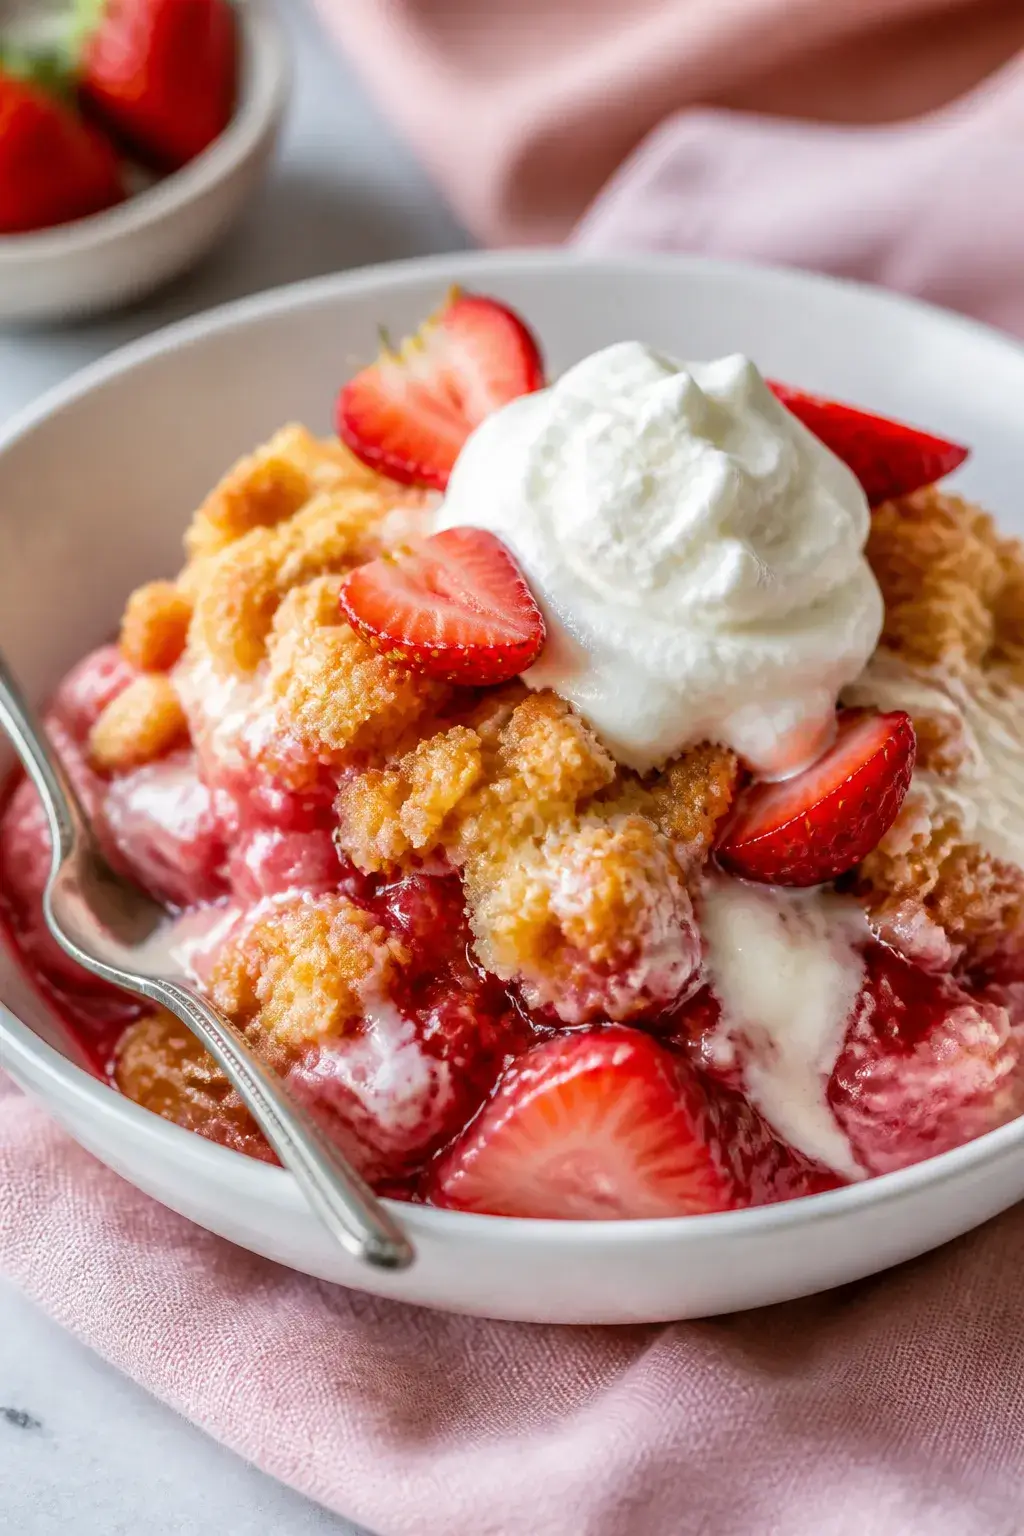
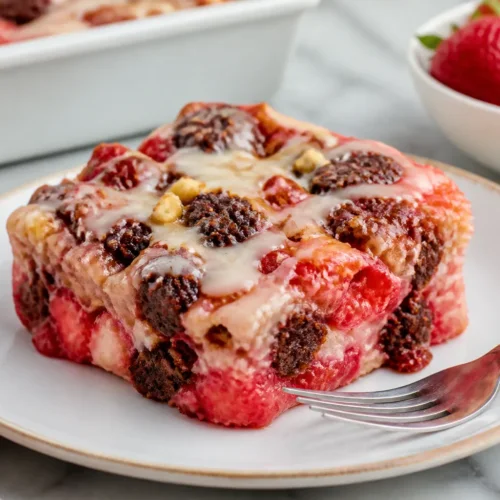
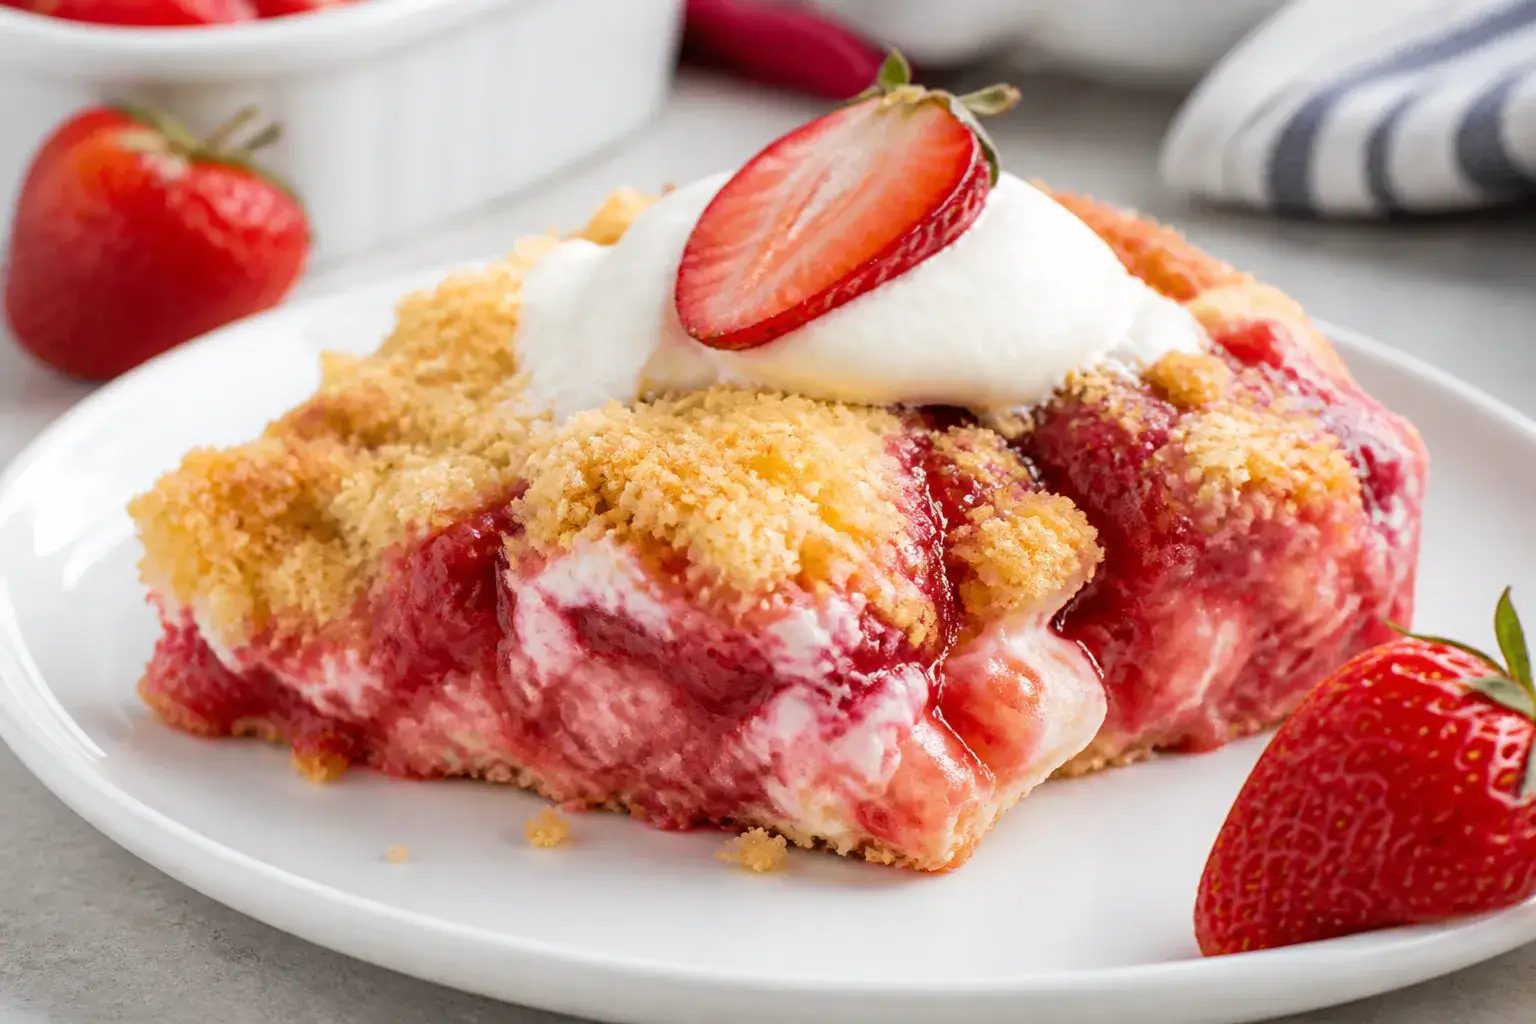
    Final plated close-up: a generous scoop of Strawberry Cheesecake Dump Cake in a shallow white bowl,
    1. Preheat and prep: Heat oven to 350°F (175°C). Lightly grease a 9×13-inch baking dish.
    2. Spread the fruit: Pour strawberry pie filling into the dish and spread evenly.

      Scatter fresh strawberries on top if using.

    3. Make cheesecake dollops: In a bowl, mix softened cream cheese, sugar, vanilla, and salt until smooth. Spoon small dollops over the fruit. No need to cover every inch.
    4. Add cake mix: Sprinkle the dry cake mix evenly over the entire surface.

      Do not mix it in.

    5. Finish with butter: Drizzle melted butter evenly over the cake mix, trying to moisten as much as possible. It’s okay if a few dry spots remain; they’ll hydrate as it bakes.
    6. Bake: Place the dish on the center rack and bake 40–50 minutes, until the top is golden and the edges are bubbling.
    7. Rest: Let cool at least 15–20 minutes. This helps the cheesecake layer set and the juices thicken.
    8. Serve: Scoop into bowls and top with whipped cream or ice cream if you like.

    How to Store

    • Refrigerate: Cover and chill for up to 4 days.

      The cheesecake layer requires refrigeration.

    • Reheat: Warm individual portions in the microwave for 20–30 seconds, or the whole dish at 300°F (150°C) for 10–15 minutes.
    • Freeze: Not ideal, as the cream cheese can turn grainy. If needed, freeze for up to 1 month and thaw overnight in the fridge.

    Why This is Good for You

    • Portion control: It’s rich and satisfying, so a small serving goes a long way.
    • Real dairy: Cream cheese adds calcium and protein, which help keep you full.
    • Strawberries: Provide vitamin C and antioxidants, even in pie filling form. Fresh berries boost this even more.

    What Not to Do

    • Don’t stir the layers together. The magic is in the layers—mixing turns it mushy.
    • Don’t skip the butter. It hydrates the cake mix and creates that crisp topping.
    • Don’t overbake. If the top is deeply brown and the edges are dry, it’s gone too far.

      Look for golden brown and bubbling edges.

    • Don’t use cold cream cheese. It won’t blend smoothly and can leave lumps.

    Recipe Variations

    • Lemon twist: Add 1 tablespoon lemon zest to the cream cheese and use white cake mix.
    • Graham crunch: Sprinkle 1 cup crushed graham crackers over the fruit before the cake mix for cheesecake vibes.
    • Almond bakery style: Swap vanilla for 1/2 teaspoon almond extract and scatter sliced almonds on top during the last 10 minutes.
    • Chocolate-strawberry: Use chocolate cake mix and drizzle with warm hot fudge to serve.
    • Lighter touch: Use Neufchâtel (1/3 less fat) cream cheese and reduce sugar to 1/4 cup.

    FAQ

    Can I use fresh strawberries instead of pie filling?

    Yes, but you’ll need moisture and sweetness. Toss 5–6 cups sliced strawberries with 3/4 cup sugar and 2 tablespoons cornstarch, then let sit 10 minutes before assembling.

    What cake mix works best?

    Yellow or white cake mix is classic. Strawberry cake mix amplifies berry flavor, and chocolate is great for a richer dessert.

    Why is my topping powdery?

    Dry patches mean not enough butter coverage.

    Drizzle an extra 2–3 tablespoons melted butter over dry spots next time, or lightly spritz with cooking spray before baking.

    Can I make it ahead?

    Assemble right before baking for best texture. You can bake it a day ahead, chill, and reheat to serve warm.

    Is this gluten-free friendly?

    Use a gluten-free vanilla cake mix and confirm your pie filling and cream cheese are gluten-free. Bake times are similar.

    How do I get cleaner slices?

    Chill the baked cake completely, then slice and rewarm portions.

    Cooling firms up the cheesecake layer for neat cuts.

    Wrapping Up

    This Strawberry Cheesecake Dump Cake delivers big flavor with almost no effort. It’s creamy, fruity, and buttery with a crisp top that keeps you coming back for one more bite. Keep the ingredients on hand and you’ll always have a fast dessert ready for guests—or a sweet night in.

    Strawberry Cheesecake Dump Cake – Easy & Creamy

    Prep Time 10 minutes
    Cook Time 45 minutes
    Total Time 55 minutes
    Servings 12 servings

    Ingredients
      

    • 2 cans (21 oz each) strawberry pie filling
    • 8 oz cream cheese, softened
    • 1/3 cup granulated sugar
    • 1 teaspoon vanilla extract
    • 1 box (15.25 oz) yellow cake mix
    • 1/2 cup (1 stick) unsalted butter, melted
    • 1/4 teaspoon fine salt (optional, boosts flavor)
    • 1/2 cup chopped fresh strawberries (optional, for extra freshness)
    • Whipped cream or vanilla ice cream, for serving (optional)

    Instructions
     

    • Preheat and prep: Heat oven to 350°F (175°C). Lightly grease a 9×13-inch baking dish.
    • Spread the fruit: Pour strawberry pie filling into the dish and spread evenly. Scatter fresh strawberries on top if using.
    • Make cheesecake dollops: In a bowl, mix softened cream cheese, sugar, vanilla, and salt until smooth. Spoon small dollops over the fruit. No need to cover every inch.
    • Add cake mix: Sprinkle the dry cake mix evenly over the entire surface. Do not mix it in.
    • Finish with butter: Drizzle melted butter evenly over the cake mix, trying to moisten as much as possible. It’s okay if a few dry spots remain; they’ll hydrate as it bakes.
    • Bake: Place the dish on the center rack and bake 40–50 minutes, until the top is golden and the edges are bubbling.
    • Rest: Let cool at least 15–20 minutes. This helps the cheesecake layer set and the juices thicken.
    • Serve: Scoop into bowls and top with whipped cream or ice cream if you like.
  • Blueberry Cream Cheese Muffin Cake (Bakery Style) – Soft, Tall, and Packed With Berries

    Blueberry Cream Cheese Muffin Cake (Bakery Style) – Soft, Tall, and Packed With Berries

    This is the kind of cake that makes a morning feel special. Think bakery-style blueberry muffins, but baked as one big, tender cake with a creamy ribbon of sweetened cream cheese running through the middle. It’s soft, tall, and lightly crisp on top, with juicy bursts of blueberries in every bite.

    No mixers needed and no fussy steps. Just real ingredients and a result that feels like it came from your favorite café.

    Why This Recipe Works

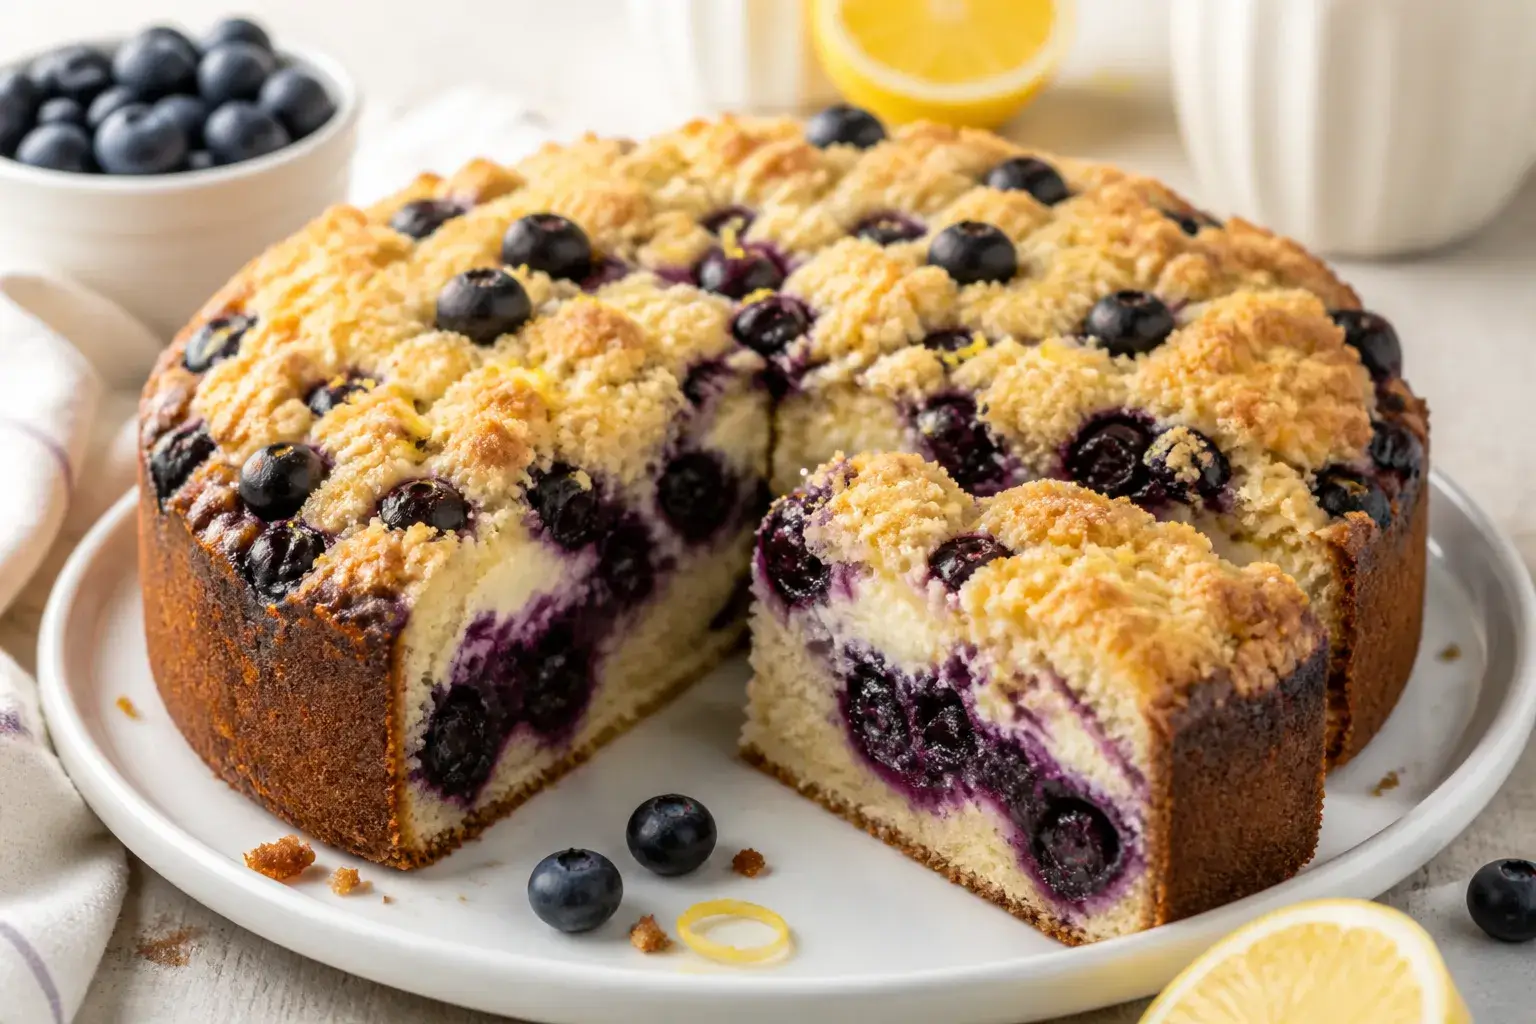
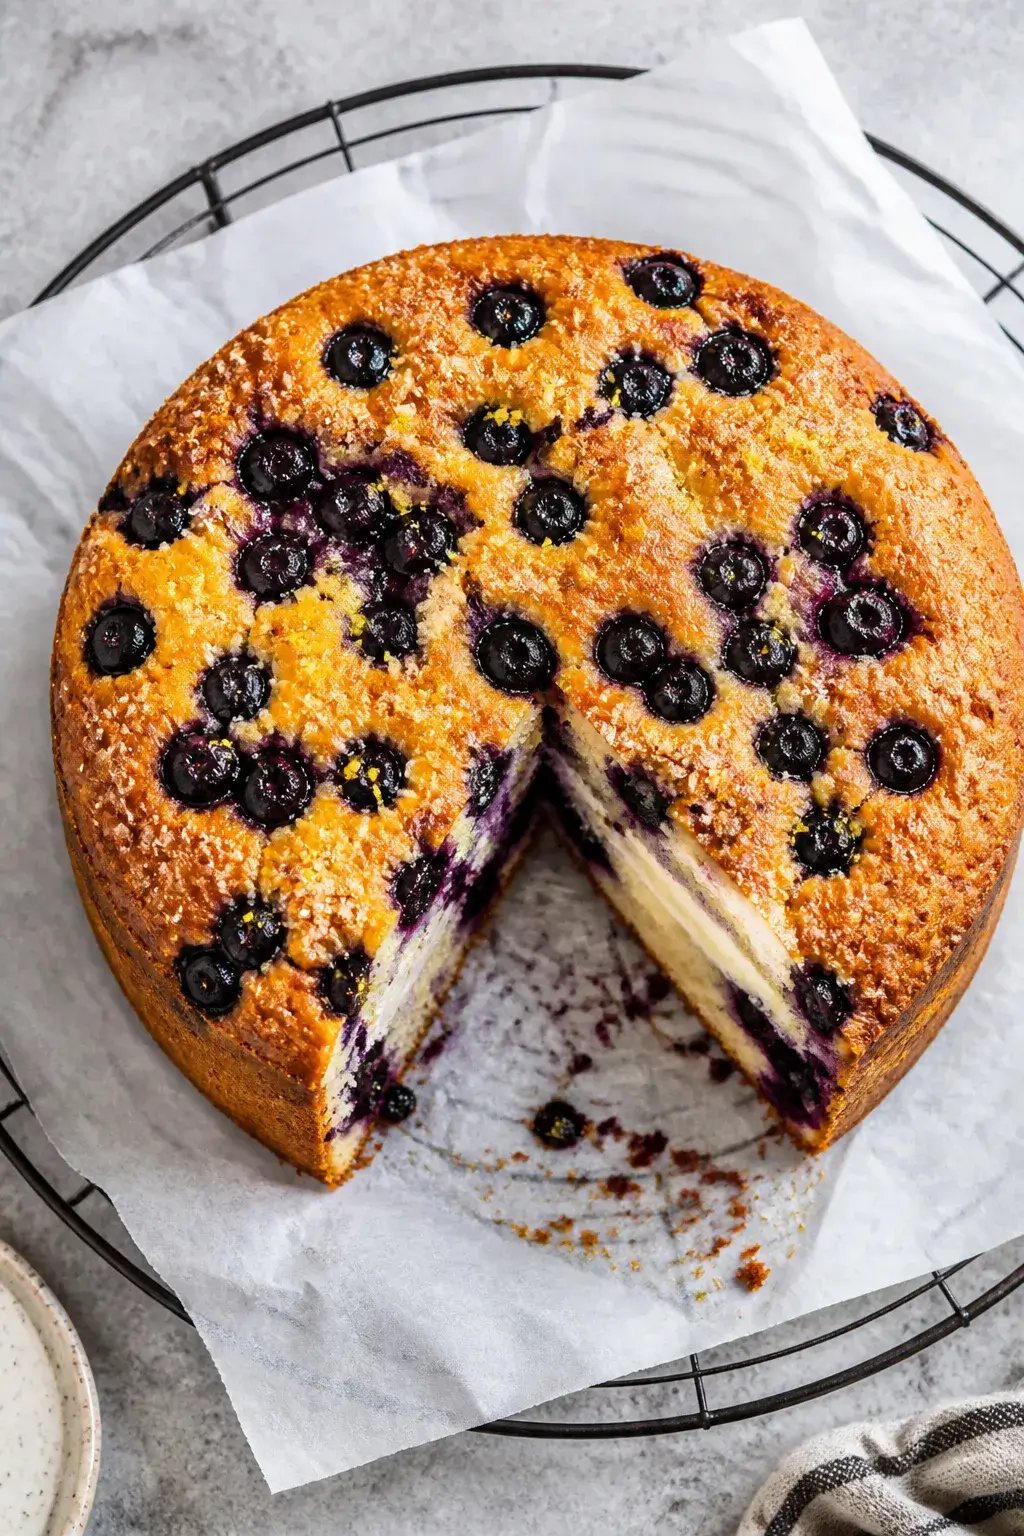
    Overhead shot of the baked Blueberry Cream Cheese Muffin Cake just out of a 9-inch springform pan, t
    • Room-temp dairy makes the batter smooth, so the cake rises high and bakes evenly.
    • Cream cheese layer adds moisture and a cheesecake-like tang that balances the sweetness.
    • Buttermilk (or milk + lemon) keeps the crumb tender and gives the batter lift.
    • Oil + butter combo brings both flavor and long-lasting moisture.
    • Light touch with the flour prevents toughness and keeps the crumb delicate.

    What You’ll Need

    • For the muffin cake batter:
      • 2 cups (250 g) all-purpose flour
      • 1 cup (200 g) granulated sugar
      • 2 tsp baking powder
      • 1/2 tsp baking soda
      • 1/2 tsp fine salt
      • 1/2 cup (120 ml) buttermilk (or milk + 1 tsp lemon juice, rested 5 minutes)
      • 1/2 cup (120 ml) neutral oil (canola or vegetable)
      • 1/4 cup (57 g) unsalted butter, melted and cooled
      • 2 large eggs, room temperature
      • 2 tsp vanilla extract
      • 1 1/2 cups (about 225 g) fresh or frozen blueberries
      • 1 tbsp flour (for tossing the berries)
    • For the cream cheese ribbon:
      • 8 oz (226 g) cream cheese, softened
      • 1/3 cup (67 g) granulated sugar
      • 1 large egg yolk
      • 1 tsp vanilla extract
      • Pinch of salt
    • For the topping (optional but bakery-style):
      • 2 tbsp coarse sugar (turbinado or demerara)
      • 1/2 tsp lemon zest

    How to Make It

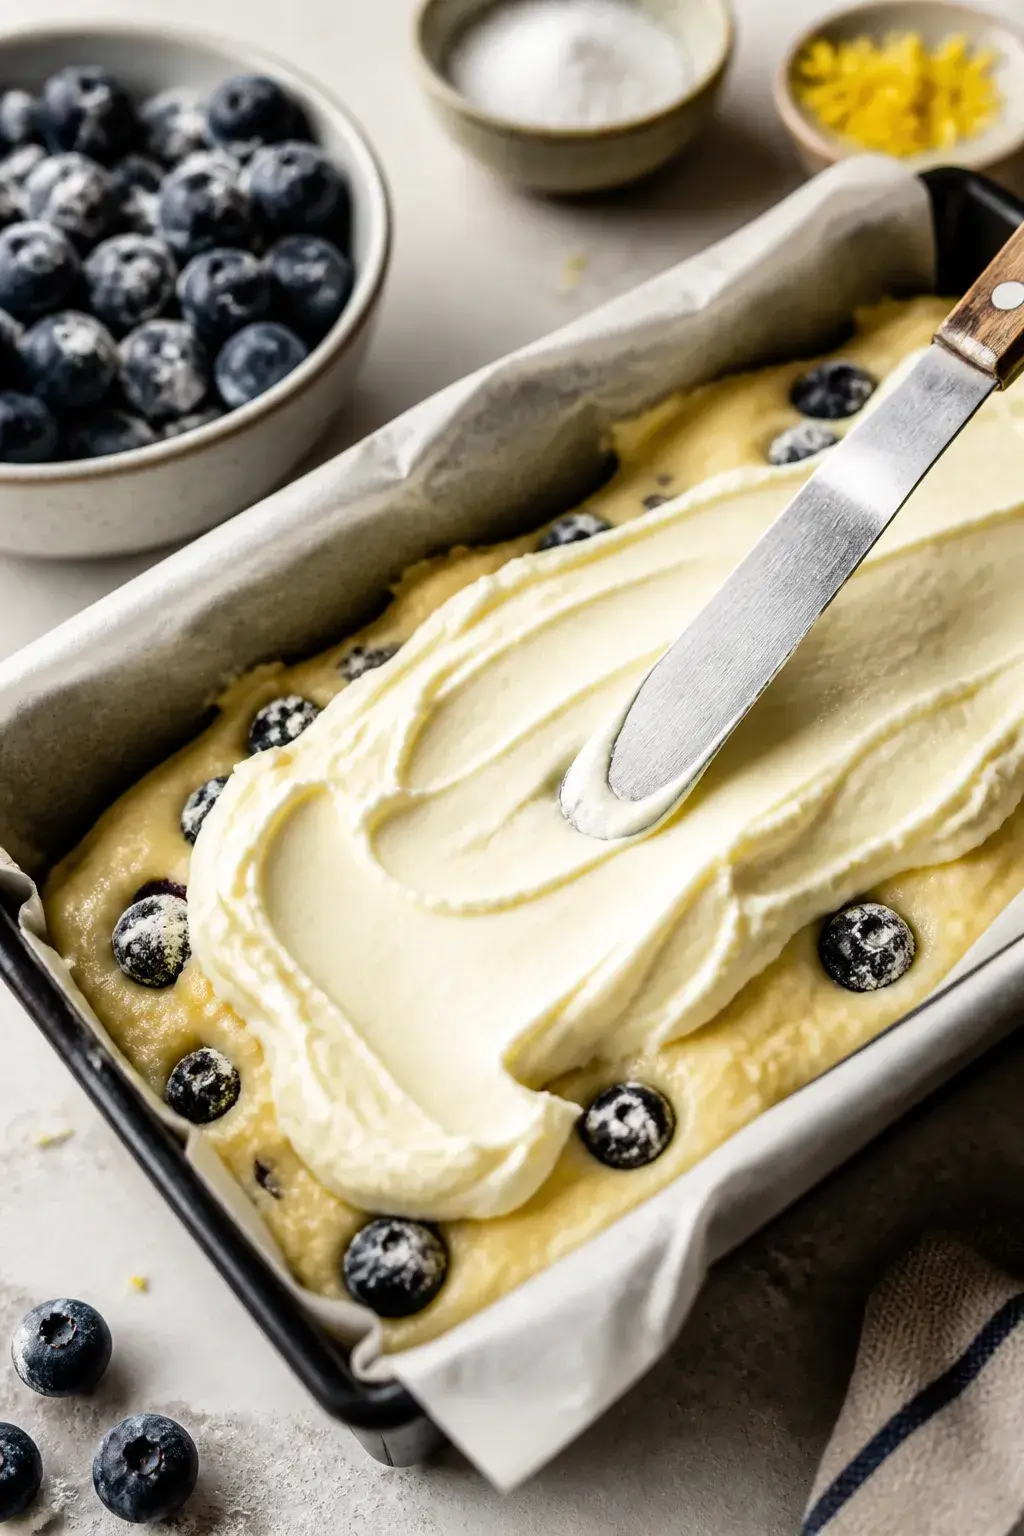
    Close-up 45-degree process shot of the layering stage: half the pale, thick muffin batter smoothed i
    1. Prep the pan. Heat oven to 350°F (175°C). Grease and line a 9-inch round cake pan or springform with parchment on the bottom.

      For a taller look, use a 9×5-inch loaf pan and extend bake time.

    2. Mix the dry ingredients. In a large bowl, whisk flour, sugar, baking powder, baking soda, and salt until evenly combined.
    3. Whisk the wet ingredients. In a separate bowl, whisk buttermilk, oil, melted butter, eggs, and vanilla until smooth.
    4. Combine gently. Pour the wet into the dry and fold with a spatula just until no flour streaks remain. Don’t overmix.
    5. Toss the berries. In a small bowl, toss blueberries with 1 tbsp flour. Fold 1 cup of the berries into the batter.

      Reserve the rest for the top.

    6. Make the cream cheese layer. Beat cream cheese, sugar, egg yolk, vanilla, and a pinch of salt until silky and smooth.
    7. Layer the cake. Spread half the batter into the pan. Dollop the cream cheese mixture over it and gently spread to the edges. Top with the remaining batter, smoothing lightly.
    8. Add berries and topping. Scatter the reserved blueberries over the top.

      Sprinkle with coarse sugar and lemon zest.

    9. Bake. Bake 45–55 minutes (round pan) or 60–70 minutes (loaf), until the top is golden and a tester inserted near the center comes out with moist crumbs, not wet batter. The cream cheese may cling slightly—that’s okay.
    10. Cool. Let cool in the pan 15 minutes, then lift or invert onto a rack, peel parchment, and cool completely before slicing.

    Keeping It Fresh

    • Room temp: Store covered for up to 2 days.
    • Refrigerate: Because of the cream cheese, it stays best in the fridge up to 5 days. Bring slices to room temp before serving for the best texture.
    • Freeze: Wrap slices well and freeze up to 2 months.

      Thaw overnight in the fridge or warm briefly in a low oven.

    Why This is Good for You

    • Blueberries bring antioxidants and fiber, adding natural sweetness and color.
    • Protein and calcium from cream cheese and eggs make this more satisfying than a standard cake.
    • Reasonable sugar for a bakery-style treat, with options to reduce slightly or use coarse sugar just on top for crunch.

    Pitfalls to Watch Out For

    • Overmixing the batter leads to a tough crumb. Fold gently and stop when combined.
    • Cold cream cheese creates lumps. Soften it fully for a smooth ribbon.
    • Underbaking the center is common with rich batters.

      Check multiple spots with a tester.

    • Wet bottoms with frozen berries. Don’t thaw; use them straight from the freezer and add 5–10 minutes to bake time.

    Variations You Can Try

    • Lemon poppy: Add 1 tbsp poppy seeds and 1 tbsp lemon zest to the batter.
    • Almond twist: Swap vanilla for 1 tsp almond extract and sprinkle sliced almonds on top.
    • Streusel top: Mix 3 tbsp cold butter, 1/3 cup flour, 1/3 cup brown sugar, and a pinch of cinnamon. Crumble over the batter before baking.
    • Whole-wheat boost: Replace 1/2 cup all-purpose flour with white whole wheat for a heartier crumb.
    • Mixed berries: Use a blend of blueberries and raspberries for a tangier bite.

    FAQ

    Can I make this gluten-free?

    Yes. Use a 1:1 gluten-free baking flour with xanthan gum.

    Let the batter rest 10 minutes before baking to hydrate, then bake as directed, adding a few minutes if needed.

    What if I don’t have buttermilk?

    Stir 1 teaspoon lemon juice or white vinegar into 1/2 cup milk and let it sit for 5 minutes. It won’t be as rich as real buttermilk, but it works well.

    Can I bake this as muffins?

    Yes. Line a 12-cup muffin tin.

    Fill cups halfway with batter, add a spoonful of cream cheese mixture, then top with more batter. Bake at 375°F (190°C) for 18–22 minutes.

    How do I know it’s done if there’s cream cheese inside?

    Insert a tester slightly off-center. You want moist crumbs from the cake portion.

    Some creamy residue is normal, but there shouldn’t be liquid batter.

    Can I cut the sugar?

    You can reduce the batter sugar to 3/4 cup without hurting texture. Keep the cream cheese layer as is so it stays silky.

    In Conclusion

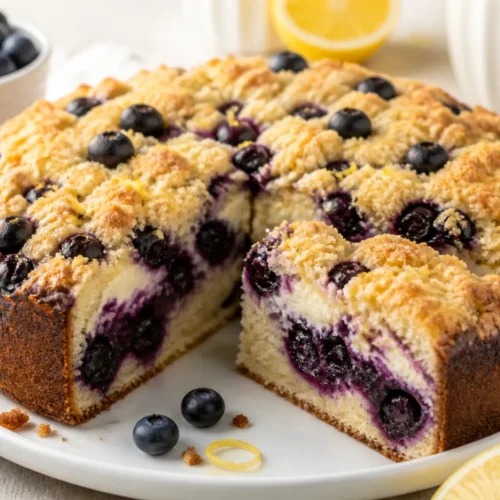
    This Blueberry Cream Cheese Muffin Cake brings bakery flair to your kitchen without complicated steps. It’s tender, tall, and studded with berries, with a creamy swirl that keeps every slice moist.

    Bake it for a weekend brunch, share it with friends, or stash a few slices in the freezer for a sweet pick-me-up anytime.

    Blueberry Cream Cheese Muffin Cake (Bakery Style) – Soft, Tall, and Packed With Berries

    Prep Time 15 minutes
    Cook Time 30 minutes
    Total Time 45 minutes
    Servings 12 servings

    Ingredients
      

    • For the muffin cake batter: 2 cups (250 g) all-purpose flour
    • 1 cup (200 g) granulated sugar
    • 2 tsp baking powder
    • 1/2 tsp baking soda
    • 1/2 tsp fine salt
    • 1/2 cup (120 ml) buttermilk (or milk + 1 tsp lemon juice, rested 5 minutes)
    • 1/2 cup (120 ml) neutral oil (canola or vegetable)
    • 1/4 cup (57 g) unsalted butter, melted and cooled
    • 2 large eggs, room temperature
    • 2 tsp vanilla extract
    • 1 1/2 cups (about 225 g) fresh or frozen blueberries
    • 1 tbsp flour (for tossing the berries)
    • For the cream cheese ribbon: 8 oz (226 g) cream cheese, softened
    • 1/3 cup (67 g) granulated sugar
    • 1 large egg yolk
    • 1 tsp vanilla extract
    • Pinch of salt
    • For the topping (optional but bakery-style): 2 tbsp coarse sugar (turbinado or demerara)
    • 1/2 tsp lemon zest

    Instructions
     

    • Prep the pan. Heat oven to 350°F (175°C). Grease and line a 9-inch round cake pan or springform with parchment on the bottom. For a taller look, use a 9×5-inch loaf pan and extend bake time.
    • Mix the dry ingredients. In a large bowl, whisk flour, sugar, baking powder, baking soda, and salt until evenly combined.
    • Whisk the wet ingredients. In a separate bowl, whisk buttermilk, oil, melted butter, eggs, and vanilla until smooth.
    • Combine gently. Pour the wet into the dry and fold with a spatula just until no flour streaks remain. Don’t overmix.
    • Toss the berries. In a small bowl, toss blueberries with 1 tbsp flour. Fold 1 cup of the berries into the batter. Reserve the rest for the top.
    • Make the cream cheese layer. Beat cream cheese, sugar, egg yolk, vanilla, and a pinch of salt until silky and smooth.
    • Layer the cake. Spread half the batter into the pan. Dollop the cream cheese mixture over it and gently spread to the edges. Top with the remaining batter, smoothing lightly.
    • Add berries and topping. Scatter the reserved blueberries over the top. Sprinkle with coarse sugar and lemon zest.
    • Bake. Bake 45–55 minutes (round pan) or 60–70 minutes (loaf), until the top is golden and a tester inserted near the center comes out with moist crumbs, not wet batter. The cream cheese may cling slightly—that’s okay.
    • Cool. Let cool in the pan 15 minutes, then lift or invert onto a rack, peel parchment, and cool completely before slicing.
  • High Protein Pumpkin Whipped Cottage Cheese Breakfast Bowl | Easy Fall Recipe – Cozy, Creamy, and Satisfying

    High Protein Pumpkin Whipped Cottage Cheese Breakfast Bowl | Easy Fall Recipe – Cozy, Creamy, and Satisfying

    This high-protein pumpkin whipped cottage cheese breakfast bowl is the fall breakfast you’ll actually look forward to. It’s creamy, lightly sweet, and tastes like pumpkin pie meets cheesecake—without the sugar crash. You only need a few simple ingredients and a blender or food processor.

    It comes together in minutes and keeps you full for hours. Make it as a weekday breakfast, a post-workout snack, or even a healthy dessert.

    What Makes This Special

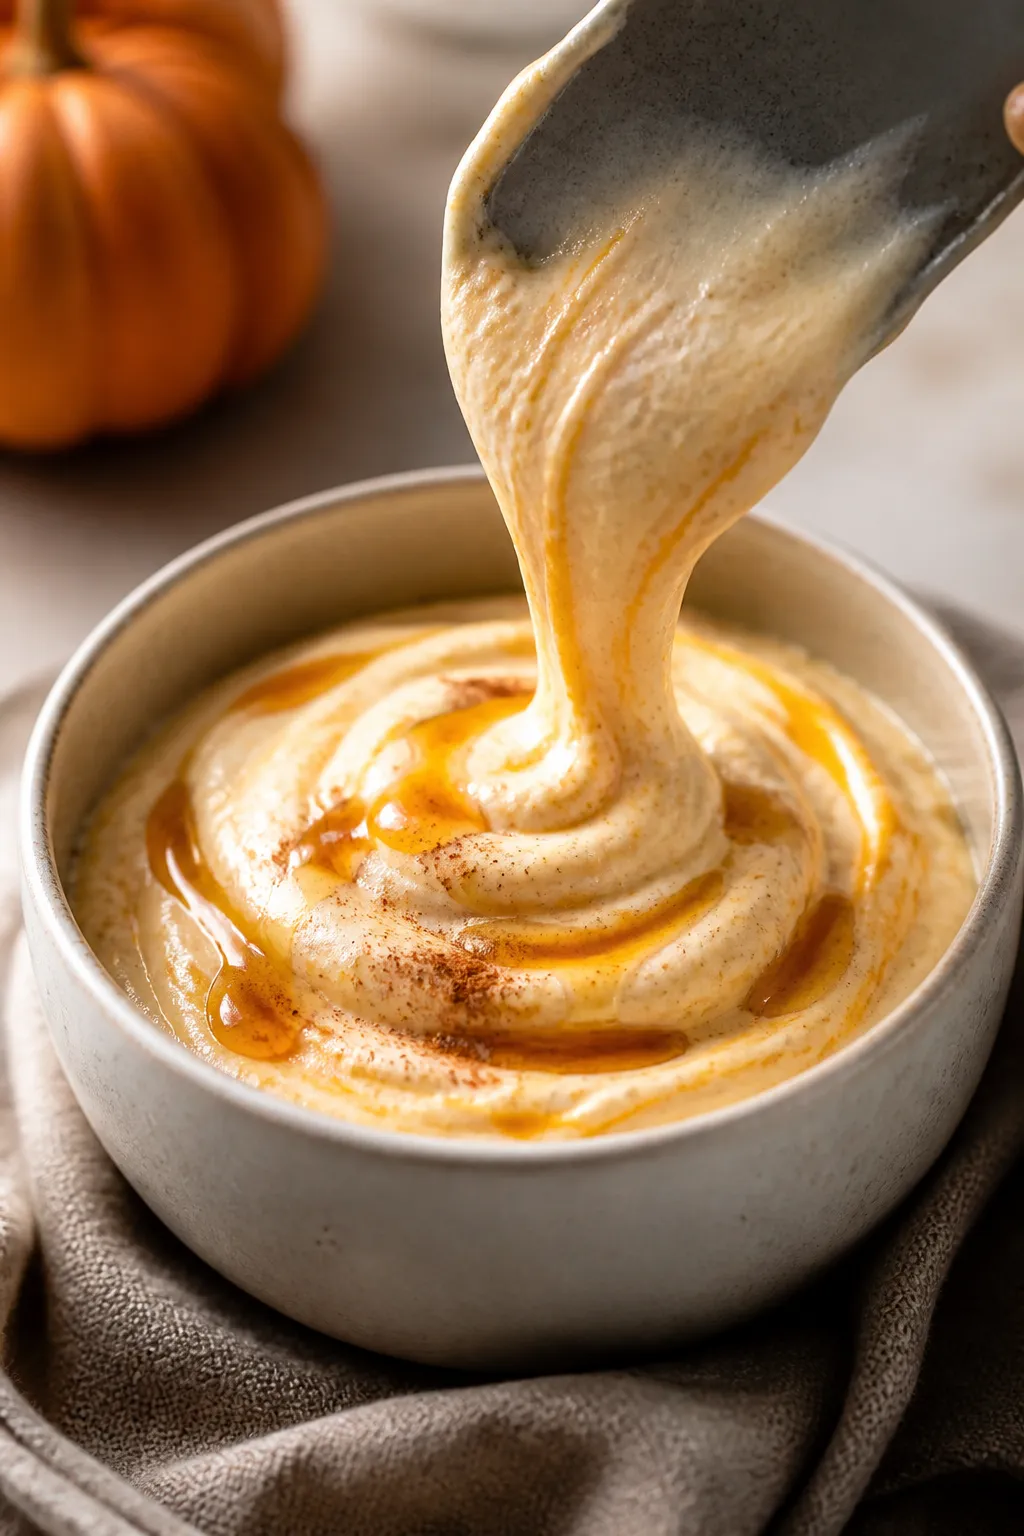
    Cooking process close-up: Silky pumpkin whipped cottage cheese streaming off a blender spatula into
    • Protein-packed and filling: Cottage cheese blends into a silky base with about 20–30g of protein, depending on your brand and add-ins.
    • Real pumpkin flavor: Made with pure pumpkin purée and warm spices for that classic autumn taste.
    • Balanced and customizable: Sweeten to your liking, choose your milk, and top it however you want.
    • Quick and convenient: Ready in under 10 minutes with minimal cleanup.
    • Dessert vibes, breakfast nutrients: Creamy texture without heavy cream or tons of sugar.

    Ingredients

    • 1 cup cottage cheese (2% or 4% for the creamiest texture; use lactose-free if needed)
    • 1/3 cup pumpkin purée (not pumpkin pie filling)
    • 1–2 tablespoons maple syrup or honey (adjust to taste; or use a zero-calorie sweetener)
    • 1 teaspoon vanilla extract
    • 1/2–1 teaspoon pumpkin pie spice (or 1/2 tsp cinnamon + pinch nutmeg + pinch ginger + tiny pinch clove)
    • Pinch of salt (enhances flavor)
    • 2–3 tablespoons milk (dairy or non-dairy) to loosen, as needed
    • Optional protein boost: 1 scoop vanilla or unflavored protein powder
    • Optional toppings: sliced banana, chopped pecans or walnuts, granola, chia seeds, hemp hearts, cacao nibs, a drizzle of almond butter, or extra cinnamon

    Step-by-Step Instructions

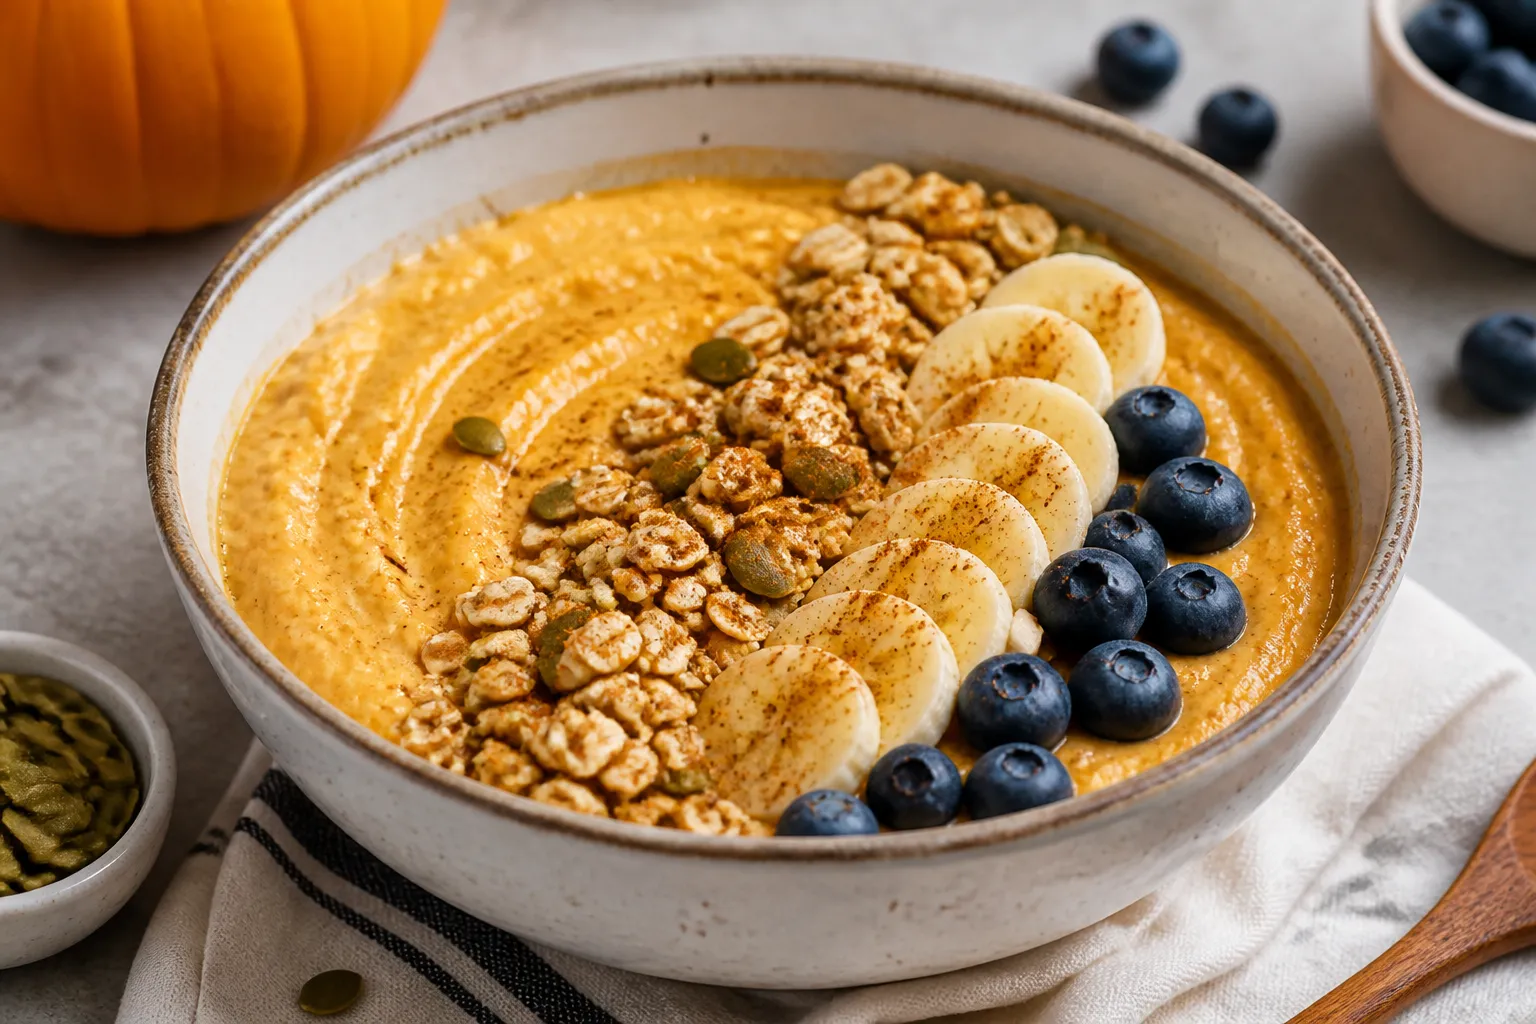
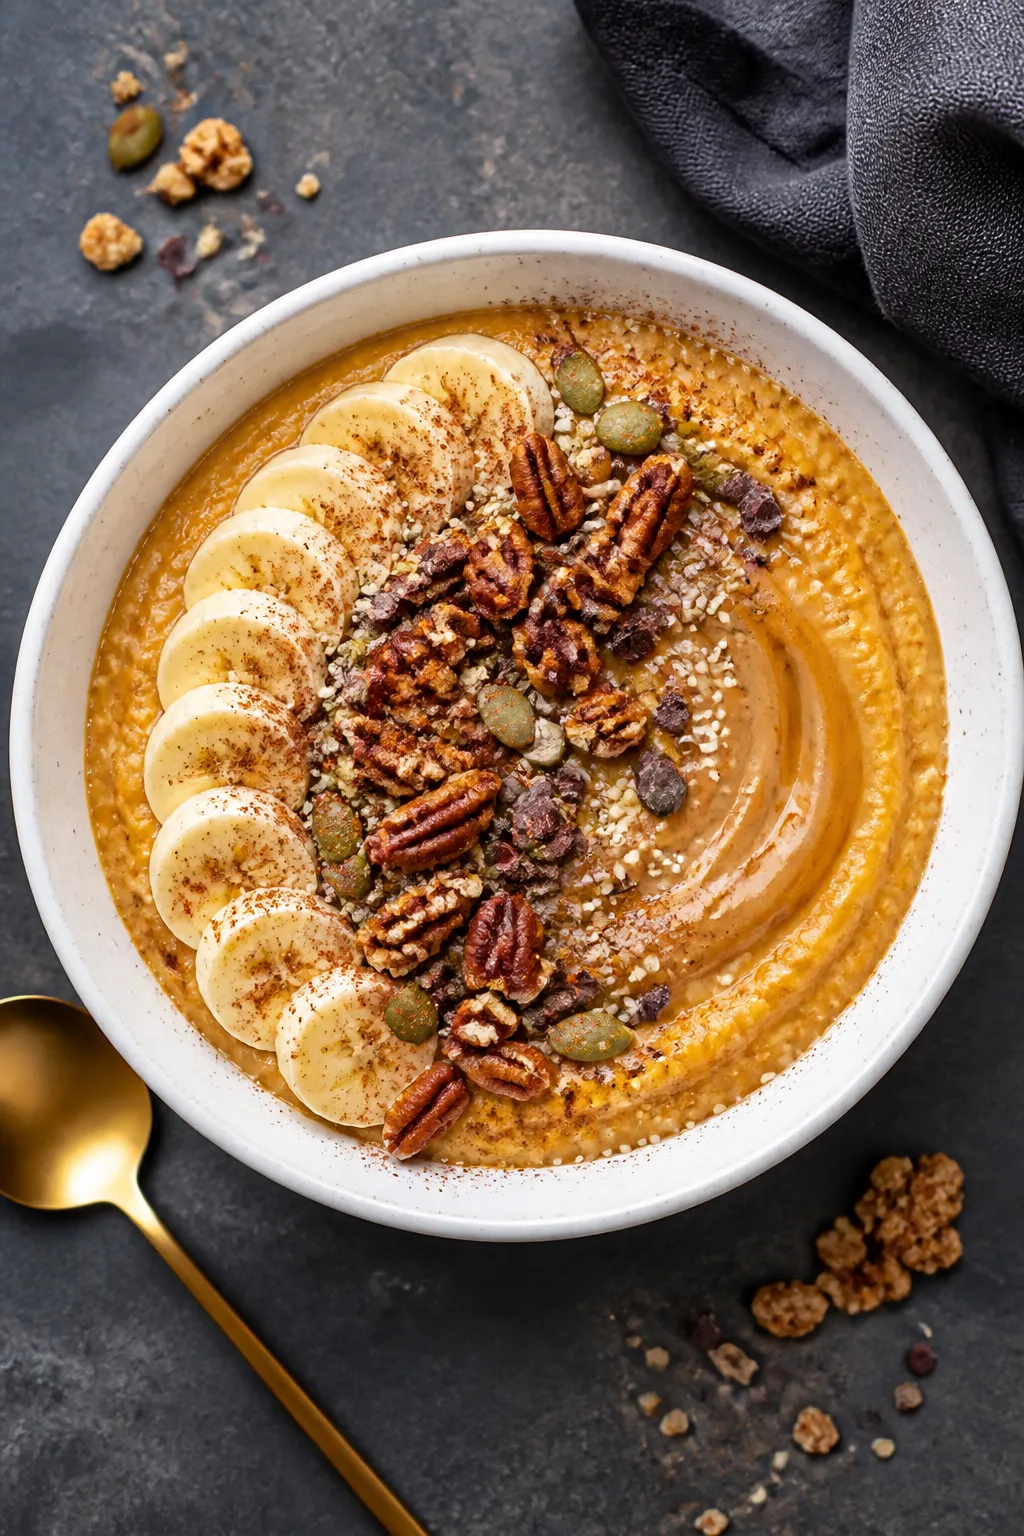
    Final plated overhead: Tasty top-view of a High Protein Pumpkin Whipped Cottage Cheese Breakfast Bow
    1. Blend the base: Add cottage cheese, pumpkin purée, maple syrup, vanilla, pumpkin spice, and a pinch of salt to a blender or food processor.
    2. Adjust texture: Blend until completely smooth and airy, 30–60 seconds. If it’s too thick, add milk 1 tablespoon at a time until it’s creamy and spoonable.
    3. Boost protein (optional): Add protein powder and blend again.

      If the mixture thickens, splash in a bit more milk.

    4. Taste and tweak: Add more spice or sweetener if you like. A tiny extra pinch of salt can make the flavors pop.
    5. Assemble the bowl: Spoon into a bowl and add your favorite toppings. For crunch, go with granola or nuts.

      For extra creaminess, a swirl of nut butter is great.

    6. Serve: Enjoy immediately while it’s cool and fluffy.

    Keeping It Fresh

    • Storage: Refrigerate in an airtight container for up to 2 days. Give it a quick stir before serving.
    • Meal prep: Make the whipped base ahead and add toppings right before eating so they stay crunchy.
    • Freezing: Not recommended. The texture can separate after thawing.

    Why This is Good for You

    • High-quality protein: Supports satiety, muscle repair, and steady energy.
    • Vitamin-packed pumpkin: Rich in vitamin A and fiber for eye health and digestion.
    • Balanced macros: Carbs from pumpkin and toppings, protein from cottage cheese, and healthy fats from nuts or seeds keep blood sugar steadier.
    • Lower sugar option: You control the sweetness, so it can fit a wide range of goals.

    Pitfalls to Watch Out For

    • Using pumpkin pie filling: It’s pre-sweetened and spiced, which can make the bowl too sweet and throw off the flavor.
    • Under-blending: If you don’t blend long enough, the texture stays curdy.

      Blend until silky smooth.

    • Too much protein powder: Can make it chalky. Start with half a scoop and adjust.
    • Over-thinning: Add milk slowly so it doesn’t turn soupy.
    • Skipping the salt: A small pinch rounds out the sweetness and spice.

    Alternatives

    • Greek yogurt swap: Use thick Greek yogurt instead of cottage cheese. It’s tangier and slightly less creamy, but still delicious.
    • Dairy-free: Use a dairy-free cottage cheese or thick coconut yogurt and a plant-based protein powder.
    • Sweetener-free: Blend in a ripe banana or a few soaked dates for natural sweetness.
    • Spice switch: Try chai spice or extra cinnamon if you don’t have pumpkin pie spice.
    • Crunch ideas: Toasted pecans, pumpkin seeds, or a small handful of high-fiber granola.

    FAQ

    Can I make this without a blender?

    Yes.

    Use an immersion blender or whip the cottage cheese with a hand mixer until smooth. If you only have a whisk, choose small-curd cottage cheese and whisk vigorously; it won’t be as silky, but it will still taste great.

    What fat percentage of cottage cheese works best?

    2% or 4% gives the creamiest, cheesecake-like texture. Fat-free blends up fine but tastes less rich.

    Add a teaspoon of nut butter or a splash of cream if using fat-free.

    How much protein is in one bowl?

    It varies by brand and add-ins, but expect roughly 20–30 grams from the cottage cheese alone. Adding a half to full scoop of protein powder can raise it to 30–40 grams.

    Can I serve it warm?

    You can, but heat gently. Warm on low in a saucepan, stirring, just until slightly warmed through.

    Avoid boiling, which can make the dairy separate.

    What toppings pair best?

    Chopped pecans or walnuts, pumpkin seeds, a drizzle of almond or peanut butter, granola, sliced banana, or a sprinkle of cacao nibs. Extra cinnamon or a dusting of pumpkin spice ties it all together.

    In Conclusion

    This high protein pumpkin whipped cottage cheese bowl is a cozy, quick, and seriously satisfying fall recipe. It blends creamy texture with warm spice, smart nutrition, and easy customization.

    Keep it simple for busy mornings or dress it up with crunchy toppings and a protein boost. Either way, you get a breakfast that tastes like dessert and fuels your day.

    High Protein Pumpkin Whipped Cottage Cheese Breakfast Bowl | Easy Fall Recipe – Cozy, Creamy, and Satisfying

    Prep Time 5 minutes
    Total Time 5 minutes
    Servings 1 servings

    Ingredients
      

    • 1 cup cottage cheese (2% or 4% for the creamiest texture; use lactose-free if needed)
    • 1/3 cup pumpkin purée (not pumpkin pie filling)
    • 1–2 tablespoons maple syrup or honey (adjust to taste; or use a zero-calorie sweetener)
    • 1 teaspoon vanilla extract
    • 1/2–1 teaspoon pumpkin pie spice (or 1/2 tsp cinnamon + pinch nutmeg + pinch ginger + tiny pinch clove)
    • Pinch of salt (enhances flavor)
    • 2–3 tablespoons milk (dairy or non-dairy) to loosen, as needed
    • Optional protein boost: 1 scoop vanilla or unflavored protein powder
    • Optional toppings: sliced banana, chopped pecans or walnuts, granola, chia seeds, hemp hearts, cacao nibs, a drizzle of almond butter, or extra cinnamon

    Instructions
     

    • Blend the base: Add cottage cheese, pumpkin purée, maple syrup, vanilla, pumpkin spice, and a pinch of salt to a blender or food processor.
    • Adjust texture: Blend until completely smooth and airy, 30–60 seconds. If it’s too thick, add milk 1 tablespoon at a time until it’s creamy and spoonable.
    • Boost protein (optional): Add protein powder and blend again. If the mixture thickens, splash in a bit more milk.
    • Taste and tweak: Add more spice or sweetener if you like. A tiny extra pinch of salt can make the flavors pop.
    • Assemble the bowl: Spoon into a bowl and add your favorite toppings. For crunch, go with granola or nuts. For extra creaminess, a swirl of nut butter is great.
    • Serve: Enjoy immediately while it’s cool and fluffy.
  • Chocolate Chip Cookie Cheesecake Bars – Creamy, Gooey, and Crowd-Pleasing

    Chocolate Chip Cookie Cheesecake Bars – Creamy, Gooey, and Crowd-Pleasing

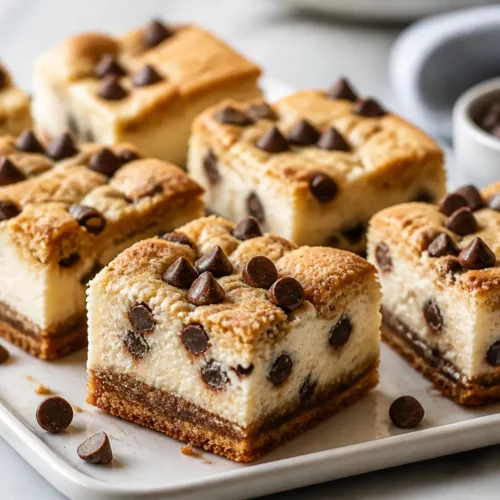
    These bars bring together two classics: rich cheesecake and gooey chocolate chip cookies. They’re simple to make, easy to slice, and perfect for sharing. The crust and topping are made from the same cookie dough, so you get buttery edges with a creamy center.

    Whether you’re baking for a party or just because, this recipe hits that sweet spot between nostalgic and impressive.

    What Makes This Special

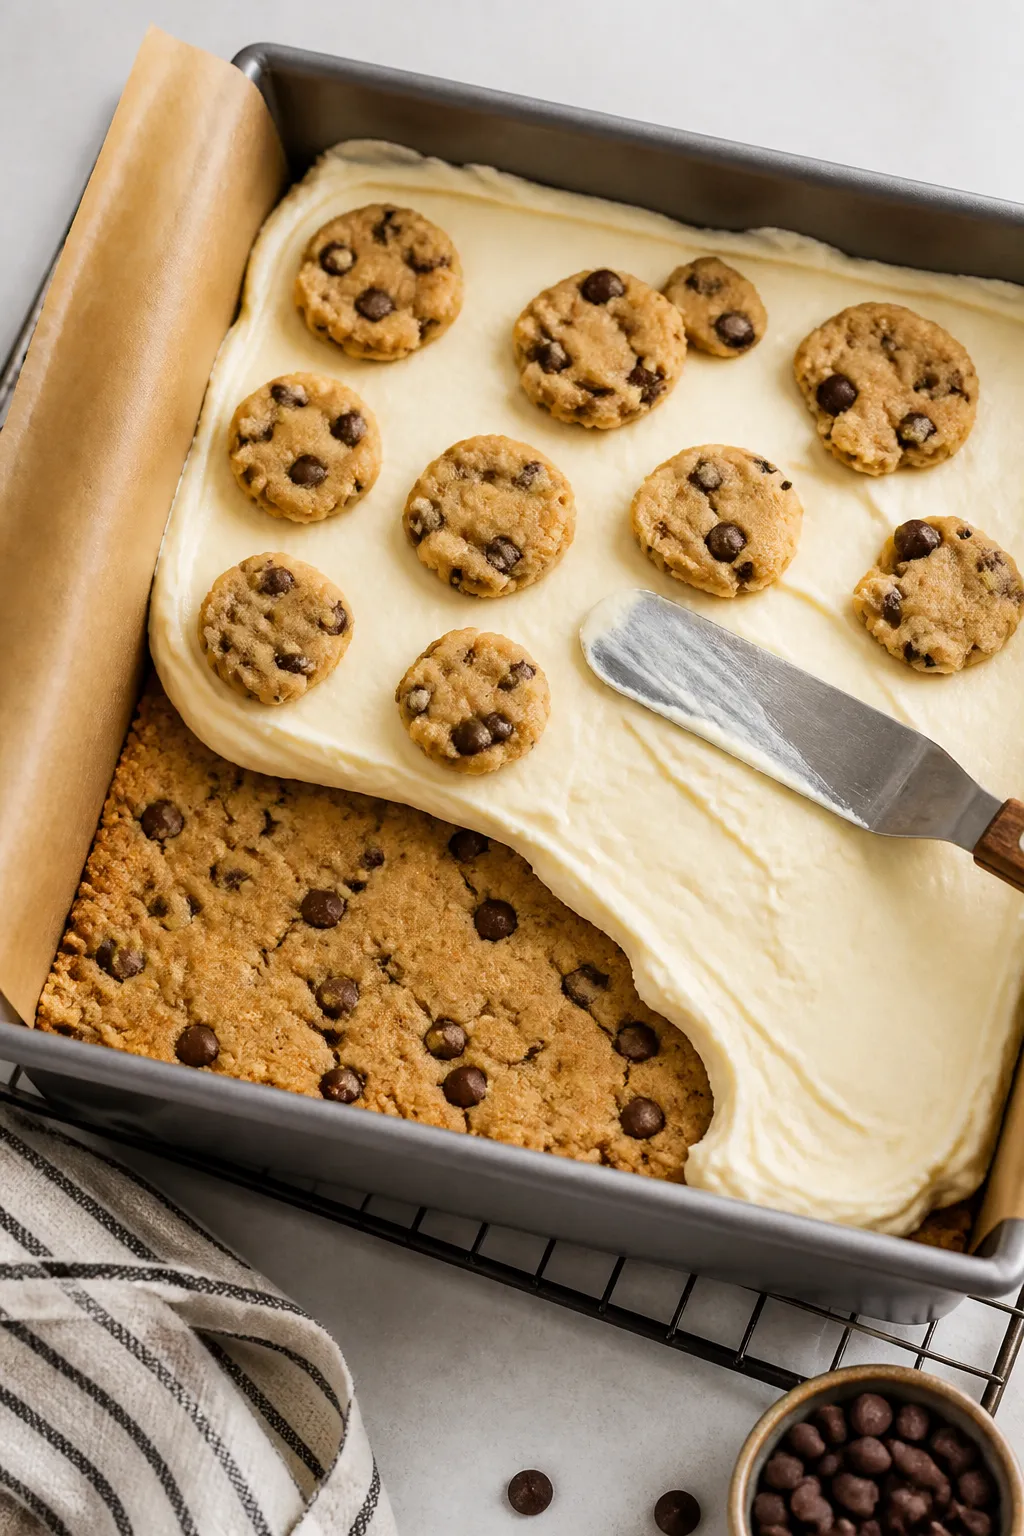
    Cooking process close-up: Overhead shot of an 8x8 pan lined with parchment showing assembly of choco

    Chocolate chip cookie cheesecake bars are the best of both worlds. You get the comfort of a warm cookie and the cool, silky texture of cheesecake in one bite. They’re also make-ahead friendly, which means less stress before serving.

    And unlike a full cheesecake, there’s no fuss with water baths or cracked tops—just simple, reliable results.

    What You’ll Need

    • For the Cookie Dough:
      • 1/2 cup (1 stick) unsalted butter, softened
      • 1/2 cup granulated sugar
      • 1/2 cup packed light brown sugar
      • 1 large egg
      • 1 teaspoon vanilla extract
      • 1 1/4 cups all-purpose flour
      • 1/2 teaspoon baking soda
      • 1/4 teaspoon fine salt
      • 1 cup semisweet chocolate chips
    • For the Cheesecake Filling:
      • 16 ounces cream cheese, softened
      • 1/3 cup granulated sugar
      • 1/4 cup sour cream (or plain Greek yogurt)
      • 1 large egg
      • 1 teaspoon vanilla extract
      • Pinch of salt
    • Equipment:
      • 8×8-inch baking pan
      • Parchment paper
      • Electric mixer or sturdy whisk
      • Spatula

    Step-by-Step Instructions

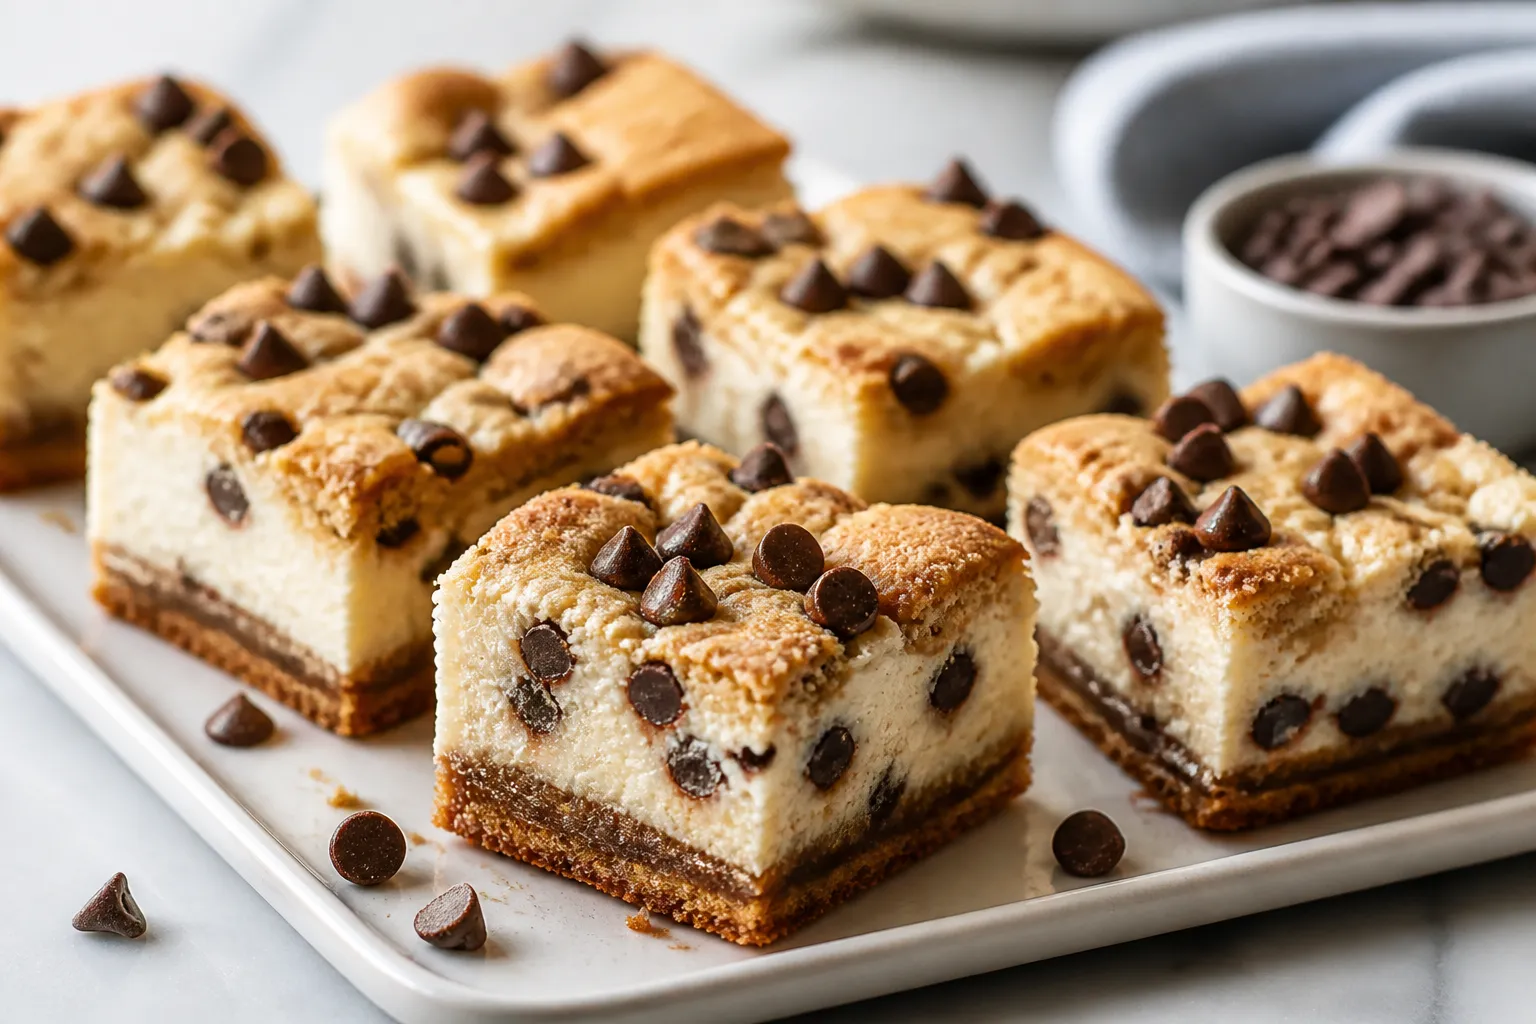
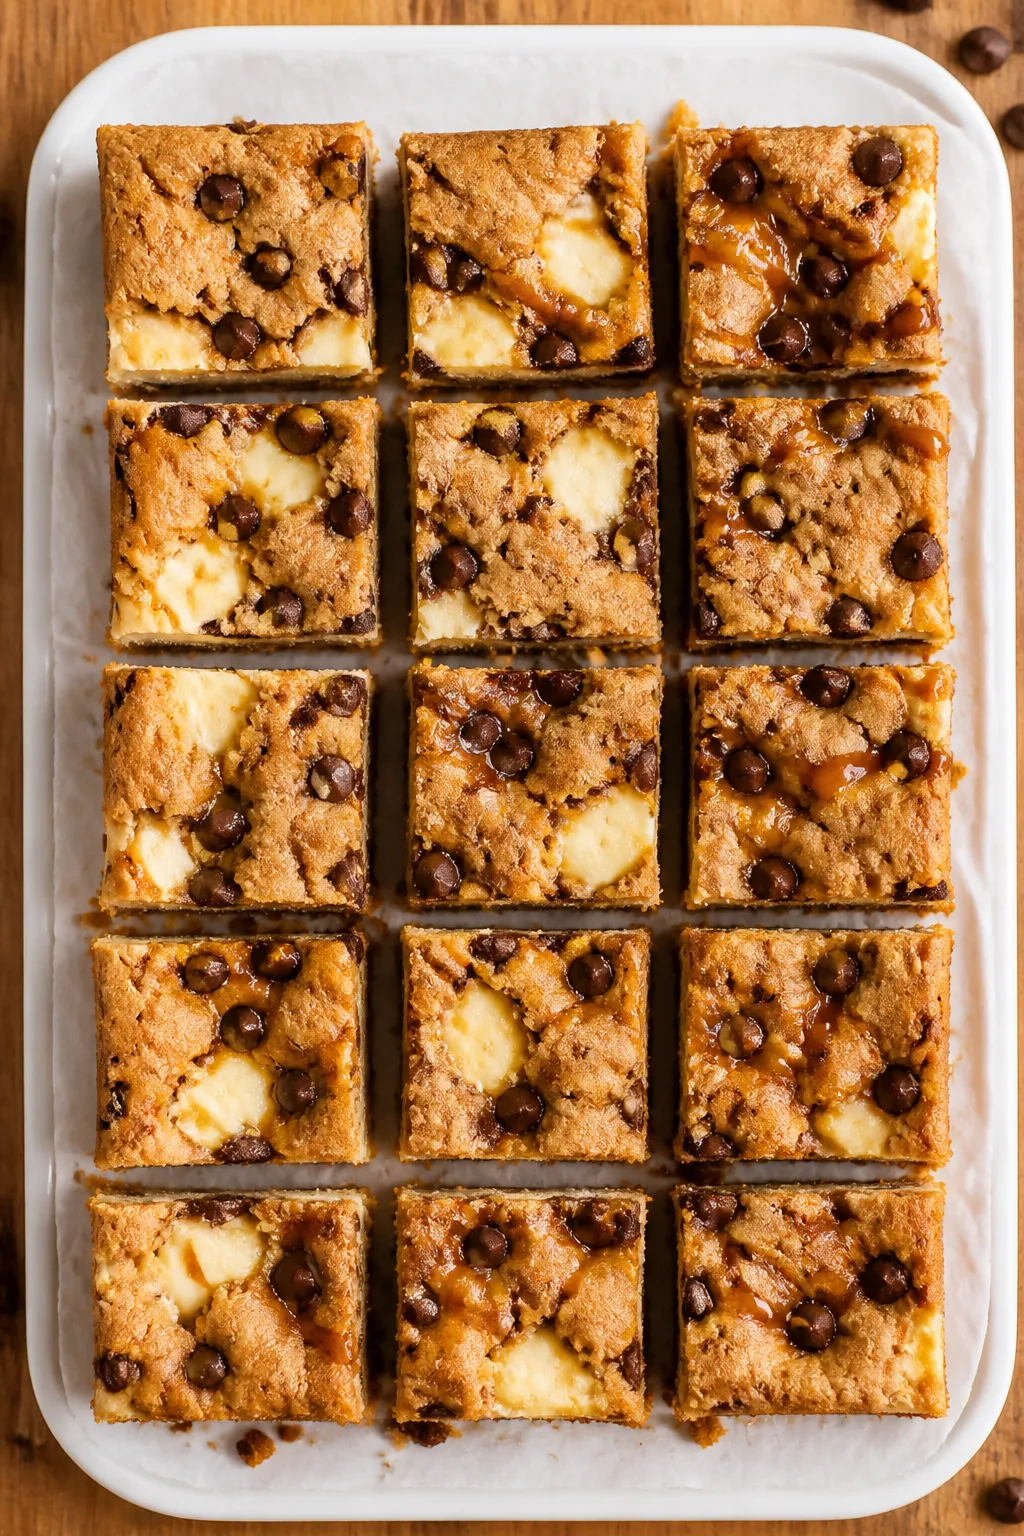
    Final dish top view: Tasty overhead shot of neatly sliced chocolate chip cookie cheesecake bars arra
    1. Prep the pan and oven. Heat the oven to 350°F (175°C). Line an 8×8 pan with parchment, leaving overhang for easy lifting.
    2. Make the cookie dough.

      Beat butter, granulated sugar, and brown sugar until creamy. Mix in the egg and vanilla. Add flour, baking soda, and salt.

      Stir until just combined, then fold in chocolate chips.

    3. Form the crust. Press about 2/3 of the dough evenly into the lined pan. Reserve the rest for topping.
    4. Make the cheesecake layer.

      Beat cream cheese until smooth. Add sugar, sour cream, egg, vanilla, and a pinch of salt. Mix until creamy with no lumps.

    5. Assemble.

      Pour the cheesecake batter over the crust and smooth the top. Crumble or flatten small pieces of the remaining cookie dough and scatter them evenly over the cheesecake layer.

    6. Bake. Bake for 28–34 minutes, until the cookie topping is golden and the center looks set but slightly jiggly.
    7. Cool and chill.

      Let the pan cool to room temperature. Refrigerate for at least 3 hours (overnight is best) before slicing.

    8. Slice and serve. Lift out with the parchment, slice into bars, and enjoy chilled or slightly cool.

    How to Store

    Keep the bars covered in the fridge for up to 5 days.

    For longer storage, freeze tightly wrapped bars for up to 2 months. Thaw in the refrigerator overnight for the best texture. Avoid leaving them at room temperature for more than 2 hours.

    Benefits of This Recipe

    • No water bath: Cheesecake flavor without the classic fuss.
    • Foolproof assembly: One dough works as both crust and topping.
    • Great for sharing: Clean slices that travel well.
    • Customizable: Easy to switch up chips, add-ins, or flavors.

    What Not to Do

    • Don’t skip the chill time.

      Slicing too soon leads to messy bars and a runny center.

    • Don’t overbake. The center should have a slight wobble; it sets as it cools.
    • Don’t overmix the cheesecake. Too much air can cause cracks and a spongy texture.
    • Don’t press all the dough into the crust.

      You need some for the topping.

    Alternatives

    • Flavor swaps: Use dark chocolate chips, white chocolate chips, or a mix. Add a handful of chopped toasted pecans or walnuts to the dough.
    • Brown butter twist: Brown the butter for the cookie dough and let it cool before mixing for a deeper, nutty flavor.
    • Gluten-free: Use a cup-for-cup gluten-free flour blend formulated for baking.
    • Lighter option: Use Neufchâtel (1/3 less fat) cream cheese and Greek yogurt, understanding the texture will be slightly softer.
    • Pan size: Double the recipe for a 9×13-inch pan and add a few extra minutes to the bake time.

    FAQ

    Can I use store-bought cookie dough?

    Yes. Use about 16–18 ounces of prepared chocolate chip cookie dough.

    Press two-thirds in the pan and crumble the rest on top. Keep the cheesecake layer the same.

    Why is my cheesecake layer lumpy?

    Your cream cheese was likely too cold. For a smooth filling, make sure it’s softened to room temperature and beat it well before adding other ingredients.

    How do I know when it’s done?

    The topping should be golden, and the center should jiggle slightly when you nudge the pan.

    If it’s sloshing, bake a few minutes longer.

    Can I add caramel or peanut butter?

    Absolutely. Drizzle 2–3 tablespoons of caramel or warmed peanut butter over the cheesecake layer before adding the cookie topping, then bake as directed.

    What’s the best way to get clean slices?

    Chill fully, then use a sharp knife. Wipe the blade between cuts and cut straight down rather than sawing.

    In Conclusion

    Chocolate chip cookie cheesecake bars are a guaranteed hit with minimal effort.

    They’re creamy, chocolatey, and easy to prep ahead. Keep this recipe in your back pocket for birthdays, potlucks, or a weekend treat—you’ll make it once and it’ll become a go-to favorite.

    Chocolate Chip Cookie Cheesecake Bars – Creamy, Gooey, and Crowd-Pleasing

    Prep Time 20 minutes
    Cook Time 35 minutes
    Total Time 55 minutes
    Servings 16 servings

    Ingredients
      

    • For the Cookie Dough: 1/2 cup (1 stick) unsalted butter, softened
    • 1/2 cup granulated sugar
    • 1/2 cup packed light brown sugar
    • 1 large egg
    • 1 teaspoon vanilla extract
    • 1 1/4 cups all-purpose flour
    • 1/2 teaspoon baking soda
    • 1/4 teaspoon fine salt
    • 1 cup semisweet chocolate chips
    • For the Cheesecake Filling: 16 ounces cream cheese, softened
    • 1/3 cup granulated sugar
    • 1/4 cup sour cream (or plain Greek yogurt)
    • 1 large egg
    • 1 teaspoon vanilla extract
    • Pinch of salt
    • Equipment: 8×8-inch baking pan
    • Parchment paper
    • Electric mixer or sturdy whisk
    • Spatula

    Instructions
     

    • Prep the pan and oven. Heat the oven to 350°F (175°C). Line an 8×8 pan with parchment, leaving overhang for easy lifting.
    • Make the cookie dough. Beat butter, granulated sugar, and brown sugar until creamy. Mix in the egg and vanilla. Add flour, baking soda, and salt. Stir until just combined, then fold in chocolate chips.
    • Form the crust. Press about 2/3 of the dough evenly into the lined pan. Reserve the rest for topping.
    • Make the cheesecake layer. Beat cream cheese until smooth. Add sugar, sour cream, egg, vanilla, and a pinch of salt. Mix until creamy with no lumps.
    • Assemble. Pour the cheesecake batter over the crust and smooth the top. Crumble or flatten small pieces of the remaining cookie dough and scatter them evenly over the cheesecake layer.
    • Bake. Bake for 28–34 minutes, until the cookie topping is golden and the center looks set but slightly jiggly.
    • Cool and chill. Let the pan cool to room temperature. Refrigerate for at least 3 hours (overnight is best) before slicing.
    • Slice and serve. Lift out with the parchment, slice into bars, and enjoy chilled or slightly cool.
  • Gooey Chocolate Earthquake Cake – A Fudgy, Crowd-Pleasing Dessert

    Gooey Chocolate Earthquake Cake – A Fudgy, Crowd-Pleasing Dessert

    This cake looks a little wild, but that’s the fun of it. A tender chocolate base, rich cream cheese swirls, and melty chocolate pockets make every bite a surprise. It’s the kind of dessert that doesn’t ask for perfection—just a big spoon and a sweet tooth.

    If you love brownies and cheesecake, this mash-up sits right in the middle. Easy to make, hard to resist, and even better the next day.

    What Makes This Special

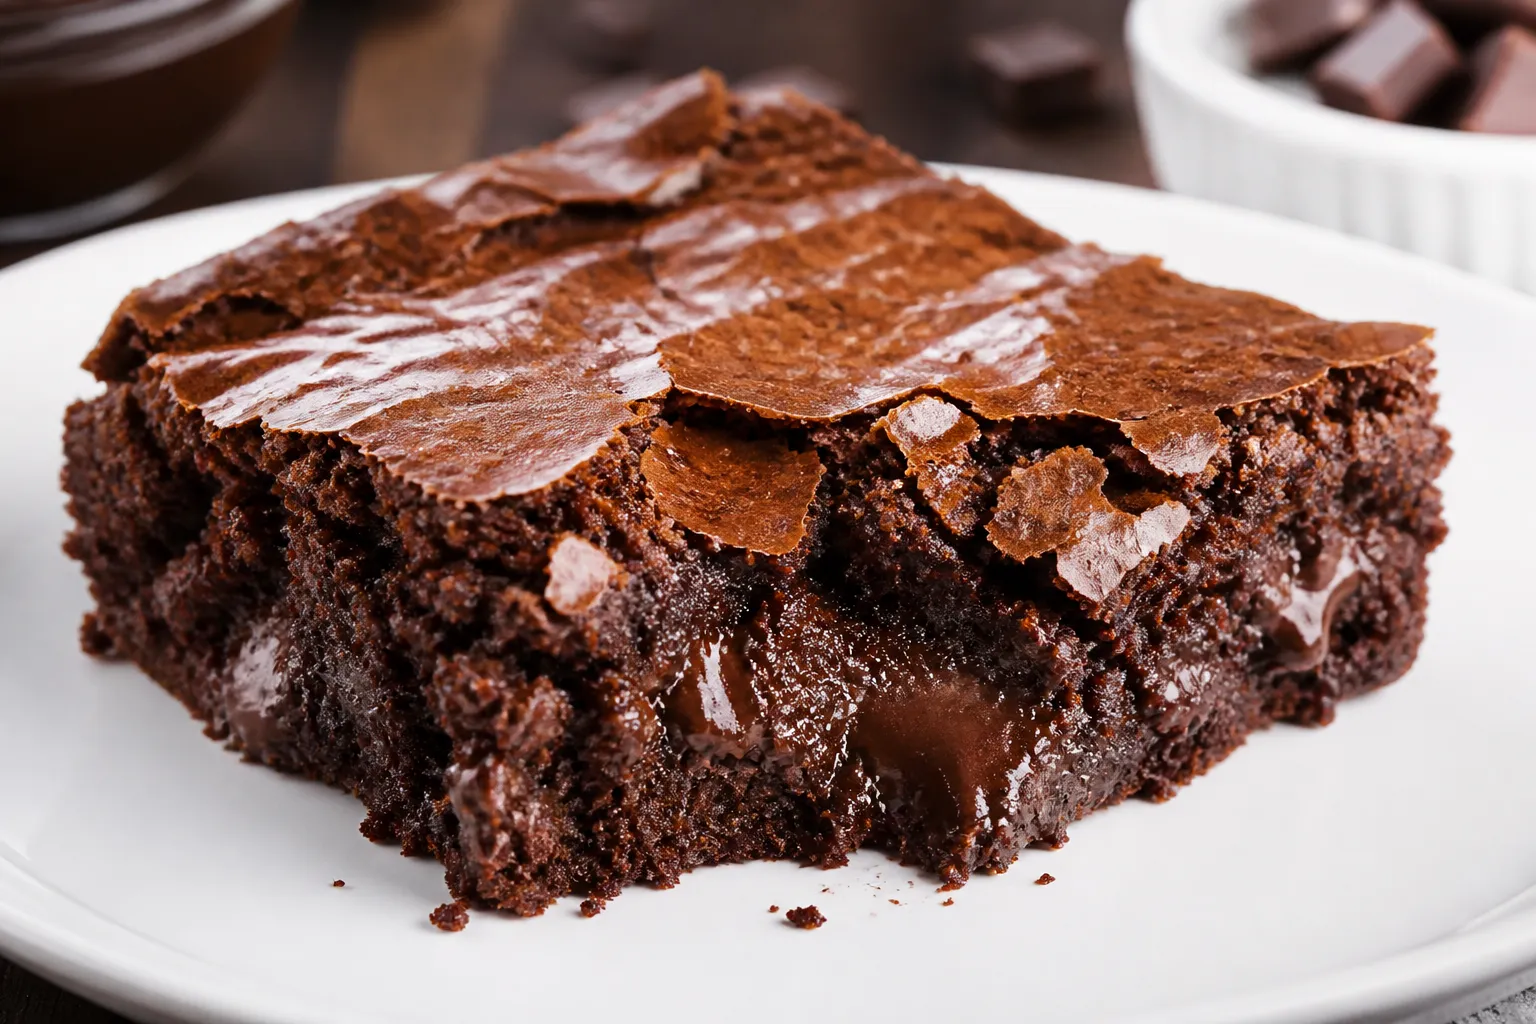
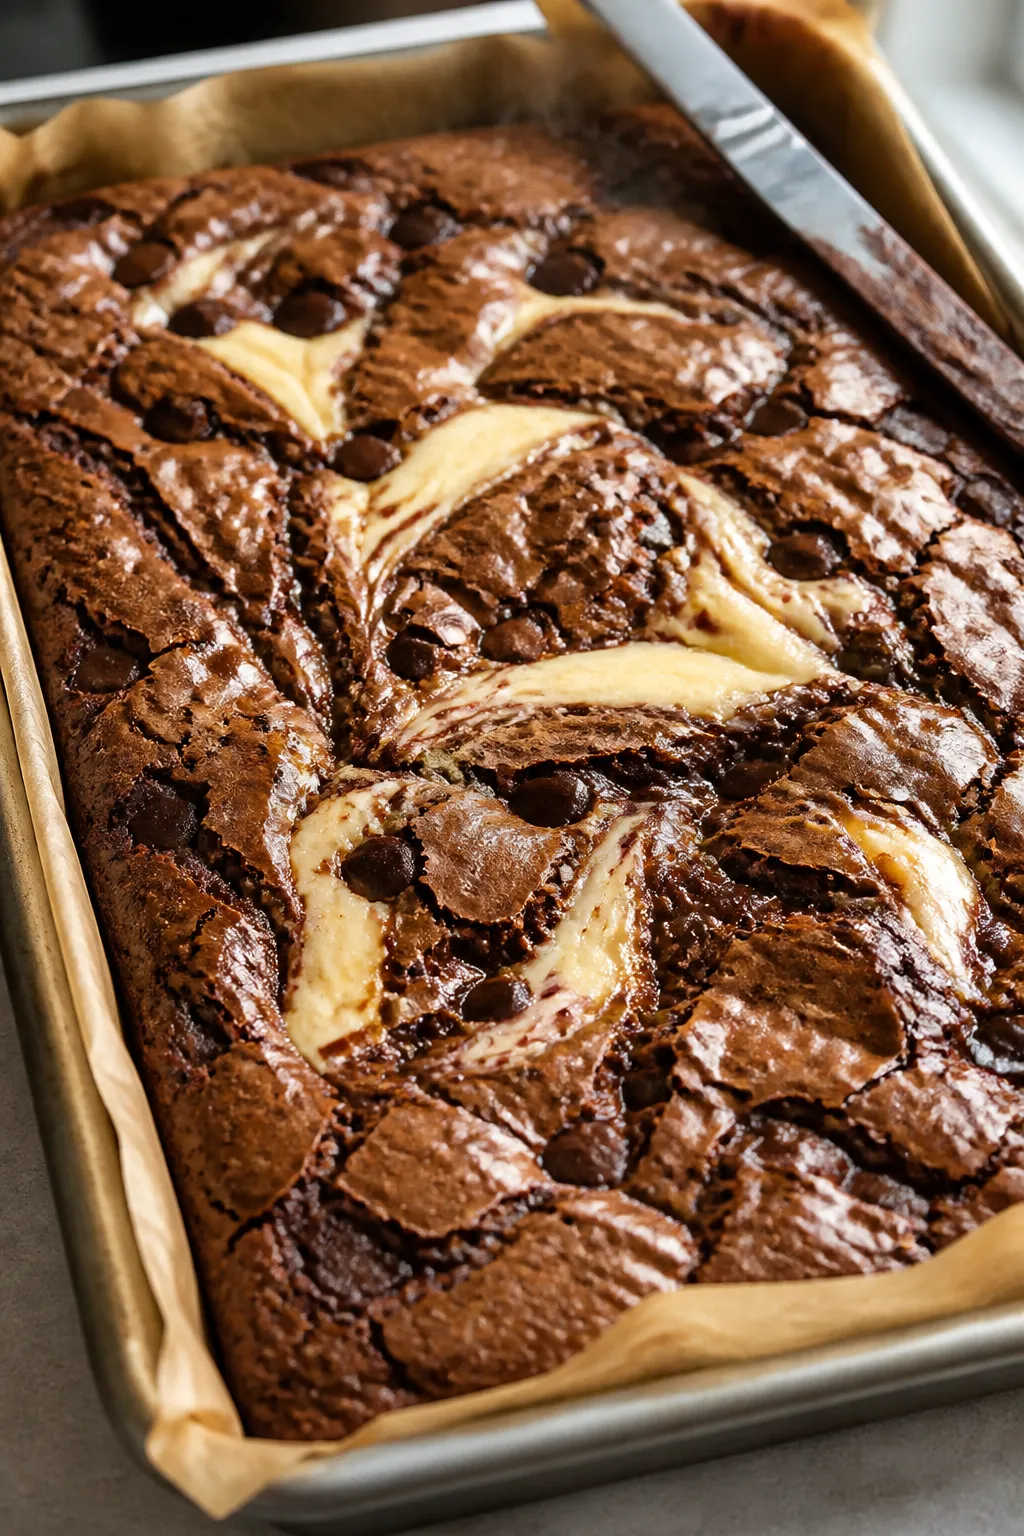
    Close-up detail, cooking process: A 9x13 pan of freshly baked Gooey Chocolate Earthquake Cake just o

    This cake earns its “earthquake” name from the dramatic cracks and swirls that appear as it bakes. The cream cheese mixture sinks into the chocolate batter, creating ribbons of tangy sweetness and gooey texture.

    It uses pantry-friendly shortcuts, but tastes like a bakery treat. No frosting needed—the top sets into a crackly, craggy finish that’s picture-perfect on its own.

    Shopping List

    • Chocolate cake mix (15.25 oz box), plus ingredients listed on the box (usually eggs, oil, and water)
    • Cream cheese (8 oz), softened
    • Unsalted butter (1/2 cup or 1 stick), melted and slightly cooled
    • Powdered sugar (2 cups)
    • Vanilla extract (1 teaspoon)
    • Semi-sweet chocolate chips (1 cup)
    • Sweetened shredded coconut (1 cup, optional but classic)
    • Chopped pecans (3/4 cup, optional)
    • Pinch of salt
    • Nonstick spray or butter for the pan

    Step-by-Step Instructions

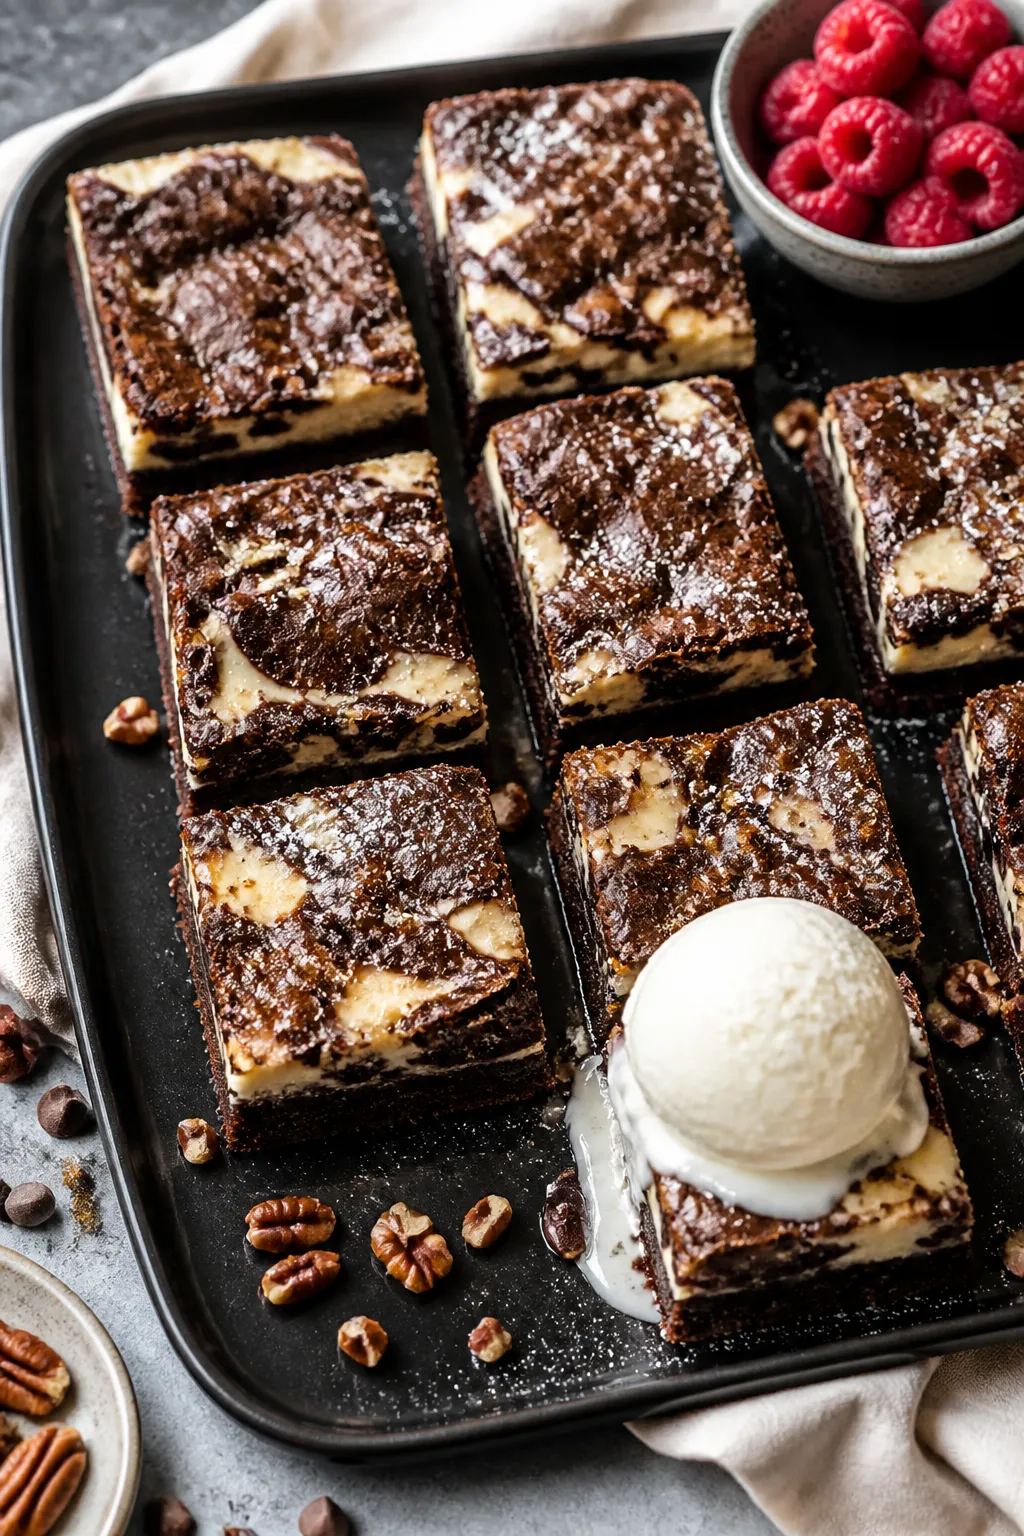
    Final dish, tasty top view: Overhead shot of neatly sliced squares of Gooey Chocolate Earthquake Cak
    1. Preheat and prep: Heat oven to 350°F (175°C). Grease a 9×13-inch baking pan and line with parchment for easy lifting.
    2. Layer the add-ins: If using coconut and pecans, scatter them evenly over the bottom of the pan. This creates a toasty, candy-bar-like base.
    3. Mix the cake batter: Prepare the chocolate cake mix according to the box directions.

      Pour the batter over the coconut and pecans, smoothing the top.

    4. Make the cream cheese mixture: In a bowl, beat softened cream cheese until smooth. Add melted butter, powdered sugar, vanilla, and a pinch of salt. Beat until thick and glossy.
    5. Marble the top: Dollop spoonfuls of the cream cheese mixture over the cake batter.

      Use a butter knife to swirl lightly. Don’t overmix—the dramatic streaks are the goal.

    6. Add chocolate chips: Sprinkle over the top. They’ll sink in slightly and melt into pockets of fudgy goodness.
    7. Bake: Bake 35–40 minutes, until the edges are set and the center still has a slight jiggle. Do not overbake. The middle should be gooey.
    8. Cool and serve: Let the cake cool at least 20–30 minutes to set.

      Slice warm for extra gooeyness, or cool completely for cleaner cuts.

    Keeping It Fresh

    Let the cake cool, then cover the pan or transfer slices to an airtight container. Refrigerate for up to 5 days because of the cream cheese. For serving, warm a slice in the microwave for 10–15 seconds to bring back the melt. You can also freeze tightly wrapped pieces for up to 2 months; thaw overnight in the fridge.

    Health Benefits

    This is an indulgent dessert, but there are a few small wins. Pecans add healthy fats, fiber, and minerals. Dark or semi-sweet chocolate provides antioxidants.

    You can trim sugar slightly by using reduced-sugar chocolate chips and a cake mix with less sugar. For portion control, cut smaller pieces and pair with fresh berries for balance.

    Common Mistakes to Avoid

    • Overbaking: If the center is fully firm, you’ll lose the signature gooey texture.
    • Cold cream cheese: It won’t blend smoothly. Soften it to room temperature for streak-free swirls.
    • Over-swirling: Too much mixing blends the layers and dulls the “earthquake” look.
    • Skipping the salt: A pinch sharpens flavors and balances sweetness.
    • Cutting too soon: Give it time to set, or the pieces may fall apart.

    Variations You Can Try

    • Peanut butter twist: Warm 1/3 cup peanut butter and drizzle over the batter before swirling.
    • Oreo crush: Swap coconut and pecans for 1 cup crushed chocolate sandwich cookies.
    • Mint-chocolate: Add 1/2 teaspoon peppermint extract to the cream cheese mixture and use mint chips.
    • Salted caramel: Swirl 1/4 cup thick caramel sauce into the top and finish with flaky sea salt.
    • Gluten-free: Use a certified gluten-free chocolate cake mix and check all labels.
    • Extra-dark: Use dark chocolate cake mix and 70% cocoa chips for a less sweet, richer bite.

    FAQ

    Can I make this ahead of time?

    Yes.

    Bake the cake, cool it, and refrigerate. It tastes great the next day as the layers settle. Rewarm slices briefly for maximum gooeyness.

    Do I have to add coconut and nuts?

    No.

    They’re traditional but optional. You can leave them out or swap with crushed cookies, toffee bits, or more chocolate chips.

    How will I know it’s done?

    The edges should look set and slightly pulled from the pan, while the center should wobble a little. A toothpick won’t come out clean—and that’s okay.

    Can I use homemade chocolate cake batter?

    Absolutely.

    Use your favorite one-bowl chocolate cake recipe. Aim for a standard 9×13 yield so the layers bake correctly.

    What should I serve it with?

    Vanilla ice cream, lightly sweetened whipped cream, or fresh raspberries. A dusting of powdered sugar is a simple finishing touch.

    In Conclusion

    Gooey Chocolate Earthquake Cake is messy in the best way—crackly on top, soft in the middle, and full of pockets of chocolate.

    It’s simple enough for a weeknight and impressive enough for a party. Keep the swirls bold, don’t overbake, and enjoy that warm, fudgy slice with a scoop of something cold.

    Gooey Chocolate Earthquake Cake – A Fudgy, Crowd-Pleasing Dessert

    Prep Time 15 minutes
    Cook Time 45 minutes
    Total Time 1 hour
    Servings 12 servings

    Ingredients
      

    • Chocolate cake mix (15.25 oz box), plus ingredients listed on the box (usually eggs, oil, and water)
    • Cream cheese (8 oz), softened
    • Unsalted butter (1/2 cup or 1 stick), melted and slightly cooled
    • Powdered sugar (2 cups)
    • Vanilla extract (1 teaspoon)
    • Semi-sweet chocolate chips (1 cup)
    • Sweetened shredded coconut (1 cup, optional but classic)
    • Chopped pecans (3/4 cup, optional)
    • Pinch of salt
    • Nonstick spray or butter for the pan

    Instructions
     

    • Preheat and prep: Heat oven to 350°F (175°C). Grease a 9×13-inch baking pan and line with parchment for easy lifting.
    • Layer the add-ins: If using coconut and pecans, scatter them evenly over the bottom of the pan. This creates a toasty, candy-bar-like base.
    • Mix the cake batter: Prepare the chocolate cake mix according to the box directions. Pour the batter over the coconut and pecans, smoothing the top.
    • Make the cream cheese mixture: In a bowl, beat softened cream cheese until smooth. Add melted butter, powdered sugar, vanilla, and a pinch of salt. Beat until thick and glossy.
    • Marble the top: Dollop spoonfuls of the cream cheese mixture over the cake batter. Use a butter knife to swirl lightly. Don’t overmix—the dramatic streaks are the goal.
    • Add chocolate chips: Sprinkle over the top. They’ll sink in slightly and melt into pockets of fudgy goodness.
    • Bake: Bake 35–40 minutes, until the edges are set and the center still has a slight jiggle. Do not overbake. The middle should be gooey.
    • Cool and serve: Let the cake cool at least 20–30 minutes to set. Slice warm for extra gooeyness, or cool completely for cleaner cuts.
  • Strawberry Earthquake Cake – A Fun, Gooey Dessert With Big Berry Flavor

    Strawberry Earthquake Cake – A Fun, Gooey Dessert With Big Berry Flavor

    This Strawberry Earthquake Cake is the kind of dessert that makes people stop mid-bite and smile. It’s soft, gooey, and full of creamy pockets that bake into delicious “fault lines.” You get sweet strawberries, tangy cream cheese, and a tender cake all in one slice. It looks rustic and dramatic without any fussy decorating.

    If you want a crowd-pleaser that’s easy to pull off, this is it.

    What Makes This Recipe So Good

    Cooking process, close-up detail: A 9x13 pan of Strawberry Earthquake Cake just pulled from the oven
    • Texture contrast: A tender strawberry cake swirled with rich cream cheese and coconut for a mix of fluffy, creamy, and chewy.
    • Eye-catching look: The signature cracks and swirls form naturally in the oven—no special skills required.
    • Big strawberry flavor: Fresh berries and a strawberry cake base make the fruit shine.
    • Simple pantry ingredients: Starts with a boxed cake mix but tastes bakery-level thanks to a few smart add-ins.
    • Make-ahead friendly: Stays moist for days and reheats well.

    Ingredients

    • 1 box strawberry cake mix (15.25 oz), plus ingredients listed on the box (usually eggs, oil, and water)
    • 1 1/2 cups sliced fresh strawberries (patted dry)
    • 1 cup sweetened shredded coconut
    • 1 cup chopped pecans or walnuts (optional but tasty)
    • 1/2 cup mini white chocolate chips (optional)
    • 8 oz cream cheese, softened
    • 1/2 cup unsalted butter, melted
    • 2 cups powdered sugar
    • 1 tsp vanilla extract
    • Pinch of salt
    • Nonstick spray or butter for the pan

    How to Make It

    Final dish, tasty top view: Overhead shot of neatly cut squares of Strawberry Earthquake Cake on a m
    1. Prep the pan: Heat the oven to 350°F (175°C). Grease a 9×13-inch baking pan. Sprinkle the coconut and nuts evenly over the bottom of the pan.
    2. Mix the cake: Prepare the strawberry cake batter according to the box directions.

      Fold in the sliced strawberries and white chocolate chips, if using.

    3. Make the cream cheese mixture: In a bowl, beat softened cream cheese, melted butter, powdered sugar, vanilla, and a pinch of salt until smooth and glossy.
    4. Assemble: Pour the cake batter over the coconut and nuts. Dollop the cream cheese mixture over the top in large spoonfuls. Don’t spread perfectly—those uneven pockets create the “earthquake” effect.
    5. Bake: Bake 35–45 minutes.

      The top should be golden with crackly swirls, and the center should jiggle slightly but not be soupy. A toothpick inserted in several spots should come out with moist crumbs, not raw batter.

    6. Cool and set: Let the cake cool at least 30–45 minutes so the gooey layers can set. Serve warm or at room temperature.
    7. Optional finish: Dust with a little powdered sugar or top with extra sliced berries before serving.

    Storage Instructions

    • Room temperature: Keep covered for up to 1 day if your kitchen is cool.
    • Refrigerator: Store tightly covered for 4–5 days.

      The cream cheese layer stays safe and the texture holds up.

    • Freezer: Wrap individual slices in plastic, then foil. Freeze up to 2 months. Thaw overnight in the fridge.
    • Reheat: Warm slices in the microwave for 15–25 seconds for that soft, gooey texture.

    Health Benefits

    • Sneaky fruit boost: Strawberries add vitamin C, fiber, and antioxidants.
    • Portion control friendly: The cake is rich, so a small slice satisfies a sweet tooth.
    • Customizable: You can reduce sugar by using less powdered sugar in the cream cheese mix or choose unsweetened coconut.

    What Not to Do

    • Don’t skip drying the strawberries: Excess moisture can make the cake soggy in the center.
    • Don’t overbake: You’ll lose the creamy pockets.

      Check early at 35 minutes.

    • Don’t spread the cream cheese too thin: Big dollops create the best “earthquake” look and gooey texture.
    • Don’t cut while piping hot: It needs time to set or it may fall apart.
    • Don’t forget the salt: A pinch balances all the sweetness.

    Variations You Can Try

    • Chocolate-strawberry: Use chocolate cake mix and keep the fresh strawberries for a classic pair.
    • Lemon-berry twist: Add 1 tsp lemon zest to the cream cheese layer for brightness.
    • Almond crunch: Swap nuts for sliced almonds and add 1/2 tsp almond extract.
    • Berry blend: Mix in raspberries or blueberries with the strawberries (keep total fruit to 1 1/2 cups, well dried).
    • Lighter option: Use Neufchâtel (1/3 less fat) cream cheese and reduce powdered sugar to 1 1/2 cups.

    FAQ

    Why is it called an “Earthquake” cake?

    The cream cheese mixture creates cracks and swirls as it bakes and settles, making the top look like it split open. It’s messy in the best way and completely intentional.

    Can I use frozen strawberries?

    Yes, but thaw them fully and pat them very dry. If they still seem wet, reduce the water in the cake mix by 1–2 tablespoons to compensate.

    Do I have to add coconut and nuts?

    No.

    You can skip either or both. If you omit them, consider adding an extra 1/4 cup white chocolate chips or a few more strawberry slices for texture.

    How will I know it’s done?

    Look for a golden top with visible swirls and only a slight jiggle in the center. A toothpick should have moist crumbs rather than wet batter.

    Can I make this in a round pan?

    A 9-inch deep round pan works, but watch the bake time.

    It may take 5–10 minutes longer. A springform pan helps with clean slices.

    Is this good served cold?

    Yes. Cold slices are denser and cheesecake-like.

    Warm slices are softer and gooier. Both are great—choose your style.

    Final Thoughts

    Strawberry Earthquake Cake brings big flavor with minimal effort. The creamy swirls, juicy berries, and tender crumb make it a guaranteed hit for birthdays, potlucks, or a cozy night in.

    Keep the steps simple, don’t overthink the swirls, and let the oven work its magic. One rustic, beautiful pan later, you’ll have a dessert everyone asks for again.

    Strawberry Earthquake Cake – A Fun, Gooey Dessert With Big Berry Flavor

    Prep Time 15 minutes
    Cook Time 40 minutes
    Total Time 55 minutes
    Servings 12 servings

    Ingredients
      

    • 1 box strawberry cake mix (15.25 oz), plus ingredients listed on the box (usually eggs, oil, and water)
    • 1 1/2 cups sliced fresh strawberries (patted dry)
    • 1 cup sweetened shredded coconut
    • 1 cup chopped pecans or walnuts (optional but tasty)
    • 1/2 cup mini white chocolate chips (optional)
    • 8 oz cream cheese, softened
    • 1/2 cup unsalted butter, melted
    • 2 cups powdered sugar
    • 1 tsp vanilla extract
    • Pinch of salt
    • Nonstick spray or butter for the pan

    Instructions
     

    • Prep the pan: Heat the oven to 350°F (175°C). Grease a 9×13-inch baking pan. Sprinkle the coconut and nuts evenly over the bottom of the pan.
    • Mix the cake: Prepare the strawberry cake batter according to the box directions. Fold in the sliced strawberries and white chocolate chips, if using.
    • Make the cream cheese mixture: In a bowl, beat softened cream cheese, melted butter, powdered sugar, vanilla, and a pinch of salt until smooth and glossy.
    • Assemble: Pour the cake batter over the coconut and nuts. Dollop the cream cheese mixture over the top in large spoonfuls. Don’t spread perfectly—those uneven pockets create the “earthquake” effect.
    • Bake: Bake 35–45 minutes. The top should be golden with crackly swirls, and the center should jiggle slightly but not be soupy. A toothpick inserted in several spots should come out with moist crumbs, not raw batter.
    • Cool and set: Let the cake cool at least 30–45 minutes so the gooey layers can set. Serve warm or at room temperature.
    • Optional finish: Dust with a little powdered sugar or top with extra sliced berries before serving.
  • Crustless Pumpkin Pie – Cozy, Creamy, and Easy to Make

    Crustless Pumpkin Pie – Cozy, Creamy, and Easy to Make

    Pumpkin pie is a fall favorite, but sometimes the crust feels like extra effort you don’t need. This crustless version gives you the silky, spiced filling you love with a fraction of the work. It bakes up soft, custardy, and perfectly sliceable—no rolling, chilling, or fussing required.

    Serve it warm with a dollop of whipped cream, or chill it for a cleaner cut and a deeper pumpkin flavor. It’s simple enough for a weeknight treat and special enough for your holiday table.

    What Makes This Special

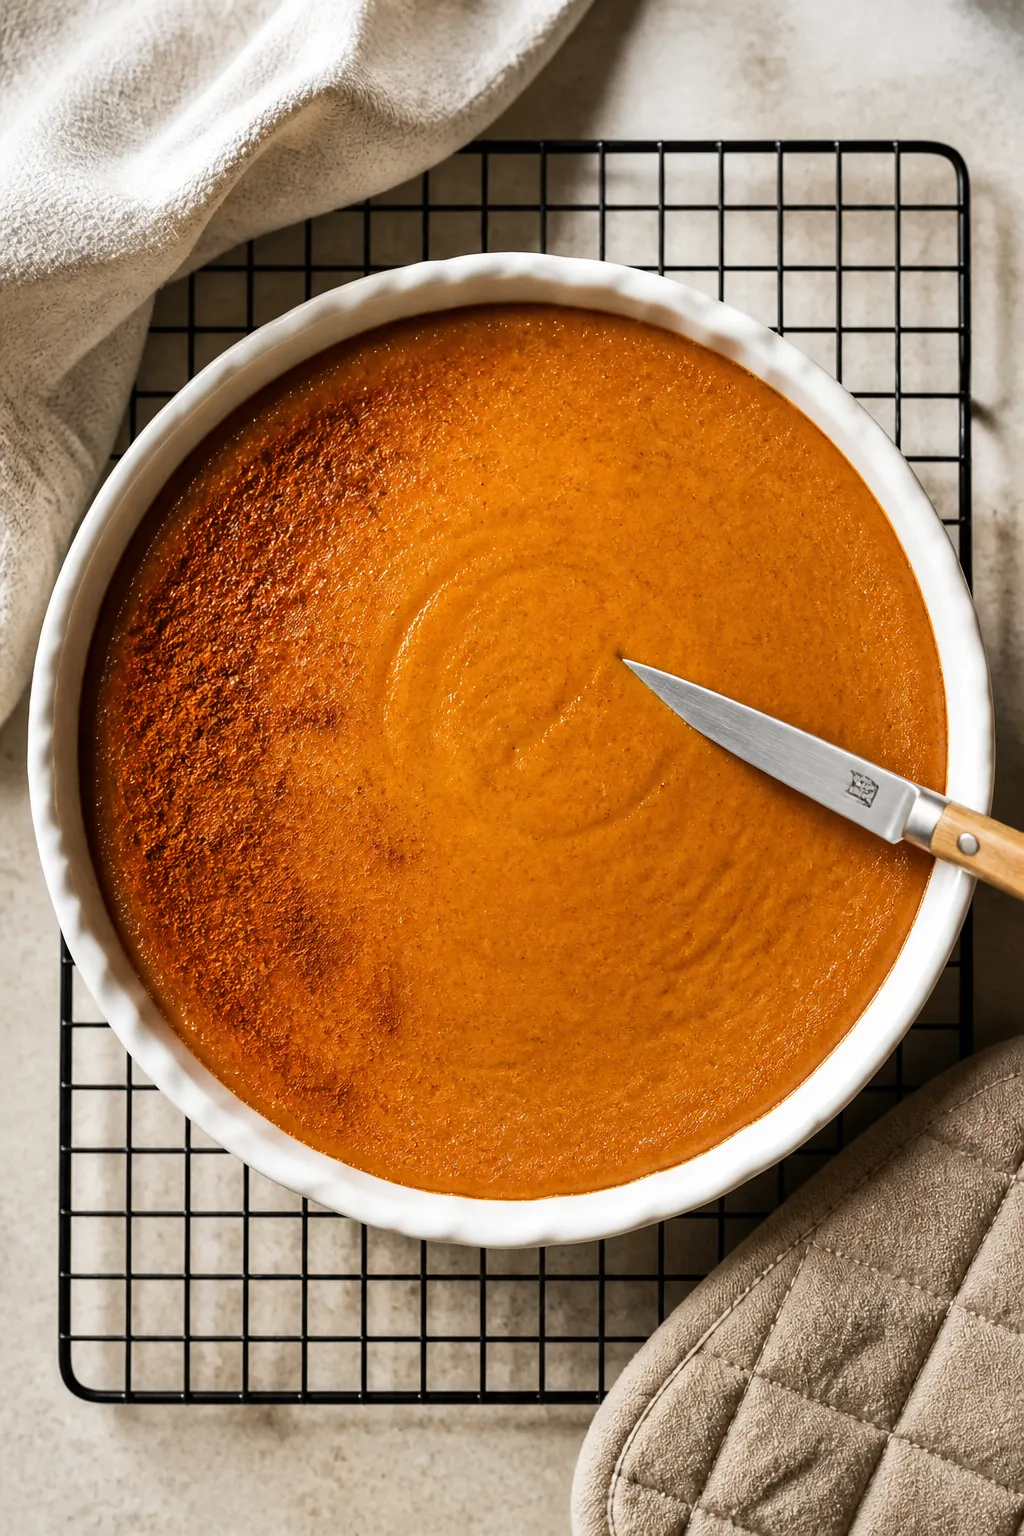
    Overhead shot of a freshly baked crustless pumpkin pie just out of the oven, still in a greased 9-in

    All the flavor, less effort: No crust means fewer steps and less time in the kitchen.

    Gluten-free friendly: Naturally crustless, so it’s easy to keep it gluten-free with the right add-ins.

    Silky texture: Bakes like a custard—creamy, tender, and lightly set.

    Make-ahead winner: The flavor improves as it chills, so it’s perfect for planning ahead.

    Shopping List

    • Pumpkin puree: 1 can (15 ounces), 100% pumpkin
    • Large eggs: 3
    • Milk or half-and-half: 1 cup (use evaporated milk for a classic pie taste)
    • Granulated sugar: 1/2 cup
    • Brown sugar: 1/4 cup, packed
    • Vanilla extract: 1 teaspoon
    • Pumpkin pie spice: 2 teaspoons (or 1 1/2 tsp cinnamon + 1/4 tsp ginger + 1/4 tsp nutmeg + pinch of cloves)
    • Salt: 1/2 teaspoon
    • Cornstarch: 2 tablespoons (helps set the custard)
    • Butter: 2 tablespoons, melted and slightly cooled (optional for richness)
    • Whipped cream: For serving (optional)
    • Nonstick spray or butter: For greasing the pie dish

    Step-by-Step Instructions

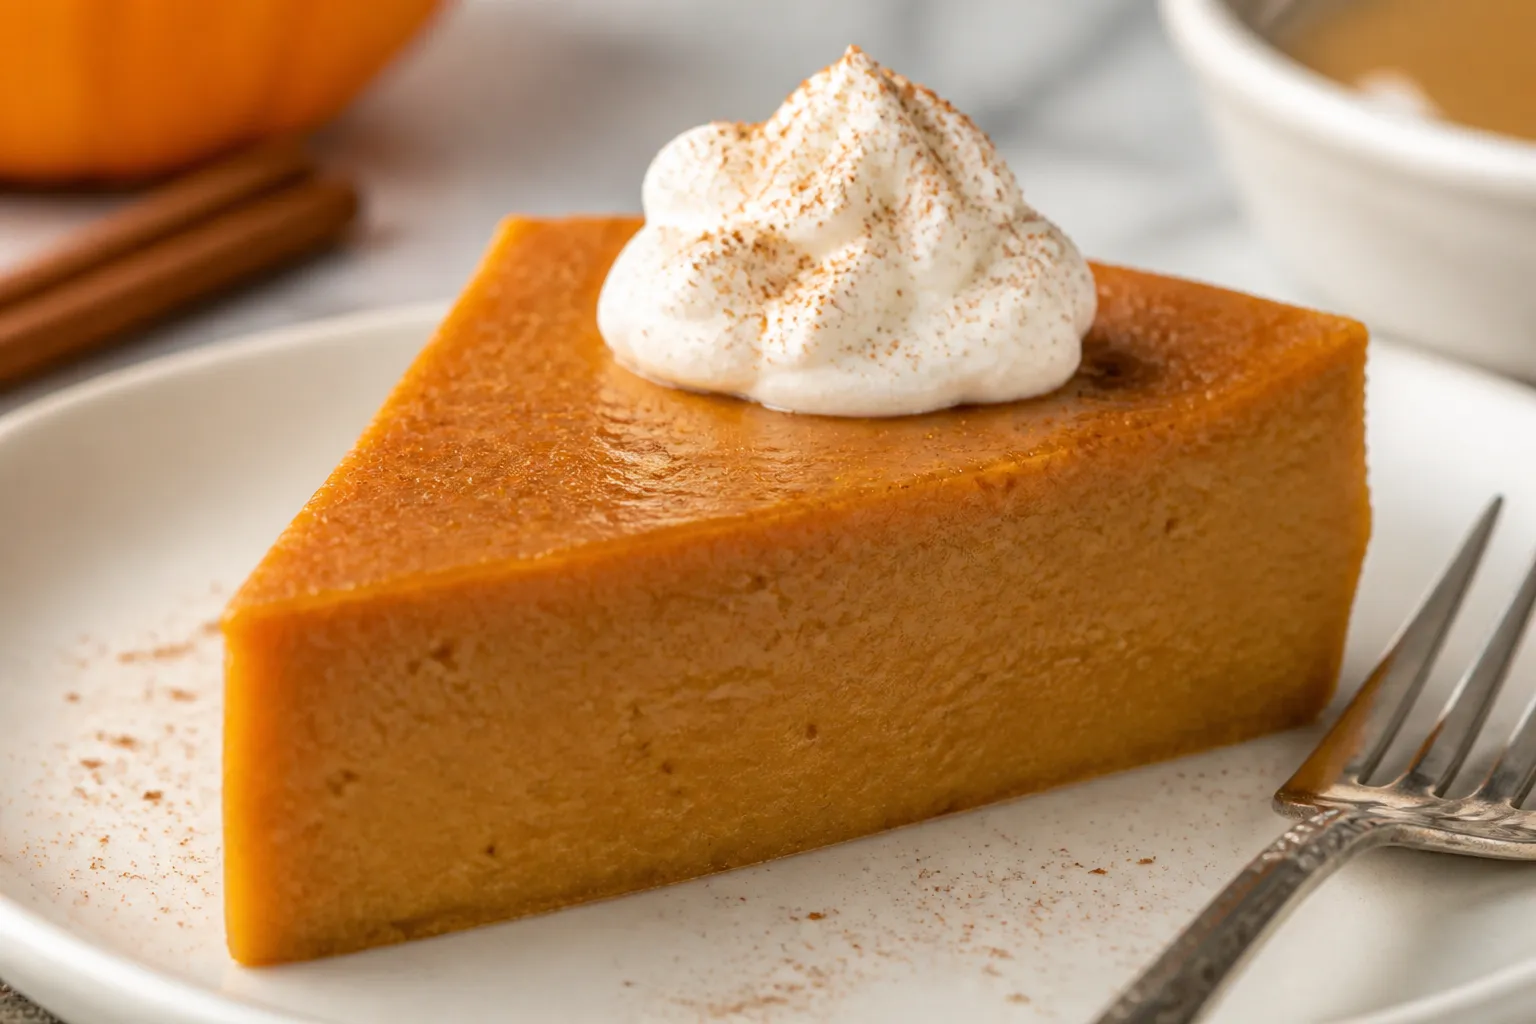
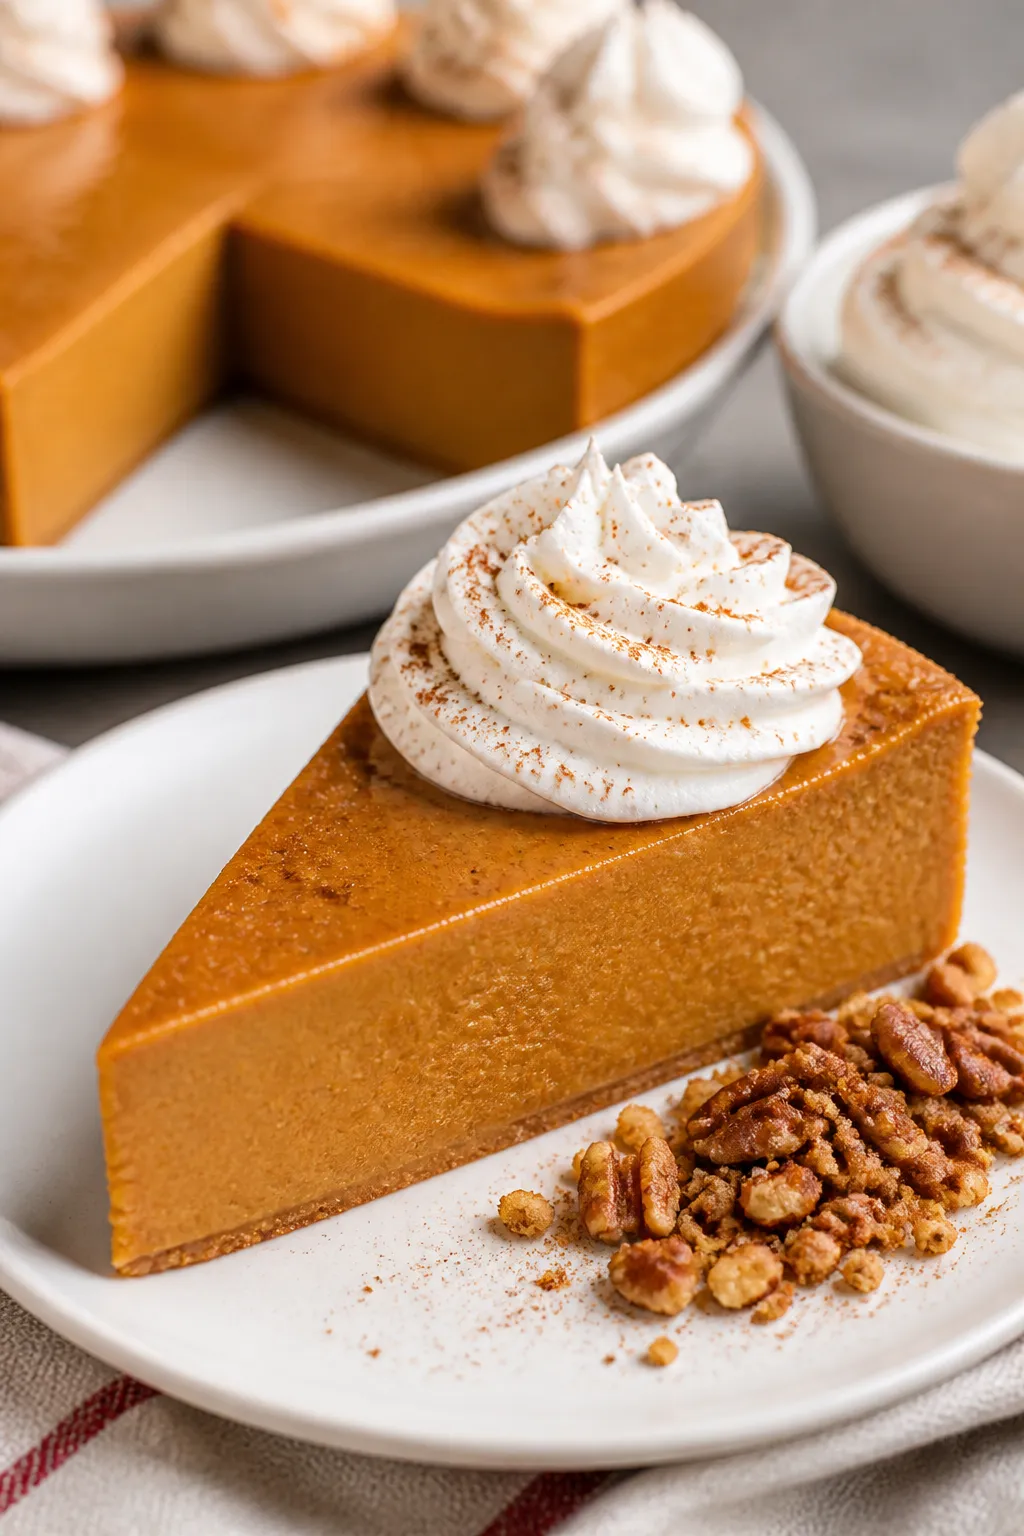
    Close-up, 45-degree angle of a chilled slice of crustless pumpkin pie on a small white dessert plate
    1. Preheat and prep: Heat oven to 350°F (175°C). Grease a 9-inch pie dish with nonstick spray or butter.
    2. Mix dry ingredients: In a small bowl, whisk sugar, brown sugar, pumpkin pie spice, salt, and cornstarch until no lumps remain.
    3. Whisk the wet base: In a large bowl, whisk pumpkin puree, eggs, milk (or evaporated milk), vanilla, and melted butter until smooth.
    4. Combine: Sprinkle the dry mixture over the wet ingredients and whisk until fully blended and silky.
    5. Pour and smooth: Pour the batter into the prepared pie dish.

      Tap gently on the counter to release any bubbles.

    6. Bake: Place on the middle rack and bake 45–55 minutes. The edges should be set, and the center should wobble slightly like gelatin.
    7. Cool: Set the pie on a rack. Let it cool at room temperature for at least 1 hour to finish setting.
    8. Chill for best slices: Refrigerate 3–4 hours or overnight for clean cuts and deeper flavor.
    9. Serve: Slice with a sharp knife, wiping between cuts.

      Top with whipped cream or a sprinkle of cinnamon.

    Storage Instructions

    Refrigerate: Cover tightly and refrigerate for up to 4 days. Keep it chilled when not serving.

    Freeze: Wrap slices individually and freeze up to 2 months. Thaw overnight in the fridge.

    Reheat: Warm slices in a 300°F (150°C) oven for 10 minutes, or enjoy cold straight from the fridge.

    Health Benefits

    Rich in vitamin A: Pumpkin is packed with beta-carotene, which supports eye and immune health.

    Lower in carbs than traditional pie: Skipping the crust cuts calories and refined carbs.

    Good source of fiber: Pumpkin and a touch of cornstarch help keep you satisfied.

    Customizable sweetness: You control the sugar level and can reduce it to taste.

    Common Mistakes to Avoid

    • Using pumpkin pie filling instead of puree: It’s already sweetened and spiced, which will throw off the recipe.
    • Overbaking: If the center is fully firm in the oven, it’s overdone.

      Look for a gentle wobble.

    • Skipping the chill: Cooling time helps the custard set and slice cleanly.
    • Not greasing the dish: Even without crust, it can stick around the edges.
    • Heavy-handed spices: Too much spice can taste bitter. Measure for balance.

    Variations You Can Try

    • Dairy-free: Use full-fat coconut milk and skip the butter. Add 1 extra tablespoon cornstarch for a firmer set.
    • Maple-sweetened: Replace half the sugar with 1/4 cup pure maple syrup and reduce milk by 2 tablespoons.
    • Protein boost: Whisk in 1/4 cup vanilla or unflavored whey protein and add 1–2 tablespoons extra milk to balance.
    • Spice it up: Add a pinch of black pepper or cardamom for a warm, bakery-style twist.
    • Pecan topping: Sprinkle chopped pecans and a teaspoon of sugar over the top before baking for crunch.

    FAQ

    Can I use fresh pumpkin instead of canned?

    Yes.

    Roast and puree sugar pumpkin or kabocha until smooth and thick. Drain excess moisture with a paper towel if it seems watery so the custard sets properly.

    How do I know when it’s done?

    The edges will be set and the center will jiggle slightly when you nudge the dish. If a thin knife inserted 2 inches from the edge comes out mostly clean, it’s ready.

    Can I make it without cornstarch?

    Yes, but it will be softer.

    Substitute 1 tablespoon flour or 1 tablespoon arrowroot, or bake a few extra minutes and chill well before slicing.

    What size pan works best?

    A standard 9-inch pie dish is ideal. An 8-inch dish will yield a thicker custard and may need 5–10 extra minutes; a 9-inch cake pan also works if well greased.

    How can I reduce the sugar?

    Cut the total sugar to 1/2 cup, taste the batter, and adjust spices. The pie will still set, though slightly less sweet and more pumpkin-forward.

    Wrapping Up

    Crustless Pumpkin Pie delivers that classic, cozy flavor with less work and fewer ingredients.

    It’s smooth, gently spiced, and easy to make ahead for guests or weeknight cravings. Keep this recipe handy—you’ll reach for it every time pumpkin season rolls around.

    Crustless Pumpkin Pie – Cozy, Creamy, and Easy to Make

    Prep Time 10 minutes
    Cook Time 50 minutes
    Total Time 1 hour
    Servings 8 servings

    Ingredients
      

    • Pumpkin puree: 1 can (15 ounces), 100% pumpkin
    • Large eggs: 3
    • Milk or half-and-half: 1 cup (use evaporated milk for a classic pie taste)
    • Granulated sugar: 1/2 cup
    • Brown sugar: 1/4 cup, packed
    • Vanilla extract: 1 teaspoon
    • Pumpkin pie spice: 2 teaspoons (or 1 1/2 tsp cinnamon + 1/4 tsp ginger + 1/4 tsp nutmeg + pinch of cloves)
    • Salt: 1/2 teaspoon
    • Cornstarch: 2 tablespoons (helps set the custard)
    • Butter: 2 tablespoons, melted and slightly cooled (optional for richness)
    • Whipped cream: For serving (optional)
    • Nonstick spray or butter: For greasing the pie dish

    Instructions
     

    • Preheat and prep: Heat oven to 350°F (175°C). Grease a 9-inch pie dish with nonstick spray or butter.
    • Mix dry ingredients: In a small bowl, whisk sugar, brown sugar, pumpkin pie spice, salt, and cornstarch until no lumps remain.
    • Whisk the wet base: In a large bowl, whisk pumpkin puree, eggs, milk (or evaporated milk), vanilla, and melted butter until smooth.
    • Combine: Sprinkle the dry mixture over the wet ingredients and whisk until fully blended and silky.
    • Pour and smooth: Pour the batter into the prepared pie dish. Tap gently on the counter to release any bubbles.
    • Bake: Place on the middle rack and bake 45–55 minutes. The edges should be set, and the center should wobble slightly like gelatin.
    • Cool: Set the pie on a rack. Let it cool at room temperature for at least 1 hour to finish setting.
    • Chill for best slices: Refrigerate 3–4 hours or overnight for clean cuts and deeper flavor.
    • Serve: Slice with a sharp knife, wiping between cuts. Top with whipped cream or a sprinkle of cinnamon.
  • Oreo Cheesecake Cookies – Soft, Sweet, and Loaded With Cookie Crumbles

    Oreo Cheesecake Cookies – Soft, Sweet, and Loaded With Cookie Crumbles

    These Oreo cheesecake cookies are soft, tender, and packed with chocolate cookie crunch in every bite. They’re the kind of treat that looks bakery-made but takes simple pantry ingredients and just one bowl. The texture lands between a chewy cookie and a creamy cheesecake, with just the right amount of sweetness.

    They bake up thick, hold their shape, and taste even better the next day. If you love Oreos and cheesecake, this mash-up will become your go-to cookie.

    Why This Recipe Works

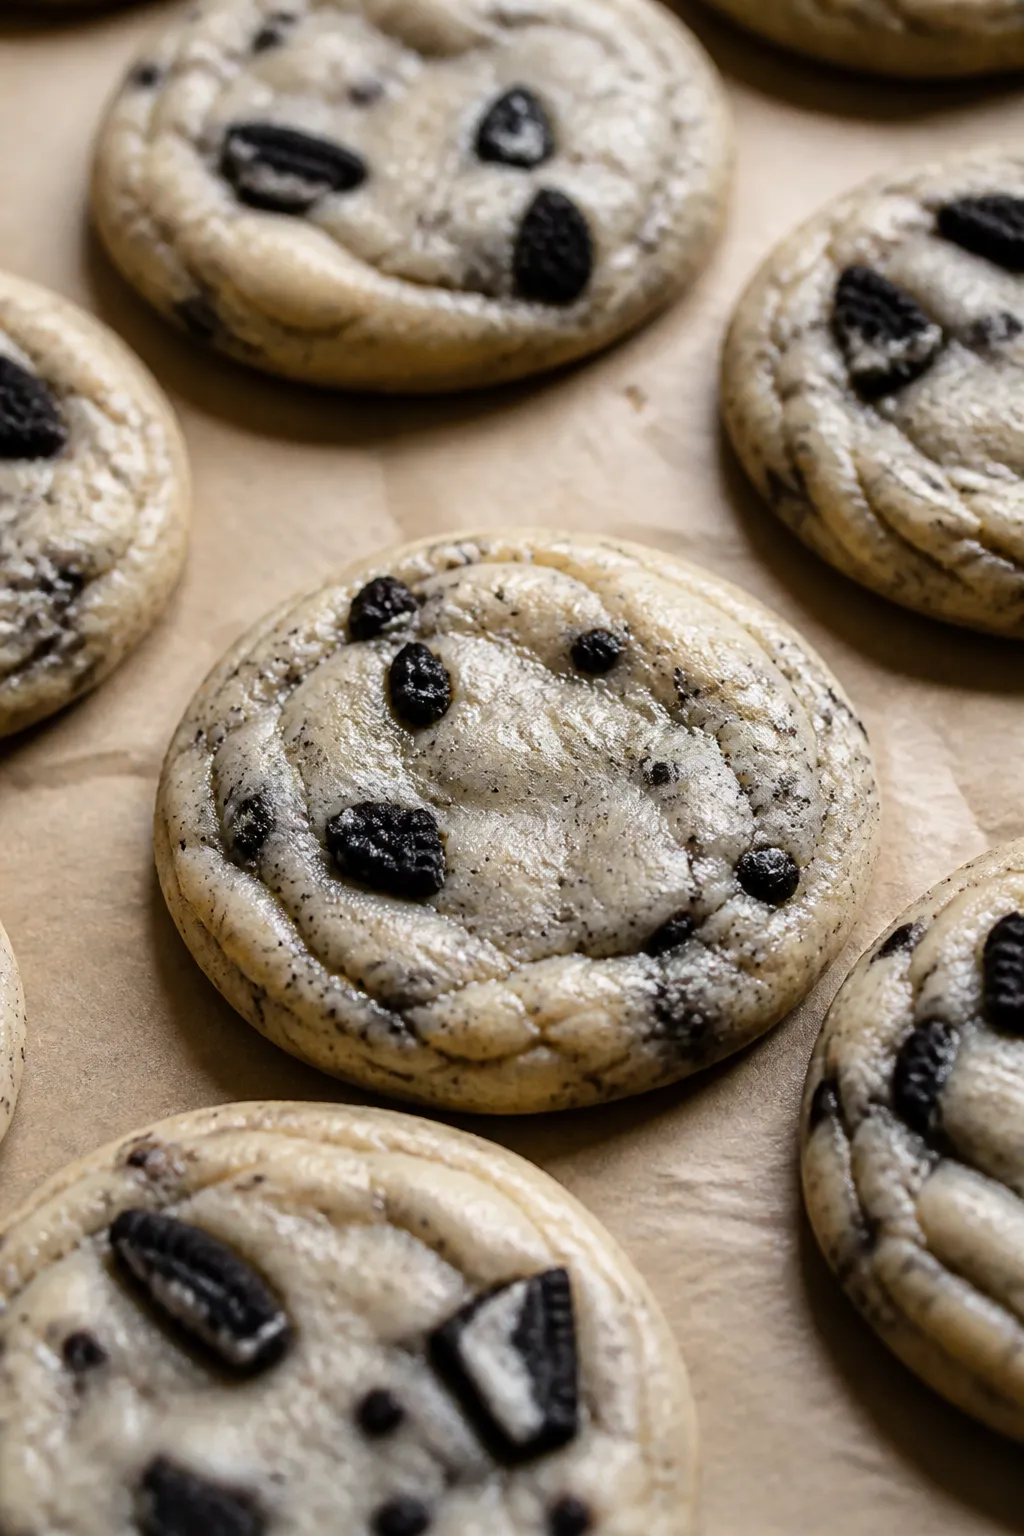
    Close-up detail shot of freshly baked Oreo cheesecake cookies cooling on a parchment-lined sheet, ed
    • Cream cheese adds richness and creates a soft, almost fudge-like center without making the dough sticky.
    • Chilling the dough helps the cookies bake thick instead of spreading thin.
    • Crushed Oreos in two textures—fine crumbs and chunky bits—deliver flavor and crunch throughout.
    • Brown sugar adds moisture and a slight caramel note, while granulated sugar keeps the edges light.
    • No eggs needed, so the cheesecake flavor stays clean and the crumb stays tender.

    What You’ll Need

    • 8 oz (225 g) cream cheese, softened
    • 1/2 cup (115 g) unsalted butter, softened
    • 3/4 cup (150 g) granulated sugar
    • 1/4 cup (50 g) light brown sugar, packed
    • 1 1/4 cups (155 g) all-purpose flour
    • 1/2 teaspoon baking powder
    • 1/4 teaspoon baking soda
    • 1/4 teaspoon fine salt
    • 1 teaspoon vanilla extract
    • 12–14 Oreo cookies, crushed (about 1 1/2 cups total, divided into fine crumbs and chunky pieces)
    • Optional: 1/2 cup mini chocolate chips for extra chocolate

    How to Make It

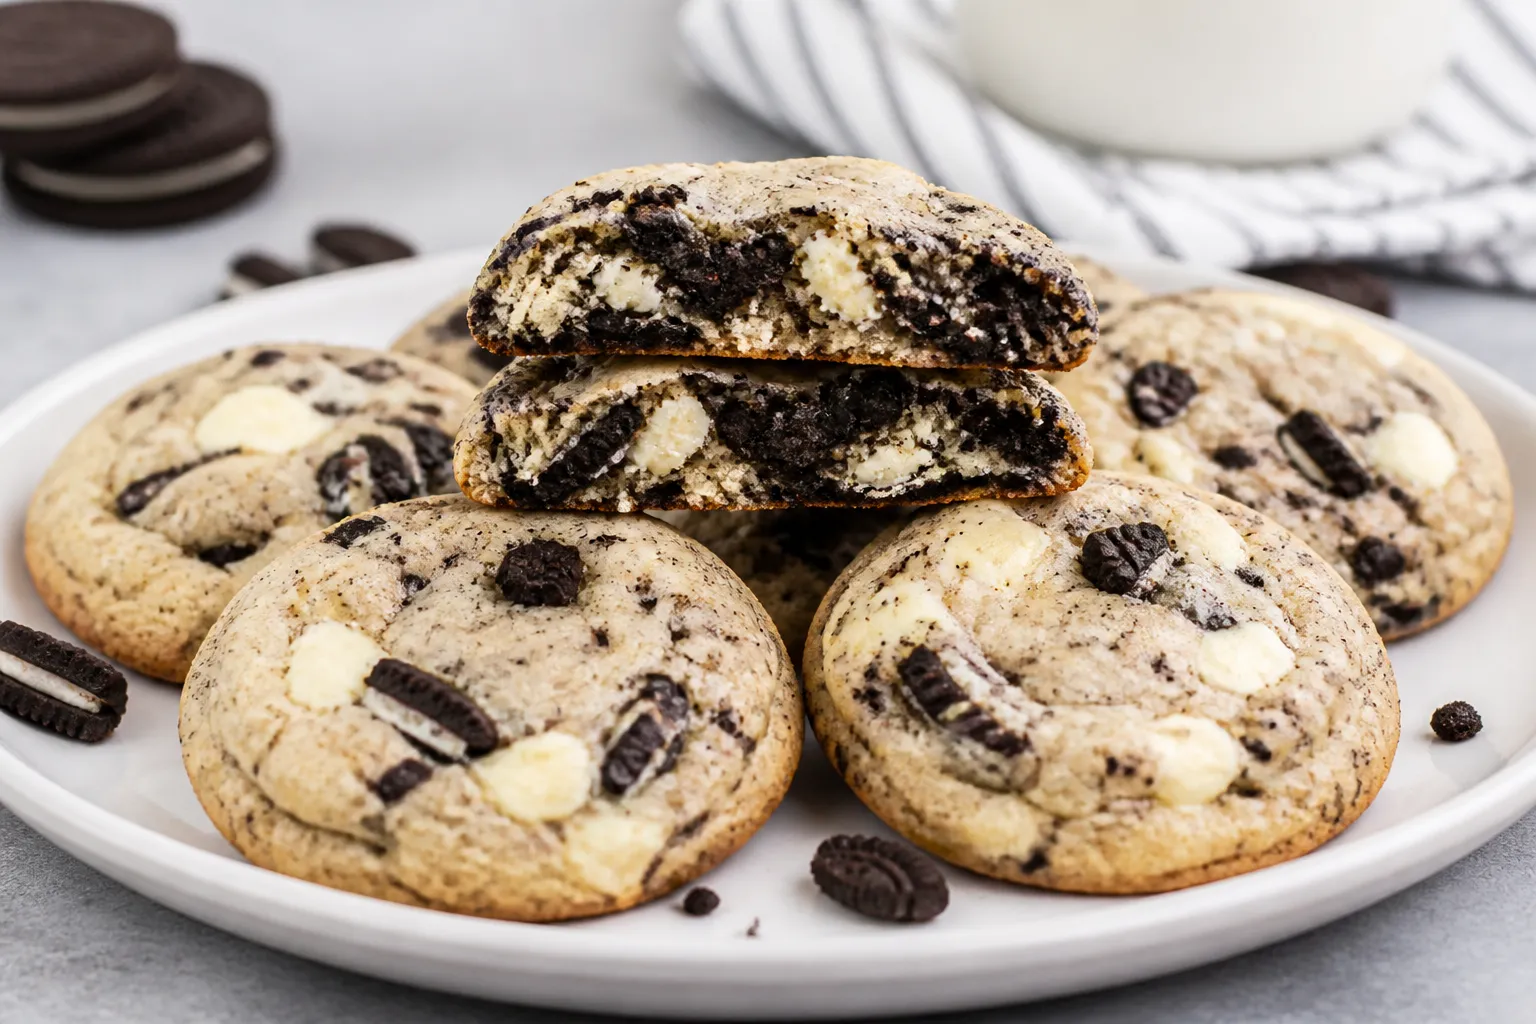
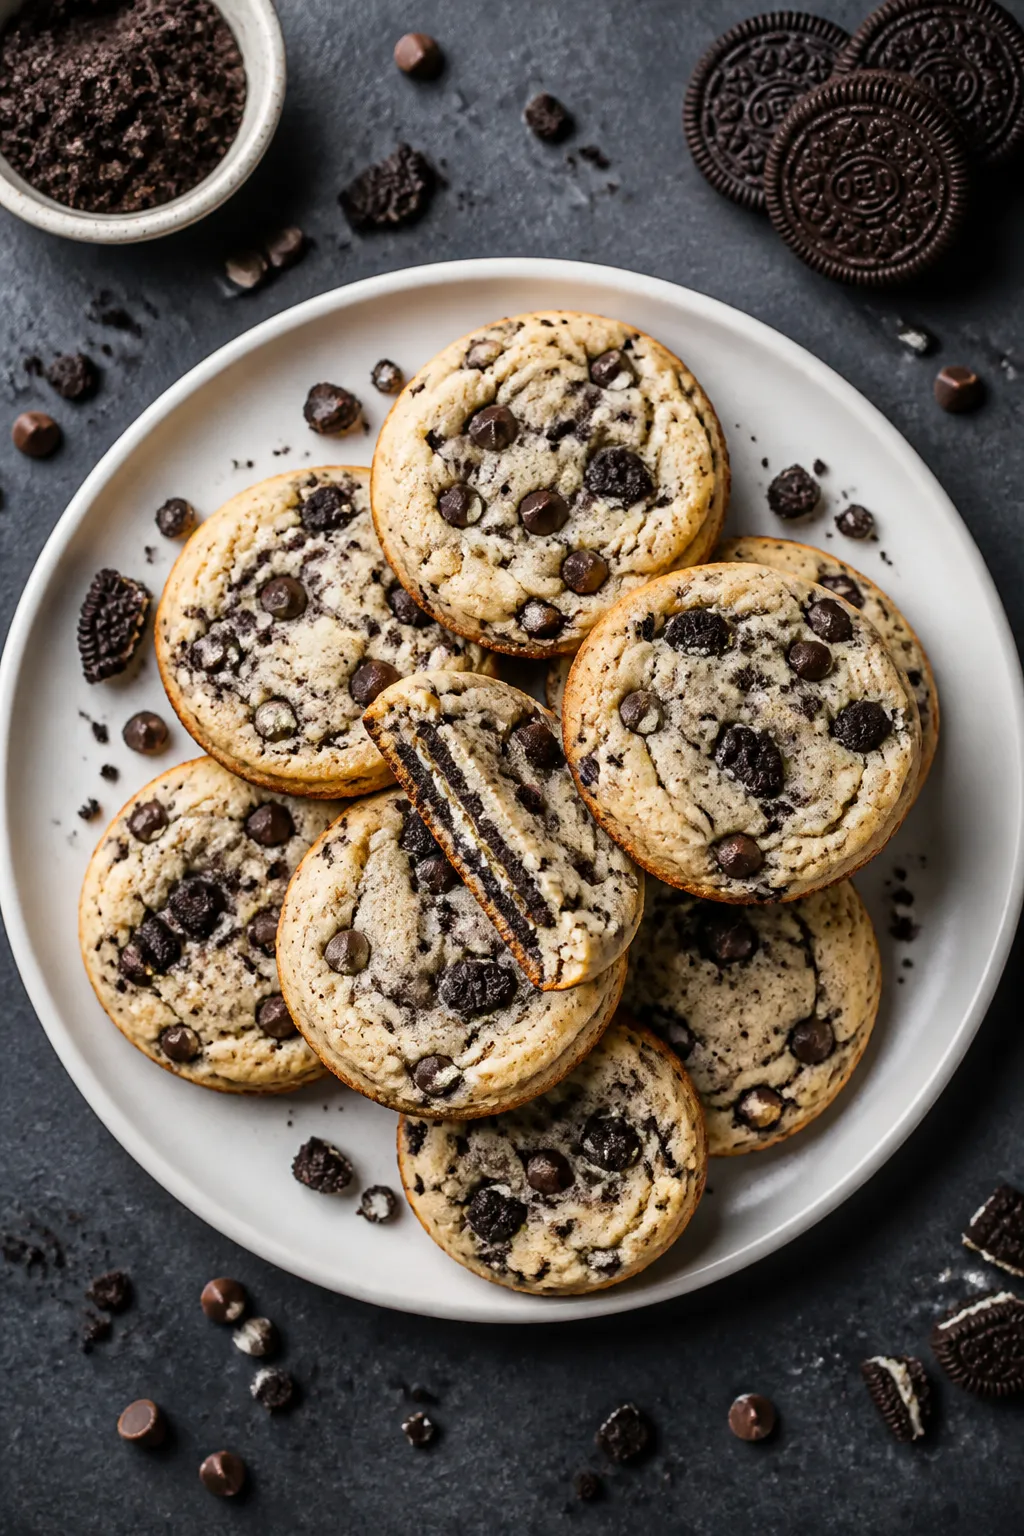
    Overhead final presentation of Oreo cheesecake cookies neatly stacked and scattered on a matte white
    1. Prep the pan. Line two baking sheets with parchment paper. This prevents sticking and helps the cookies bake evenly.
    2. Crush the Oreos. Pulse in a food processor or place in a zip-top bag and smash with a rolling pin.

      Aim for half fine crumbs and half chunky bits.

    3. Cream butter and cream cheese. In a large bowl, beat softened butter and cream cheese until smooth and fluffy, about 2 minutes.
    4. Add sugars and vanilla. Beat in granulated sugar, brown sugar, and vanilla until light. Scrape the bowl as needed.
    5. Combine dry ingredients. Whisk flour, baking powder, baking soda, and salt in a separate bowl.
    6. Mix the dough. Add dry ingredients to the wet mixture and beat on low until just combined. The dough will be thick.
    7. Fold in Oreos. Stir in the fine crumbs first, then gently fold in the larger Oreo pieces (and mini chips, if using).
    8. Chill. Cover and refrigerate the dough for 30–60 minutes.

      This step keeps the cookies thick and tender.

    9. Scoop and shape. Using a 2-tablespoon scoop, portion dough onto prepared sheets, spacing about 2 inches apart. Roll into balls for neat, round cookies.
    10. Bake. Bake at 350°F (175°C) for 10–12 minutes, until edges are set and centers look slightly underbaked. They’ll firm up as they cool.
    11. Cool. Let cookies rest on the sheet for 5 minutes, then transfer to a rack.

      For a bakery look, gently nudge the edges into perfect circles with a spoon while warm.

    Storage Instructions

    • Room temperature: Store in an airtight container for up to 2 days.
    • Refrigerator: Because of the cream cheese, these keep well in the fridge for up to 1 week. Bring to room temp before serving.
    • Freezer: Freeze baked cookies for up to 2 months. Thaw at room temp.

      You can also freeze scooped dough balls and bake from frozen, adding 1–2 minutes.

    Health Benefits

    • Portion control: Smaller cookies satisfy a sweet tooth without overdoing it.
    • Protein boost: Cream cheese adds a modest amount of protein compared to standard sugar cookies.
    • Customizable: You can reduce sugar slightly or use low-fat cream cheese to lighten the recipe.

    Pitfalls to Watch Out For

    • Skipping the chill: Warm dough spreads too much and turns thin.
    • Overbaking: Pull them when the centers still look soft. Overbaked cookies lose the cheesecake-like texture.
    • Overmixing: Once flour is added, mix gently to avoid tough cookies.
    • Too-fine crumbs only: All crumbs and no chunks can make the texture sandy. Keep some bigger bits for crunch.

    Alternatives

    • Gluten-free: Use a 1:1 gluten-free flour blend and certified gluten-free sandwich cookies.
    • Lower sugar: Reduce total sugar by 2–3 tablespoons.

      Texture remains soft.

    • Flavor twist: Add 1/2 teaspoon almond extract or swap vanilla Oreos for a lighter flavor.
    • Mix-ins: White chocolate chips, crushed freeze-dried strawberries, or a drizzle of melted chocolate after baking.
    • Cream cheese swirl look: Chill dough, then marble in 2 extra tablespoons of softened cream cheese at the end for visible streaks.

    FAQ

    Do I need eggs for Oreo cheesecake cookies?

    No. The cream cheese provides moisture and richness, so eggs aren’t necessary. The cookies still bake up soft and tender.

    Can I use low-fat cream cheese?

    Yes, but full-fat cream cheese gives the best texture and flavor.

    Low-fat works, just expect a slightly softer dough and a milder taste.

    Why did my cookies spread too much?

    Warm dough or an uncalibrated oven is often the culprit. Chill the dough at least 30 minutes, and make sure your oven is truly at 350°F.

    How fine should I crush the Oreos?

    Use a mix. Fine crumbs blend into the dough for flavor, while larger chunks add texture.

    Think half sand-like crumbs, half pea-size pieces.

    Can I make the dough ahead?

    Yes. Refrigerate the dough for up to 48 hours. If it becomes very firm, let it sit at room temp for 10–15 minutes before scooping.

    Wrapping Up

    These Oreo cheesecake cookies deliver big flavor with minimal effort.

    The dough mixes quickly, chills briefly, and bakes into thick, soft treats that everyone loves. Keep a batch in the freezer for last-minute desserts or sweet cravings. Once you try them, they’ll be on repeat.

    Oreo Cheesecake Cookies – Soft, Sweet, and Loaded With Cookie Crumbles

    Prep Time 10 minutes
    Cook Time 12 minutes
    Total Time 22 minutes
    Servings 12 servings

    Ingredients
      

    • 8 oz (225 g) cream cheese, softened
    • 1/2 cup (115 g) unsalted butter, softened
    • 3/4 cup (150 g) granulated sugar
    • 1/4 cup (50 g) light brown sugar, packed
    • 1 1/4 cups (155 g) all-purpose flour
    • 1/2 teaspoon baking powder
    • 1/4 teaspoon baking soda
    • 1/4 teaspoon fine salt
    • 1 teaspoon vanilla extract
    • 12–14 Oreo cookies, crushed (about 1 1/2 cups total, divided into fine crumbs and chunky pieces)
    • Optional: 1/2 cup mini chocolate chips for extra chocolate

    Instructions
     

    • Prep the pan. Line two baking sheets with parchment paper. This prevents sticking and helps the cookies bake evenly.
    • Crush the Oreos. Pulse in a food processor or place in a zip-top bag and smash with a rolling pin. Aim for half fine crumbs and half chunky bits.
    • Cream butter and cream cheese. In a large bowl, beat softened butter and cream cheese until smooth and fluffy, about 2 minutes.
    • Add sugars and vanilla. Beat in granulated sugar, brown sugar, and vanilla until light. Scrape the bowl as needed.
    • Combine dry ingredients. Whisk flour, baking powder, baking soda, and salt in a separate bowl.
    • Mix the dough. Add dry ingredients to the wet mixture and beat on low until just combined. The dough will be thick.
    • Fold in Oreos. Stir in the fine crumbs first, then gently fold in the larger Oreo pieces (and mini chips, if using).
    • Chill. Cover and refrigerate the dough for 30–60 minutes. This step keeps the cookies thick and tender.
    • Scoop and shape. Using a 2-tablespoon scoop, portion dough onto prepared sheets, spacing about 2 inches apart. Roll into balls for neat, round cookies.
    • Bake. Bake at 350°F (175°C) for 10–12 minutes, until edges are set and centers look slightly underbaked. They’ll firm up as they cool.
    • Cool. Let cookies rest on the sheet for 5 minutes, then transfer to a rack. For a bakery look, gently nudge the edges into perfect circles with a spoon while warm.
  • The Creamiest Bacon and Mushroom Pasta – Comfort in a Bowl

    The Creamiest Bacon and Mushroom Pasta – Comfort in a Bowl

    Nothing beats a bowl of silky pasta coated in a rich, savory sauce. This bacon and mushroom version is the kind of weeknight dinner that feels special without asking much from you. It’s smoky, garlicky, and ultra-creamy, with just enough brightness to keep every bite balanced.

    If you love comfort food that still tastes fresh, this one belongs in your rotation. It’s simple to make, easy to customize, and guaranteed to satisfy.

    What Makes This Special

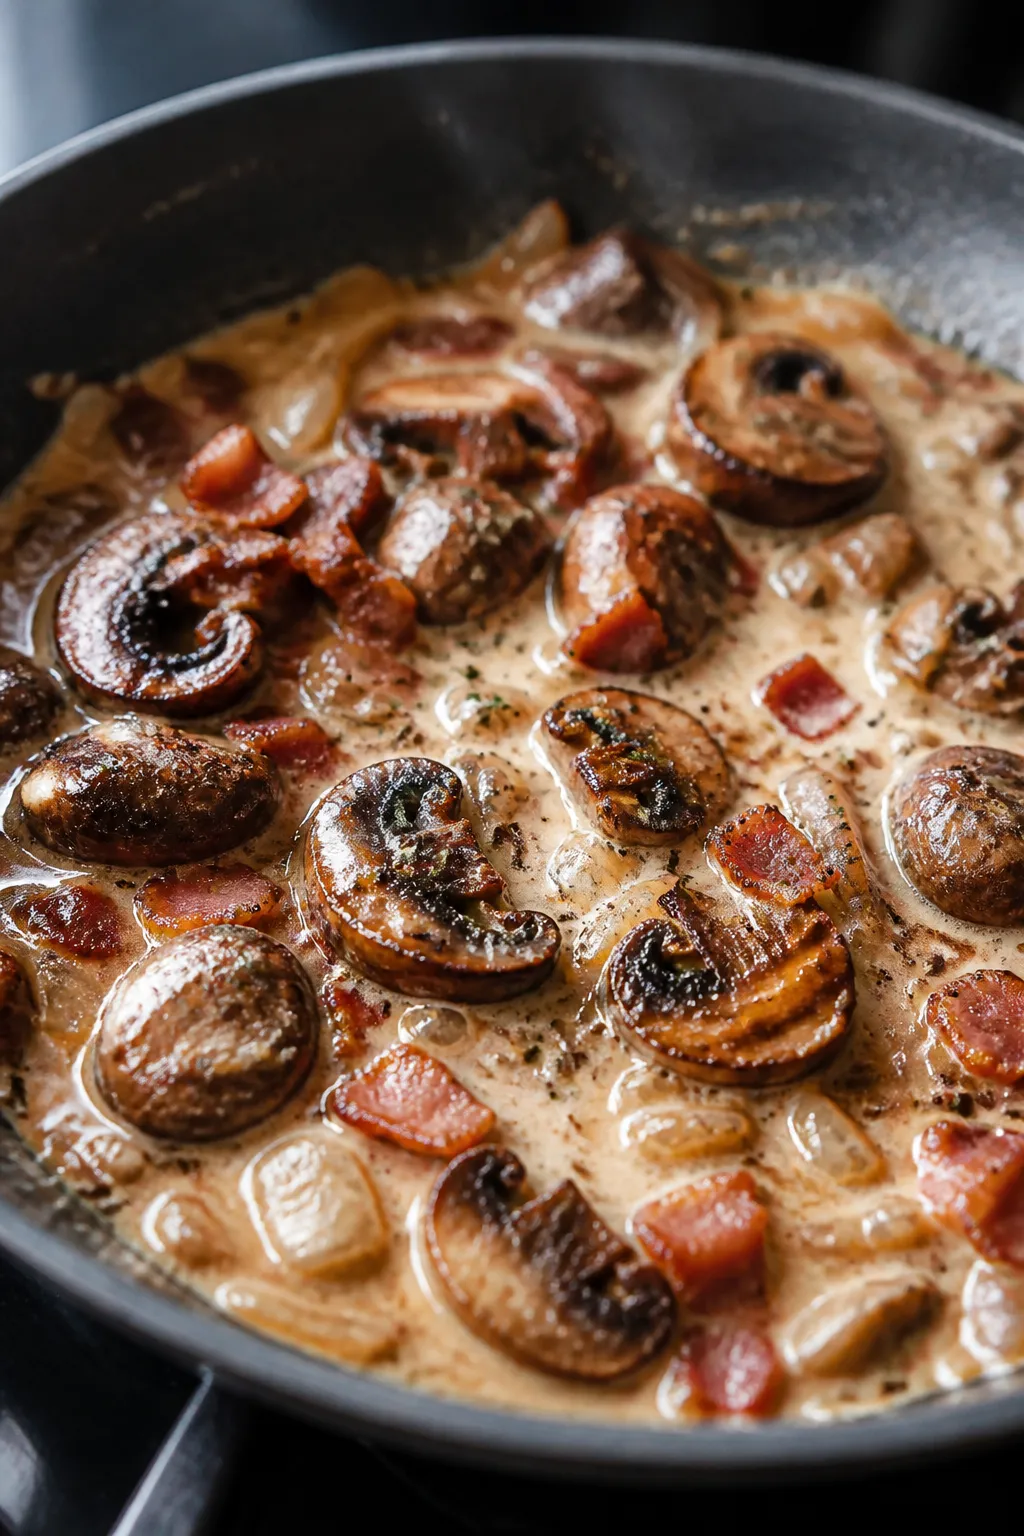
    Cooking process close-up: In a wide skillet, golden-crisp bacon bits scattered among deeply browned

    This pasta nails the balance of flavor and texture. You get crisp, salty bacon; deep, earthy mushrooms; and a velvety sauce that clings to every strand.

    A splash of pasta water brings the sauce together without heaviness. Fresh lemon and parsley brighten the dish so it never feels too rich. It’s the kind of recipe that feels restaurant-worthy but uses pantry and grocery staples.

    Shopping List

    • Pasta: 12 oz fettuccine, linguine, or rigatoni
    • Bacon: 6–8 slices, cut into small pieces
    • Mushrooms: 12 oz cremini or baby bella, sliced
    • Onion or shallot: 1 small, finely chopped
    • Garlic: 3–4 cloves, minced
    • Heavy cream: 1 cup (or half-and-half for lighter)
    • Parmesan: 3/4 cup finely grated, plus more to serve
    • Chicken or vegetable broth: 1/2 cup (optional, for depth)
    • Butter: 1 tablespoon
    • Olive oil: 1 tablespoon
    • Lemon: 1, for zest and a squeeze of juice
    • Fresh parsley: Small handful, chopped
    • Salt and black pepper
    • Red pepper flakes: Pinch (optional)

    How to Make It

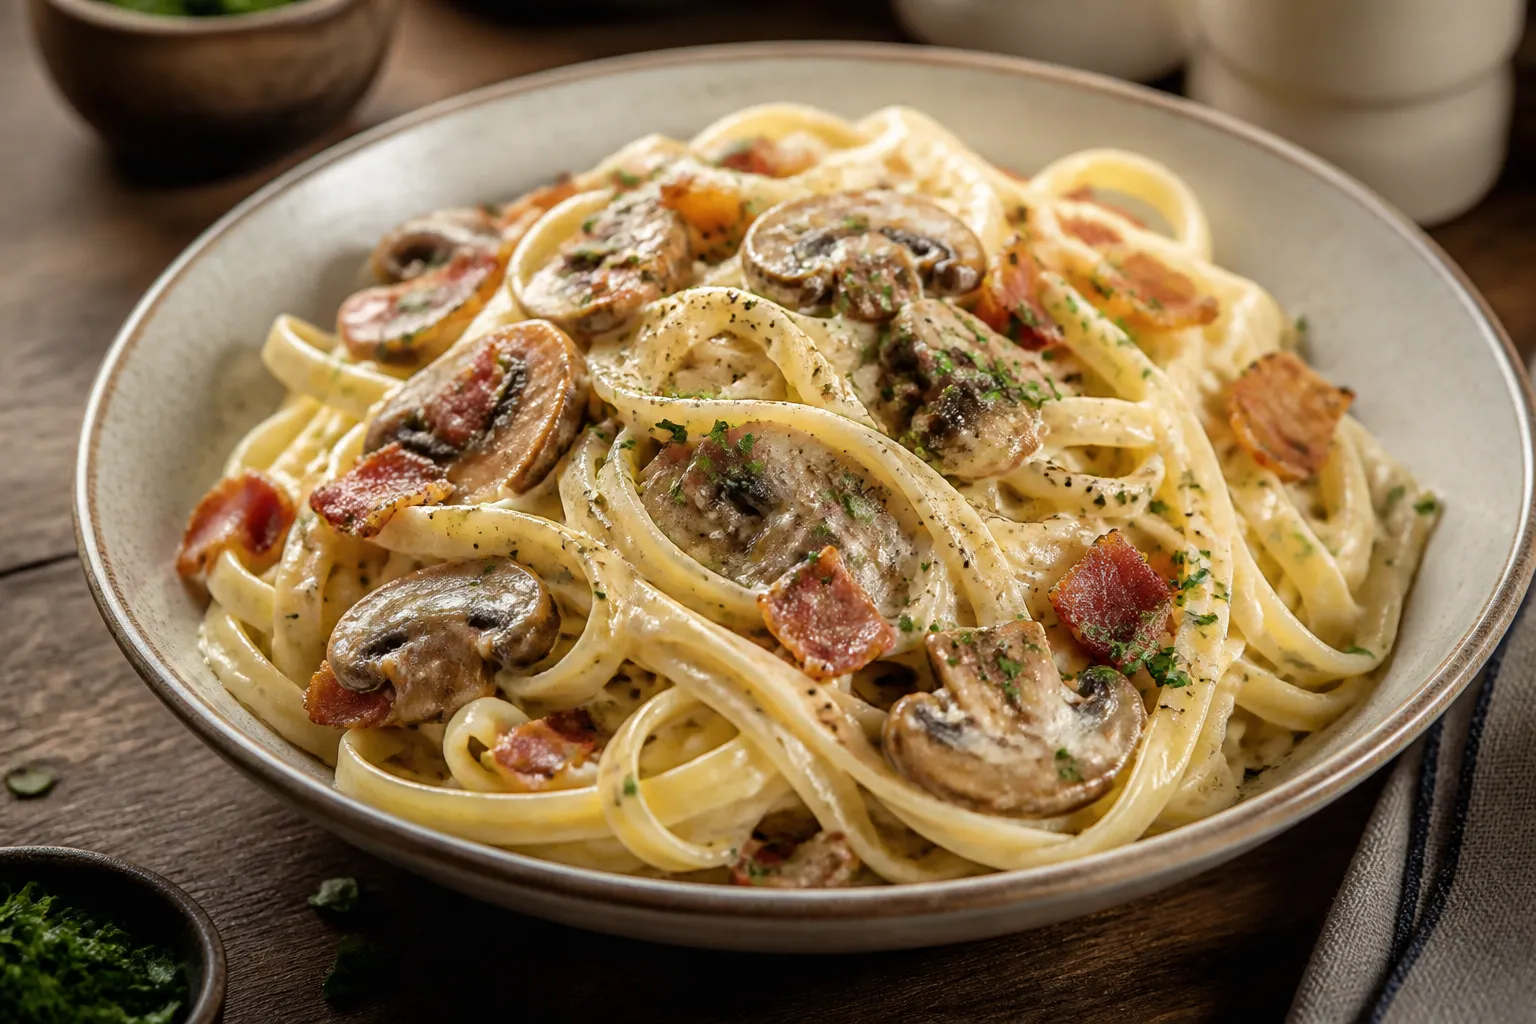
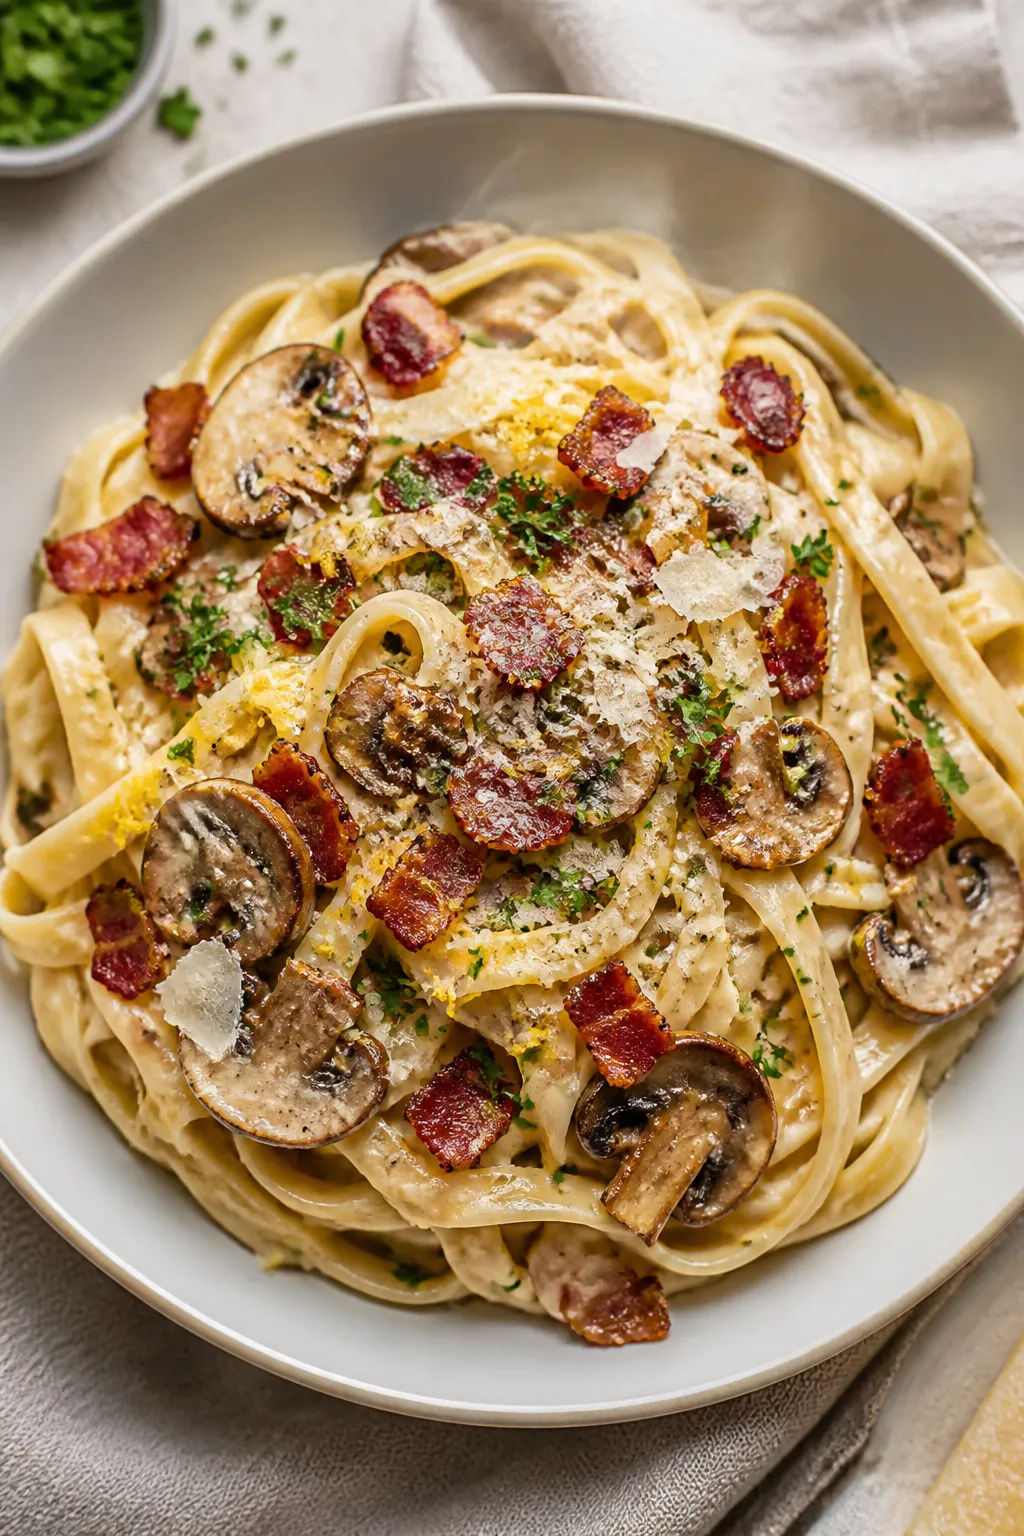
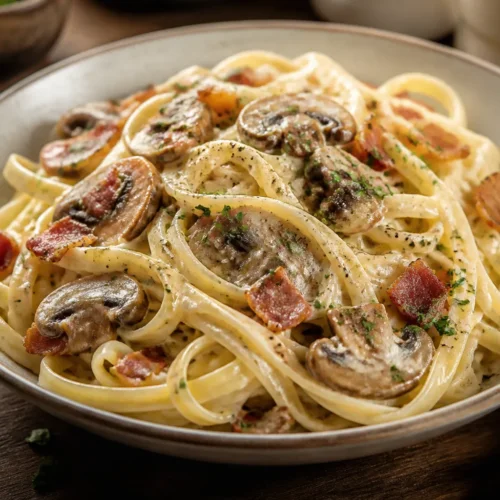
    Final plated overhead: The creamiest bacon and mushroom pasta (fettuccine) tossed to a glossy finish
    1. Boil the pasta: Bring a large pot of well-salted water to a boil.

      Cook pasta until just shy of al dente. Reserve 1 cup of pasta water, then drain.

    2. Crisp the bacon: In a wide skillet over medium heat, cook bacon until golden and crisp. Scoop out to a plate, leaving 1–2 tablespoons of bacon fat in the pan.
    3. Sauté the aromatics: Add olive oil if needed.

      Cook onion with a pinch of salt until soft, 3–4 minutes. Add garlic and cook 30 seconds, just until fragrant.

    4. Brown the mushrooms: Add mushrooms and a small pinch of salt. Let them sit to sear, then stir occasionally until browned and any liquid cooks off, 6–8 minutes.
    5. Deglaze and build flavor: Pour in broth (if using) to lift browned bits.

      Let it reduce by half. Stir in butter for extra gloss.

    6. Make it creamy: Lower heat. Add heavy cream and a small splash of pasta water.

      Simmer gently 2–3 minutes until slightly thickened.

    7. Add cheese and bacon: Stir in Parmesan until melted and smooth. Return bacon to the pan. Season with black pepper and a pinch of red pepper flakes.
    8. Toss the pasta: Add pasta to the skillet and toss, adding more pasta water a little at a time until the sauce is silky and coats the noodles.
    9. Brighten it up: Finish with lemon zest and a tiny squeeze of juice.

      Fold in parsley. Taste and adjust salt and pepper.

    10. Serve: Plate with extra Parmesan and a crack of pepper. Eat right away for peak creaminess.

    How to Store

    Cool leftovers, then store in an airtight container in the fridge for up to 3 days.

    Reheat gently on the stove with a splash of water, milk, or cream to loosen the sauce. Avoid microwaving on high; use medium power in short bursts and stir. This dish doesn’t freeze well due to the cream sauce.

    Why This is Good for You

    • Mushrooms add nutrients: They bring fiber, B vitamins, and savory depth without extra fat.
    • Protein from bacon and cheese: Helps keep you full and satisfied.
    • Balanced richness: Lemon, parsley, and black pepper keep flavors bright, so you enjoy the dish without it feeling heavy.
    • Customizable: You can lighten the cream or swap in yogurt to suit your goals.

    Common Mistakes to Avoid

    • Overcooking pasta: It should be just al dente before tossing with the sauce to avoid mushy noodles.
    • Crowding mushrooms: Overloading the pan steams them.

      Cook in batches if needed for real browning.

    • Boiling the cream: Keep the heat gentle so the sauce stays smooth and doesn’t split.
    • Skipping pasta water: The starch helps the sauce cling. Add it gradually for a glossy finish.
    • Underseasoning: Taste at the end—Parmesan and bacon are salty, but you’ll still need pepper and a touch of acid.

    Alternatives

    • Meat swaps: Pancetta or prosciutto work well. For a lighter option, try turkey bacon.
    • Mushroom mix: Combine cremini with shiitake or oyster for more complexity.
    • Dairy tweaks: Use half-and-half, or swap part of the cream with whole milk and a spoon of cream cheese for body.
    • Herb switch: Thyme or chives instead of parsley for a different vibe.
    • Pasta shape: Rigatoni, tagliatelle, or shells all hold the sauce beautifully.
    • Vegetarian: Skip bacon, sauté mushrooms in butter and olive oil, and add a splash of soy sauce for umami.
    • Gluten-free: Use your favorite gluten-free pasta and watch the cook time closely.

    FAQ

    Can I make this ahead?

    It’s best fresh, but you can prep components.

    Cook bacon and slice mushrooms in advance. Reheat the sauce gently and cook pasta right before serving.

    What if my sauce is too thick?

    Add warm pasta water a little at a time, stirring until the sauce loosens and turns glossy again.

    Can I use milk instead of cream?

    Yes, but the sauce will be thinner. Use whole milk and a small spoon of cream cheese or extra Parmesan to help it thicken.

    How do I keep the bacon crisp?

    Stir most of the bacon in, but reserve a bit to sprinkle on top right before serving.

    Which mushrooms are best?

    Cremini are reliable and flavorful.

    Mixing in shiitake or oyster adds meatiness and a deeper, savory note.

    Is wine a good addition?

    Absolutely. Swap part of the broth for 1/4 cup dry white wine when deglazing. Let it reduce before adding cream.

    In Conclusion

    This creamy bacon and mushroom pasta delivers big flavor with simple steps.

    It’s rich yet balanced, cozy yet bright, and endlessly adaptable. Keep it in your weeknight toolkit, and you’ll have a reliable, crowd-pleasing dinner any time you need a little comfort in a bowl.

    The Creamiest Bacon and Mushroom Pasta – Comfort in a Bowl

    Prep Time 10 minutes
    Cook Time 20 minutes
    Total Time 30 minutes
    Servings 4 servings

    Ingredients
      

    • Pasta: 12 oz fettuccine, linguine, or rigatoni
    • Bacon: 6–8 slices, cut into small pieces
    • Mushrooms: 12 oz cremini or baby bella, sliced
    • Onion or shallot: 1 small, finely chopped
    • Garlic: 3–4 cloves, minced
    • Heavy cream: 1 cup (or half-and-half for lighter)
    • Parmesan: 3/4 cup finely grated, plus more to serve
    • Chicken or vegetable broth: 1/2 cup (optional, for depth)
    • Butter: 1 tablespoon
    • Olive oil: 1 tablespoon
    • Lemon: 1, for zest and a squeeze of juice
    • Fresh parsley: Small handful, chopped
    • Salt and black pepper
    • Red pepper flakes: Pinch (optional)

    Instructions
     

    • Boil the pasta: Bring a large pot of well-salted water to a boil. Cook pasta until just shy of al dente. Reserve 1 cup of pasta water, then drain.
    • Crisp the bacon: In a wide skillet over medium heat, cook bacon until golden and crisp. Scoop out to a plate, leaving 1–2 tablespoons of bacon fat in the pan.
    • Sauté the aromatics: Add olive oil if needed. Cook onion with a pinch of salt until soft, 3–4 minutes. Add garlic and cook 30 seconds, just until fragrant.
    • Brown the mushrooms: Add mushrooms and a small pinch of salt. Let them sit to sear, then stir occasionally until browned and any liquid cooks off, 6–8 minutes.
    • Deglaze and build flavor: Pour in broth (if using) to lift browned bits. Let it reduce by half. Stir in butter for extra gloss.
    • Make it creamy: Lower heat. Add heavy cream and a small splash of pasta water. Simmer gently 2–3 minutes until slightly thickened.
    • Add cheese and bacon: Stir in Parmesan until melted and smooth. Return bacon to the pan. Season with black pepper and a pinch of red pepper flakes.
    • Toss the pasta: Add pasta to the skillet and toss, adding more pasta water a little at a time until the sauce is silky and coats the noodles.
    • Brighten it up: Finish with lemon zest and a tiny squeeze of juice. Fold in parsley. Taste and adjust salt and pepper.
    • Serve: Plate with extra Parmesan and a crack of pepper. Eat right away for peak creaminess.