Blog

  • Easy Pumpkin Muffins With Cake Mix – Simple, Cozy, and Delicious

    Easy Pumpkin Muffins With Cake Mix – Simple, Cozy, and Delicious

    These muffins are the kind of treat you whip up on a busy weeknight and still feel proud to share. The batter comes together in minutes, and the results are soft, tender, and full of warm pumpkin spice flavor. No mixer, no fuss—just a bowl, a spoon, and a baking pan.

    They’re perfect for breakfast, snacks, or bringing to a fall get-together. And yes, they taste like you put in way more effort than you actually did.

    Why This Recipe Works
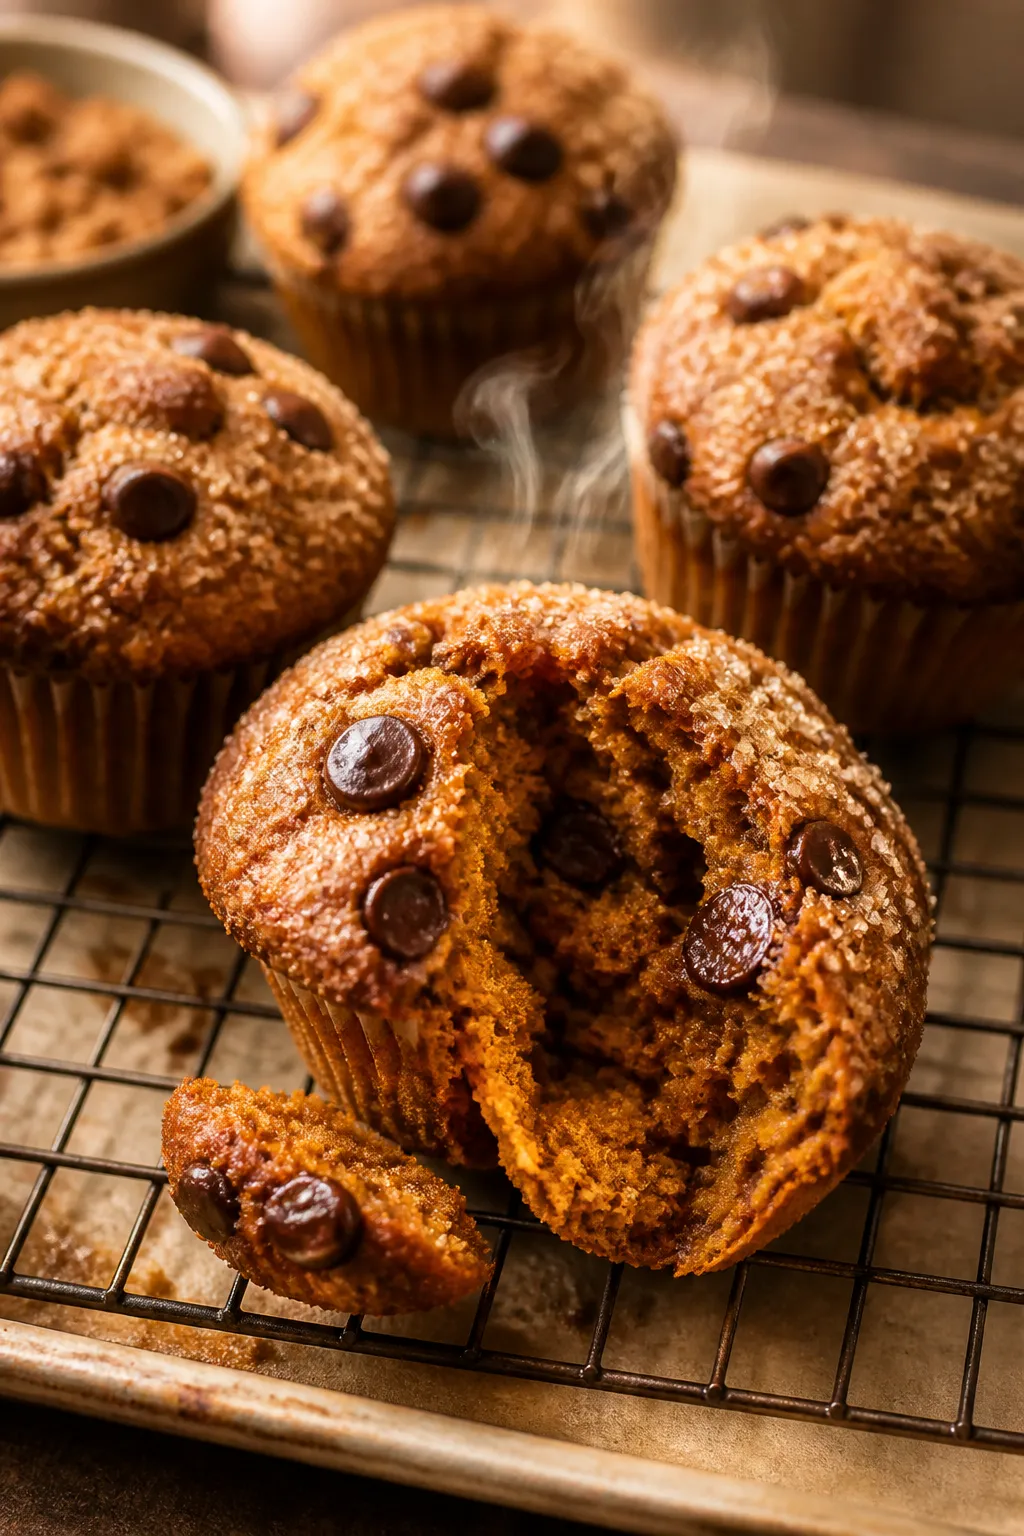
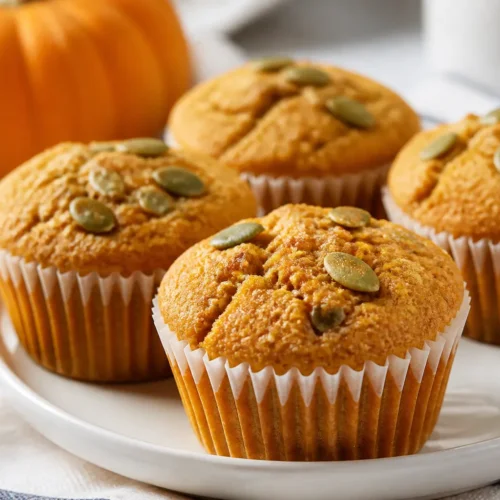
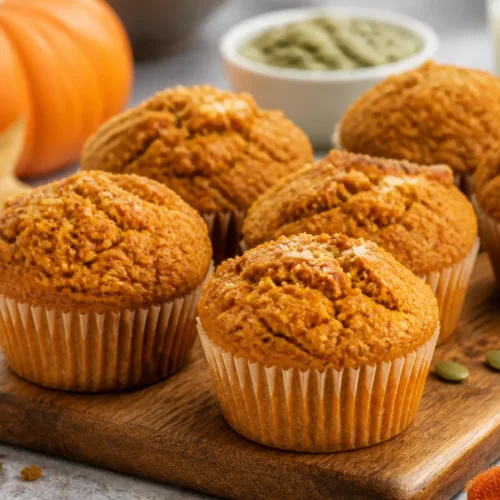
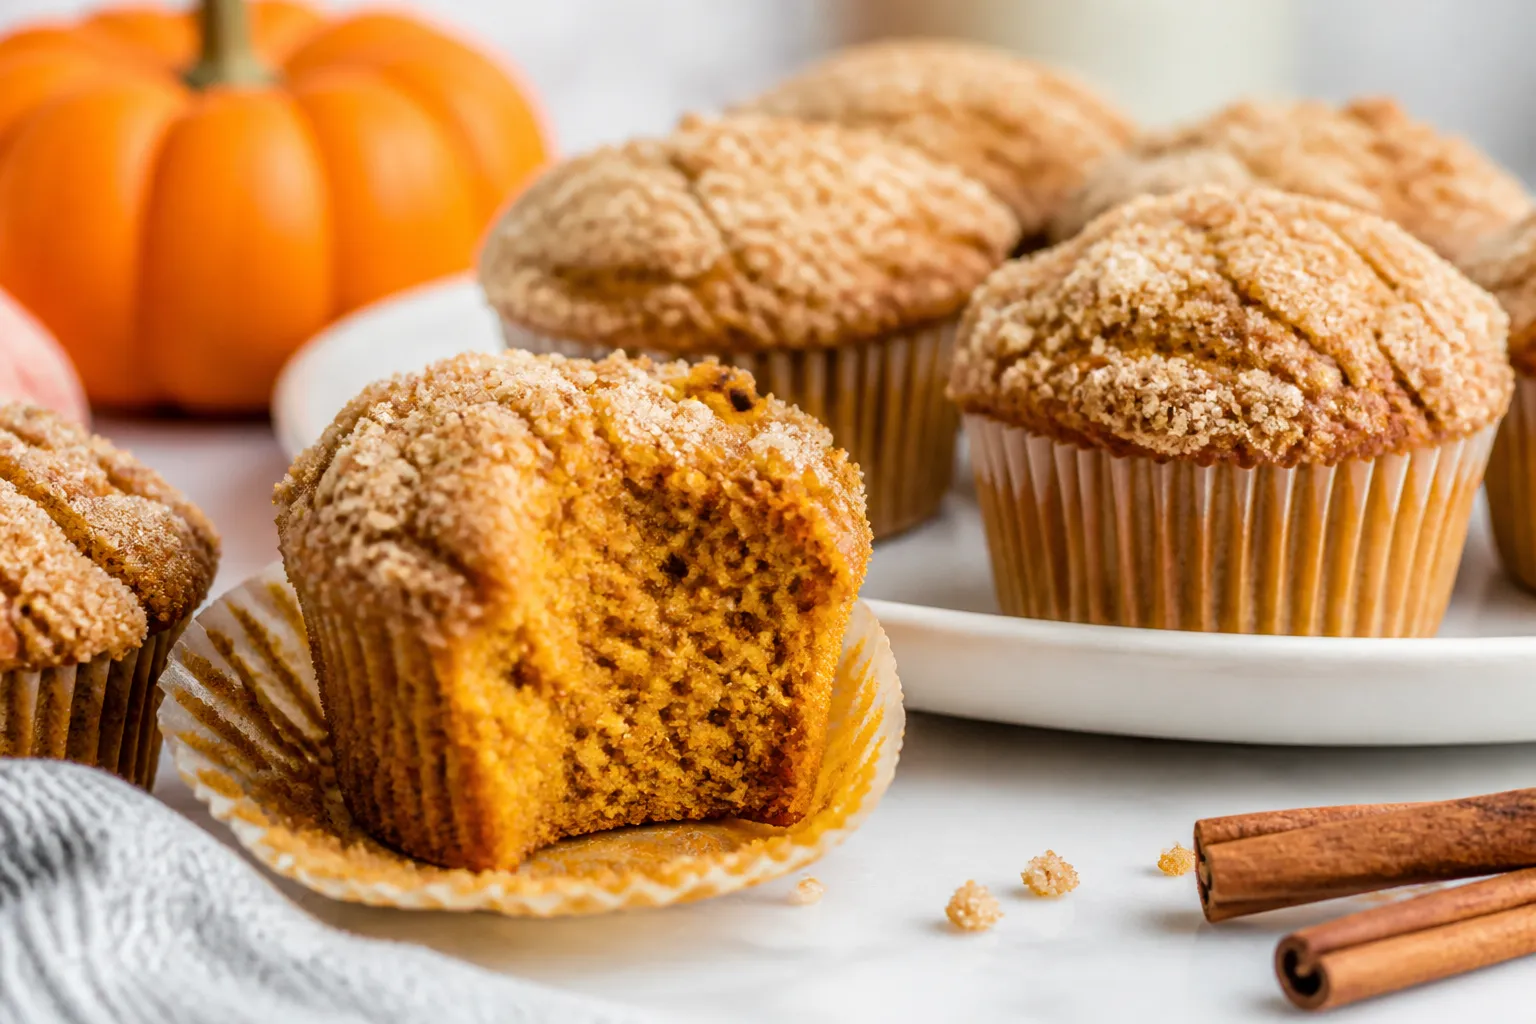
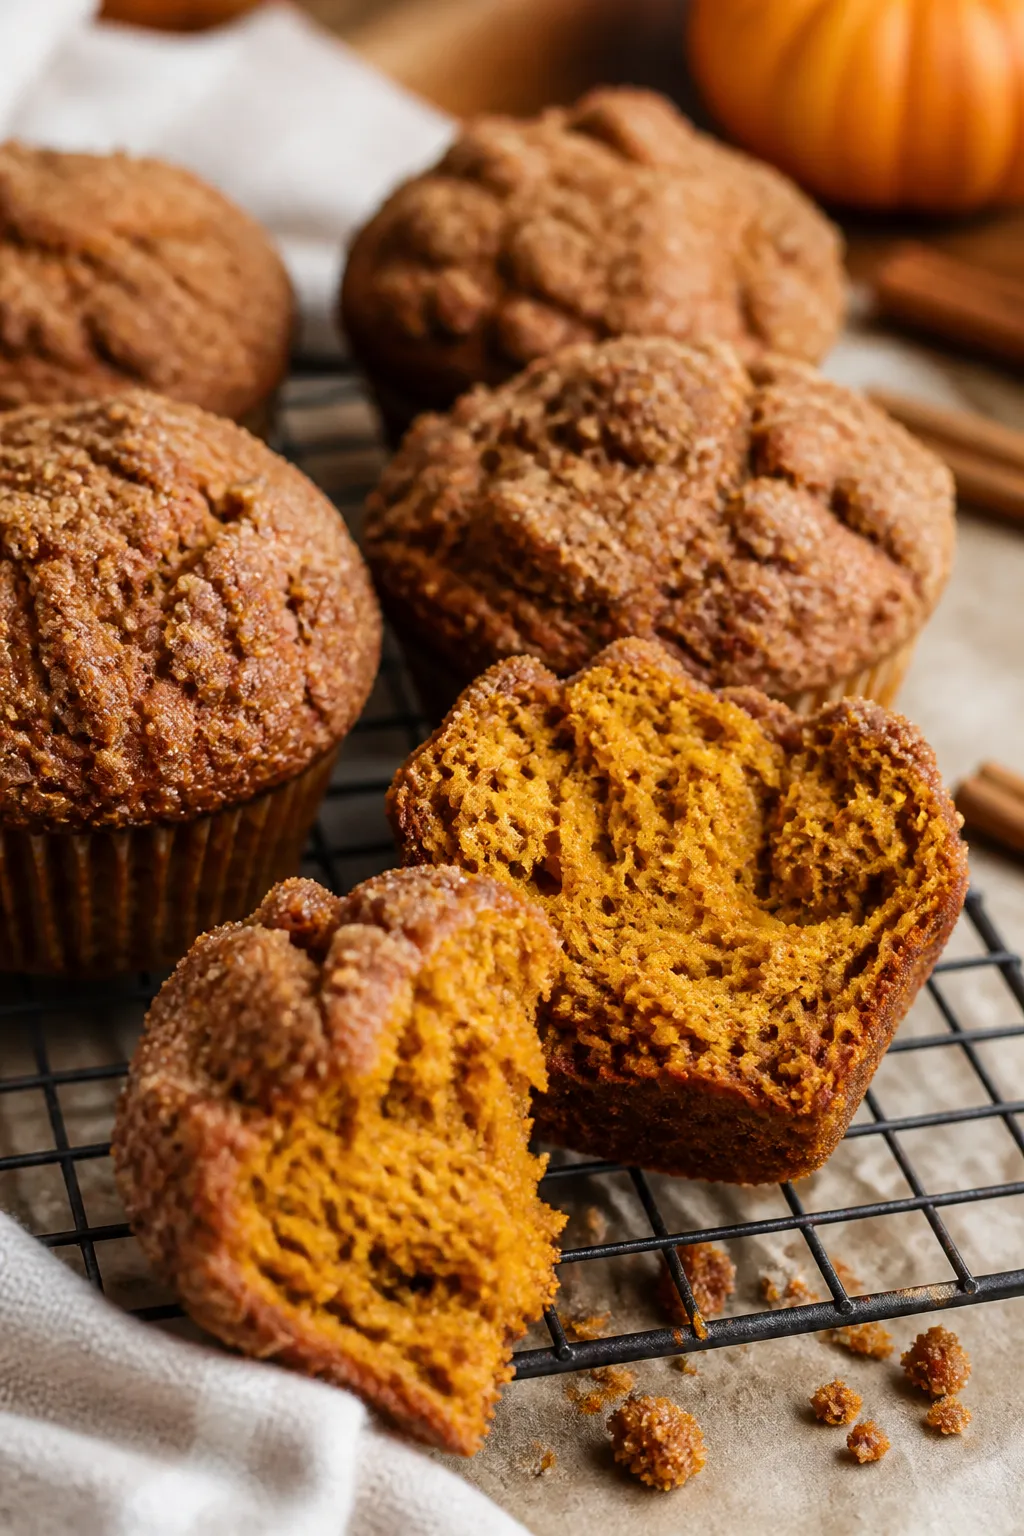
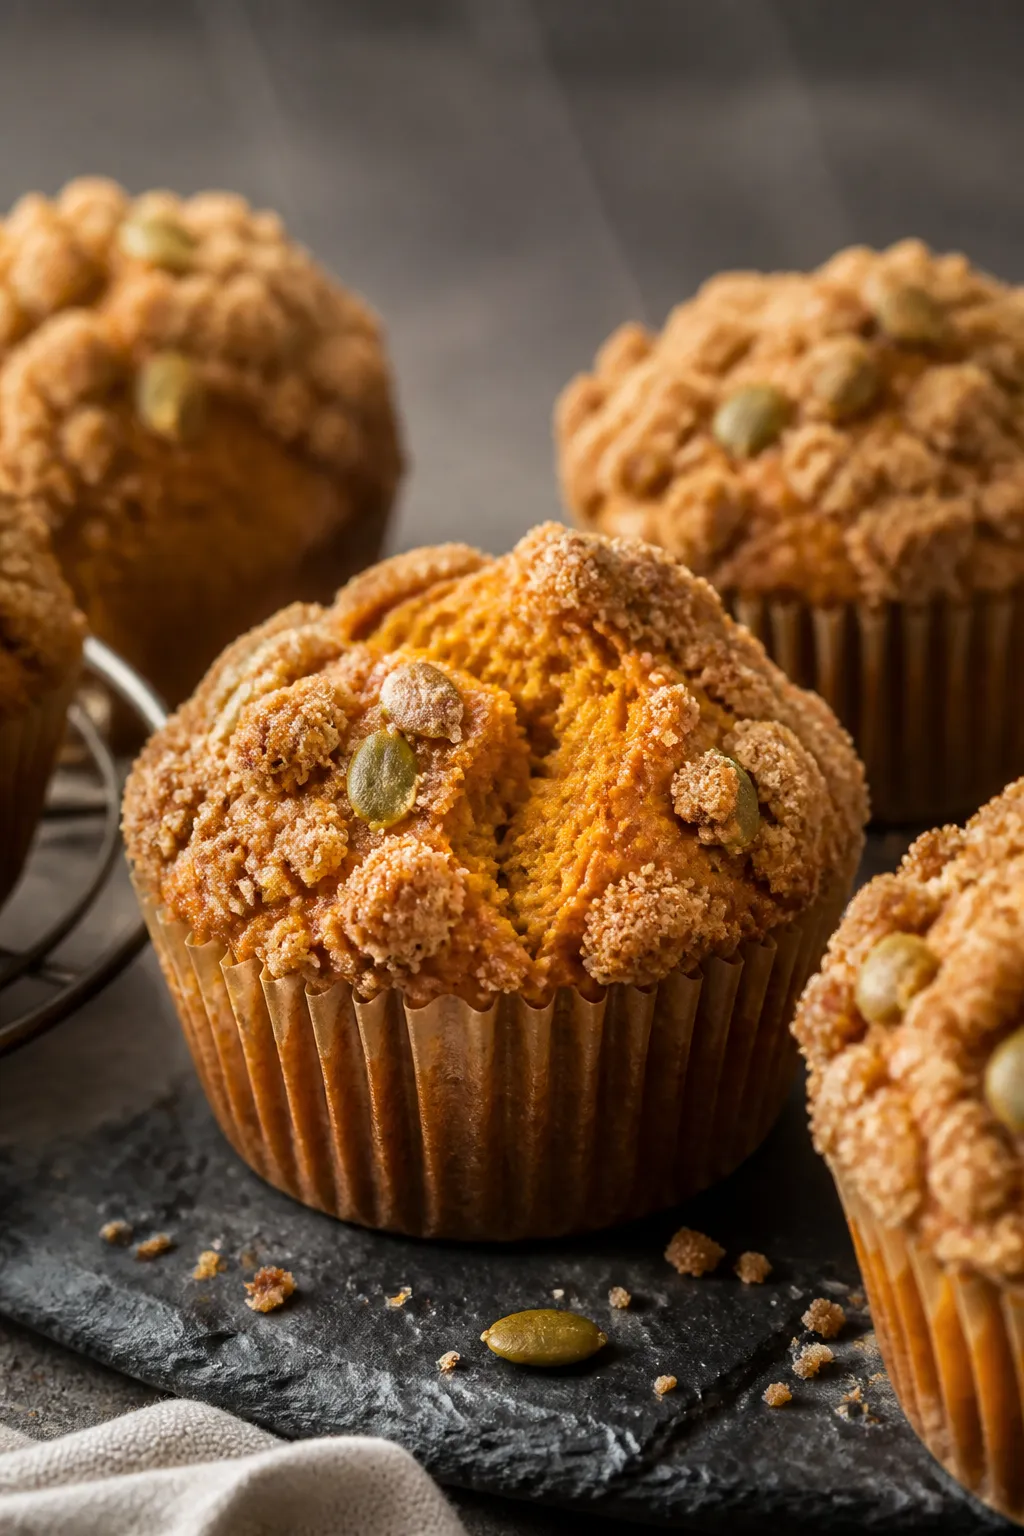
    Close-up detail: Freshly baked pumpkin spice muffins just out of the pan, domed tops with a sparklin

    This recipe uses a boxed cake mix to skip measuring flour, sugar, and leaveners. The mix already has the structure and sweetness built in, so all you need is pumpkin to create a moist, fluffy crumb.

    Pumpkin puree adds natural richness and a silky texture without extra oil or eggs. The warm spices in the mix (or your own spice blend) amplify that cozy fall flavor. It’s a near-guarantee for soft, bakery-style muffins every time.

    What You’ll Need

    • 1 box (about 15.25 oz) spice cake mix (yellow cake mix also works—add spices below)
    • 1 can (15 oz) pumpkin puree (not pumpkin pie filling)
    • 1–2 teaspoons pumpkin pie spice (only if using yellow cake mix; optional extra if using spice cake)
    • 1 teaspoon vanilla extract (optional, but nice)
    • Pinch of salt (balances sweetness)
    • Optional mix-ins: 1/2 cup chocolate chips, chopped nuts, or dried cranberries
    • Optional toppings: coarse sugar, streusel, or a light glaze

    Instructions
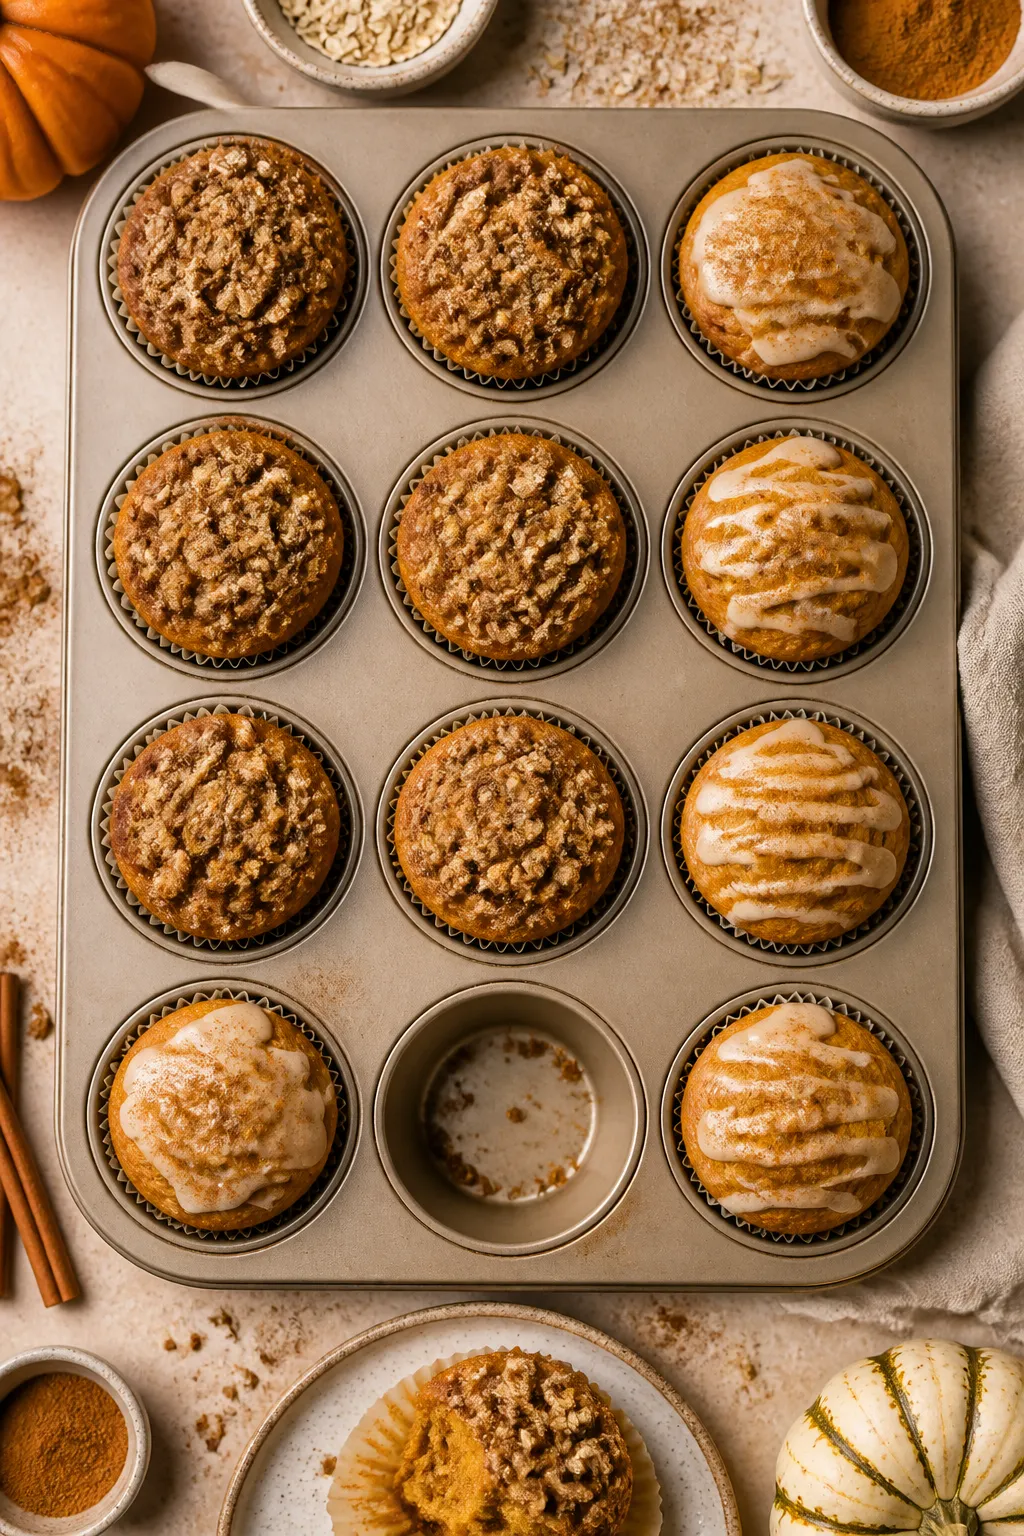
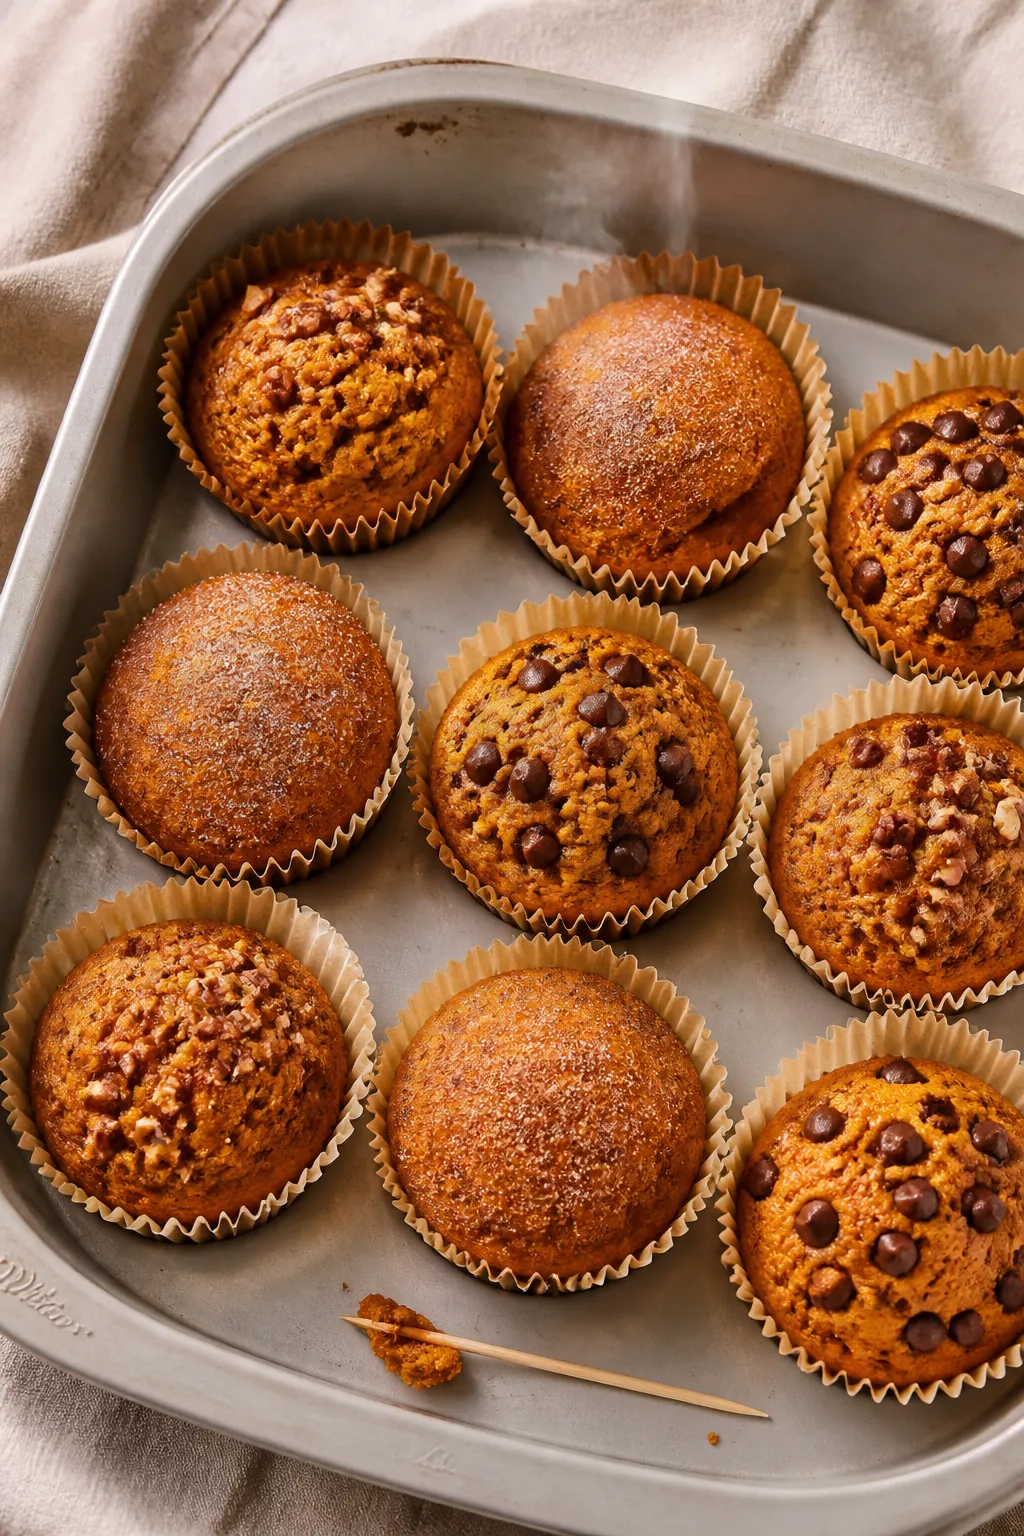
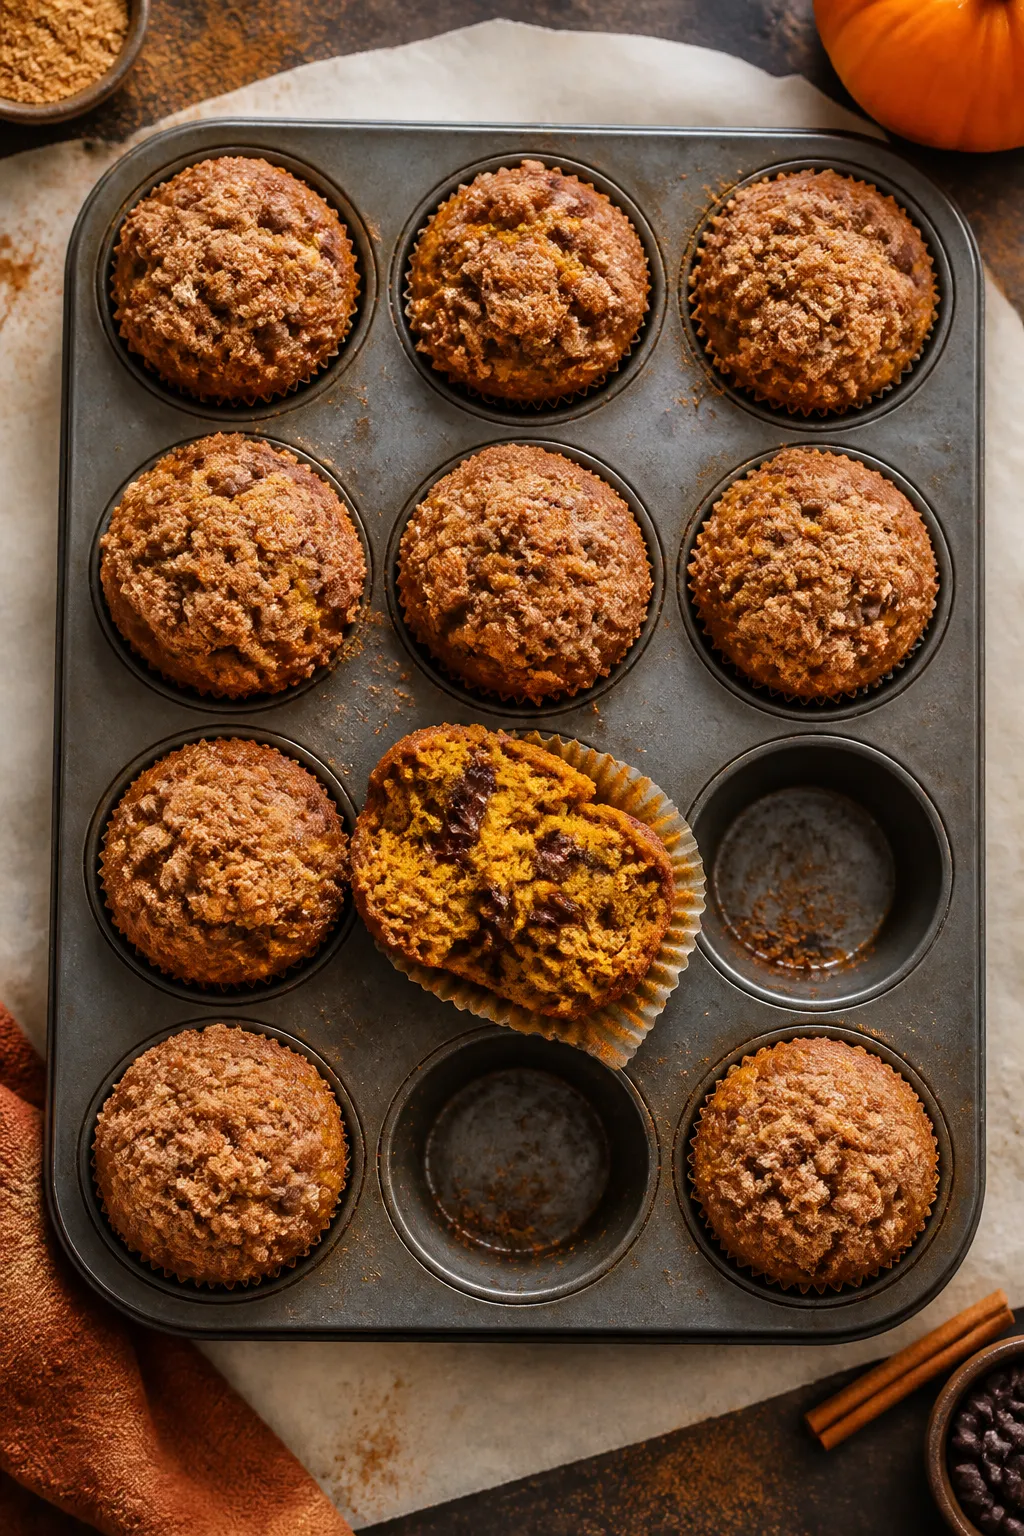
    Tasty top view, final presentation: Overhead shot of a 12-cup muffin tin filled with evenly risen pu
    1. Prep the pan: Heat the oven to 350°F (175°C).

      Line a 12-cup muffin tin with paper liners or lightly grease.

    2. Mix the batter: In a large bowl, stir together the cake mix, pumpkin puree, vanilla, and salt. If using yellow cake mix, add pumpkin pie spice. Fold just until combined.

      The batter will be thick.

    3. Add extras: Gently fold in any mix-ins, like chocolate chips or nuts. Don’t overmix.
    4. Fill the cups: Divide the batter evenly among the muffin cups, filling each about 3/4 full. Sprinkle coarse sugar or streusel on top if you like.
    5. Bake: Bake for 18–22 minutes, or until a toothpick inserted in the center comes out clean or with a few moist crumbs.
    6. Cool: Let the muffins rest in the pan for 5 minutes, then move them to a wire rack to cool completely.

    How to Store

    • Room temperature: Keep in an airtight container for up to 3 days.

      Add a paper towel under and over the muffins to absorb moisture.

    • Refrigerator: Store up to 5 days. Warm briefly in the microwave for best texture.
    • Freezer: Wrap individually and freeze up to 2 months. Thaw at room temperature or microwave 20–30 seconds.

    Why This Is Good for You

    Pumpkin is rich in beta-carotene, which your body converts to vitamin A to support vision and immunity.

    It also offers fiber, which helps you feel satisfied and supports digestion. By skipping oil and eggs, these muffins are naturally lower in fat than many bakery versions. You still get a soft, moist crumb with fewer ingredients and less heaviness.

    Common Mistakes to Avoid

    • Using pumpkin pie filling: It’s sweetened and spiced already, which throws off the recipe.

      Use plain pumpkin puree.

    • Overmixing: Stir just until combined to avoid dense or tough muffins.
    • Overbaking: Start checking at 18 minutes. Dry muffins usually mean they stayed in too long.
    • Skipping liners or grease: These muffins are moist and can stick. Prep the pan well.
    • Filling cups to the brim: Aim for 3/4 full for even rise and no spillover.

    Variations You Can Try

    • Chocolate Chip: Fold in 1/2–3/4 cup mini chocolate chips.
    • Cream Cheese Swirl: Beat 4 oz cream cheese with 2 tablespoons sugar and 1/2 teaspoon vanilla.

      Spoon small dollops on top and swirl lightly before baking.

    • Oat Crunch: Top with a quick streusel of oats, brown sugar, cinnamon, and melted butter.
    • Cranberry Orange: Add 1/2 cup dried cranberries and 1 teaspoon orange zest.
    • Nutty Maple: Stir in chopped pecans or walnuts and drizzle baked muffins with a little maple glaze.
    • Gluten-Free: Use a gluten-free cake mix and confirm your add-ins are gluten-free.

    FAQ

    Can I use a different cake mix flavor?

    Yes. Spice cake is classic, but yellow, white, or vanilla cake mix also work. If you swap, add 1–2 teaspoons pumpkin pie spice or a mix of cinnamon, nutmeg, ginger, and cloves for that fall flavor.

    Do I need eggs or oil?

    No.

    The pumpkin puree replaces both in this recipe. If you prefer a richer muffin, you can add 1–2 tablespoons oil, but it’s optional.

    Can I make mini muffins?

    Absolutely. Fill mini muffin cups about 2/3 full and bake 10–13 minutes, checking early so they don’t overbake.

    How do I know when they’re done?

    Look for domed tops and a toothpick that comes out clean or with a few moist crumbs.

    The muffins should spring back lightly when touched.

    Can I use homemade pumpkin puree?

    Yes, but make sure it’s thick. If it’s watery, drain it with paper towels to avoid a gummy texture.

    Why is my batter so thick?

    That’s normal. Thick batter makes moist, tender muffins.

    Resist the urge to thin it with water or milk.

    Wrapping Up

    Easy Pumpkin Muffins with Cake Mix deliver big fall flavor with almost no effort. You get soft, cozy muffins in under 30 minutes and a recipe flexible enough for countless variations. Keep a can of pumpkin and a cake mix in the pantry, and you’re always a few steps from a warm, homemade treat.
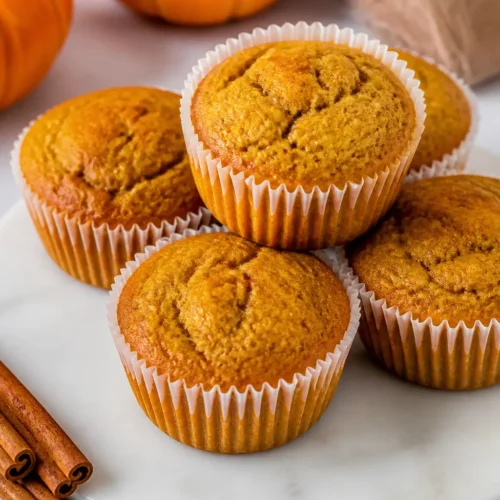
    Easy Pumpkin Muffins With Cake Mix – Simple, Cozy, and Delicious

    Prep Time 5 minutes
    Cook Time 20 minutes
    Total Time 25 minutes
    Servings 12 servings

    Ingredients
      

    • 1 box (about 15.25 oz) spice cake mix (yellow cake mix also works—add spices below)
    • 1 can (15 oz) pumpkin puree (not pumpkin pie filling)
    • 1–2 teaspoons pumpkin pie spice (only if using yellow cake mix; optional extra if using spice cake)
    • 1 teaspoon vanilla extract (optional, but nice)
    • Pinch of salt (balances sweetness)
    • Optional mix-ins: 1/2 cup chocolate chips, chopped nuts, or dried cranberries
    • Optional toppings: coarse sugar, streusel, or a light glaze

    Instructions
     

    • Prep the pan: Heat the oven to 350°F (175°C). Line a 12-cup muffin tin with paper liners or lightly grease.
    • Mix the batter: In a large bowl, stir together the cake mix, pumpkin puree, vanilla, and salt. If using yellow cake mix, add pumpkin pie spice. Fold just until combined. The batter will be thick.
    • Add extras: Gently fold in any mix-ins, like chocolate chips or nuts. Don’t overmix.
    • Fill the cups: Divide the batter evenly among the muffin cups, filling each about 3/4 full. Sprinkle coarse sugar or streusel on top if you like.
    • Bake: Bake for 18–22 minutes, or until a toothpick inserted in the center comes out clean or with a few moist crumbs.
    • Cool: Let the muffins rest in the pan for 5 minutes, then move them to a wire rack to cool completely.
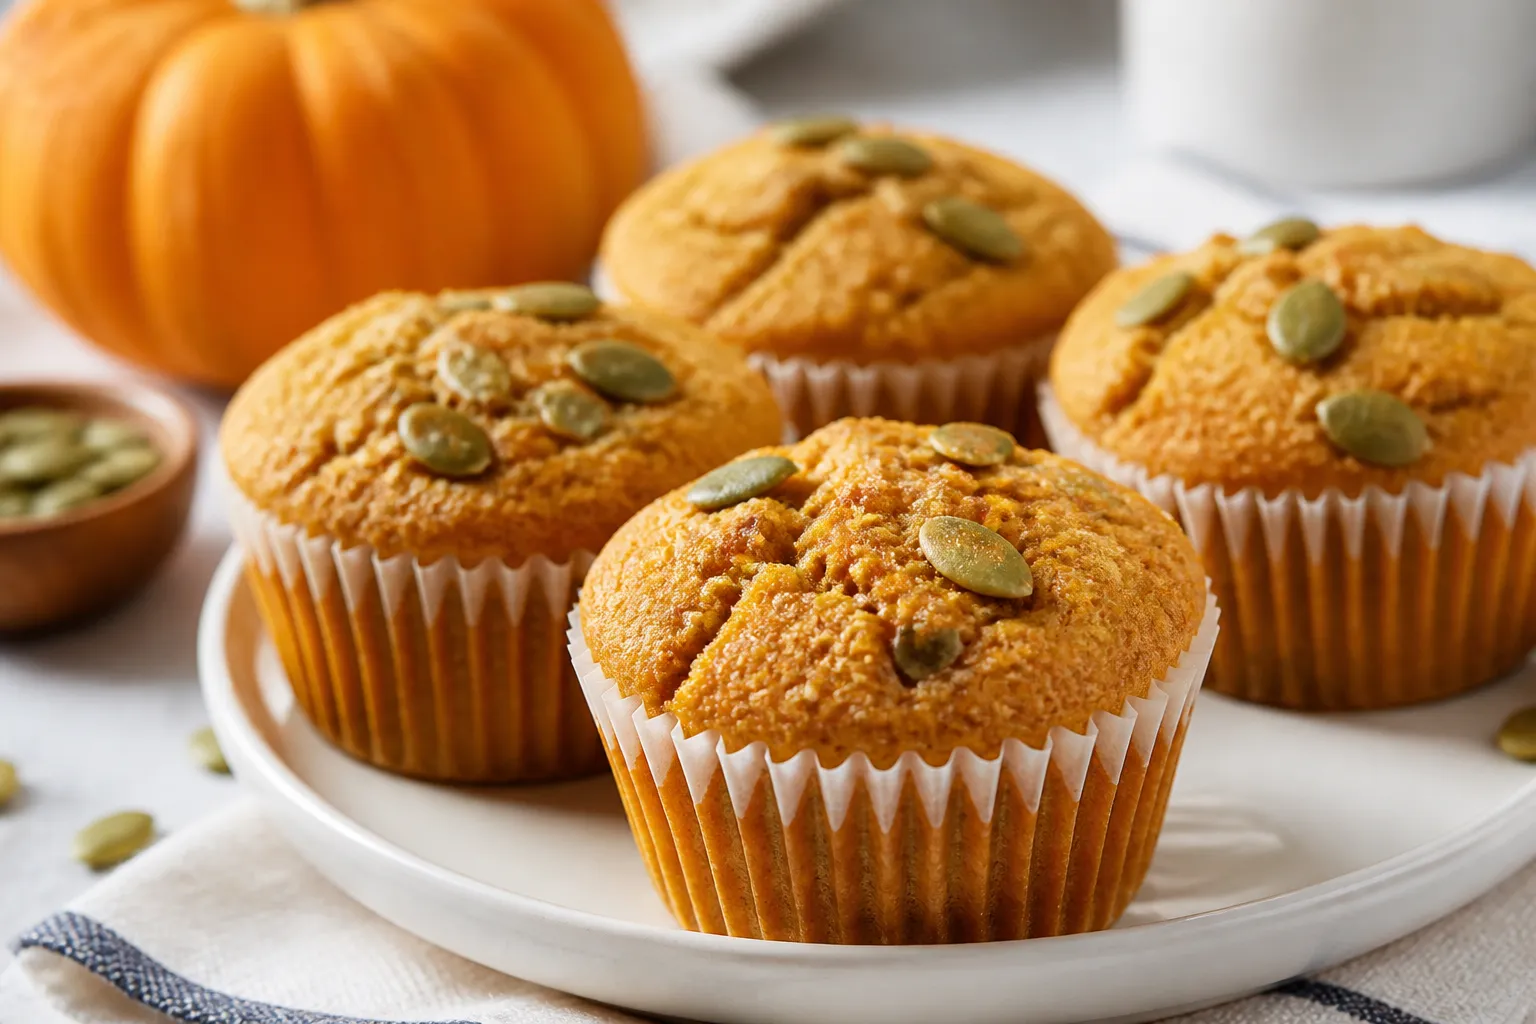
  • Low Carb Pumpkin Muffins That Taste Amazing – Cozy, Moist, and Easy

    Low Carb Pumpkin Muffins That Taste Amazing – Cozy, Moist, and Easy

    These low carb pumpkin muffins check all the boxes: moist, warmly spiced, and just sweet enough. They’re perfect for breakfast, snacks, or a quick treat with coffee. You get the classic pumpkin muffin flavor without the carb crash, and they bake up in under 30 minutes.

    If you’re watching sugar or following a low carb lifestyle, this recipe makes it easy to stay on track without feeling deprived.

    What Makes This Recipe So Good

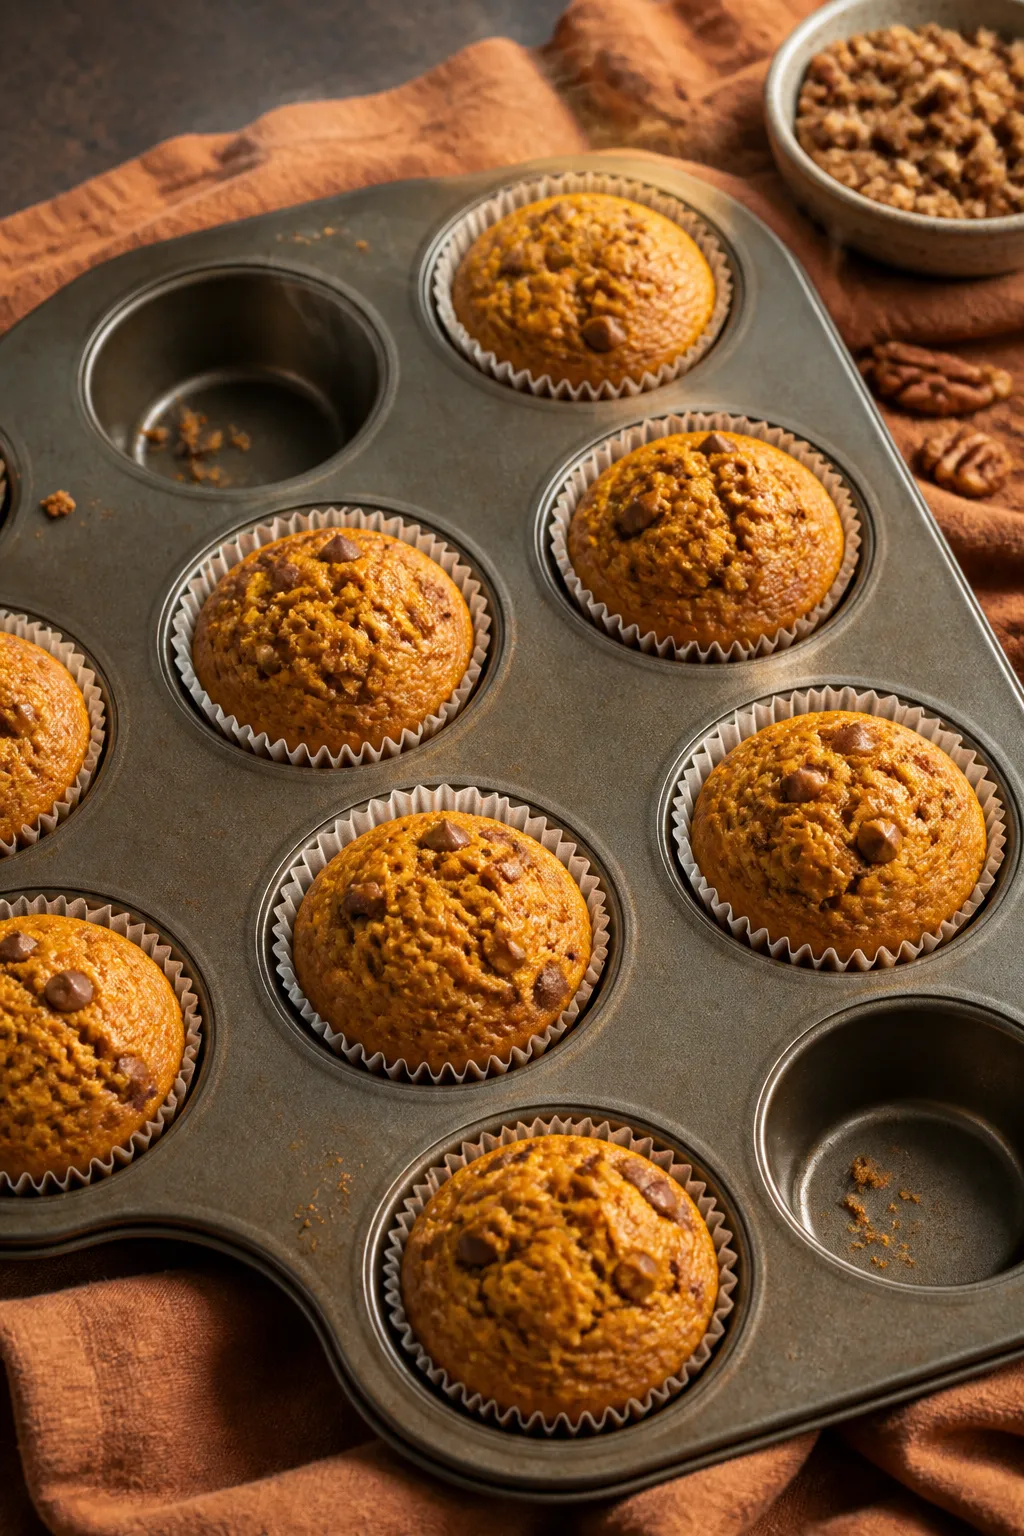
    Overhead shot of freshly baked low carb pumpkin muffins still in the tin, golden tops just set with
    • Real pumpkin flavor: Not just spice—actual pumpkin puree for moisture and depth.
    • Low in carbs, rich in fiber: Almond flour and pumpkin bring texture and satisfaction without the flour bloat.
    • Naturally gluten-free: No wheat flour, so they’re gentler on digestion.
    • Perfectly sweet: Uses a low glycemic sweetener for a balanced, bakery-style taste.
    • Freezer-friendly: Make a batch and stash some for later.

    Shopping List

    • Almond flour (finely ground, blanched)
    • Coconut flour
    • Baking powder
    • Fine sea salt
    • Cinnamon
    • Ground ginger
    • Ground nutmeg
    • Ground cloves (optional but lovely)
    • Eggs
    • Unsweetened pumpkin puree (not pumpkin pie filling)
    • Unsweetened almond milk (or other low carb milk)
    • Melted butter or coconut oil
    • Vanilla extract
    • Granulated low carb sweetener (erythritol/monk fruit blend works great)
    • Optional mix-ins: sugar-free chocolate chips, chopped pecans or walnuts

    How to Make It

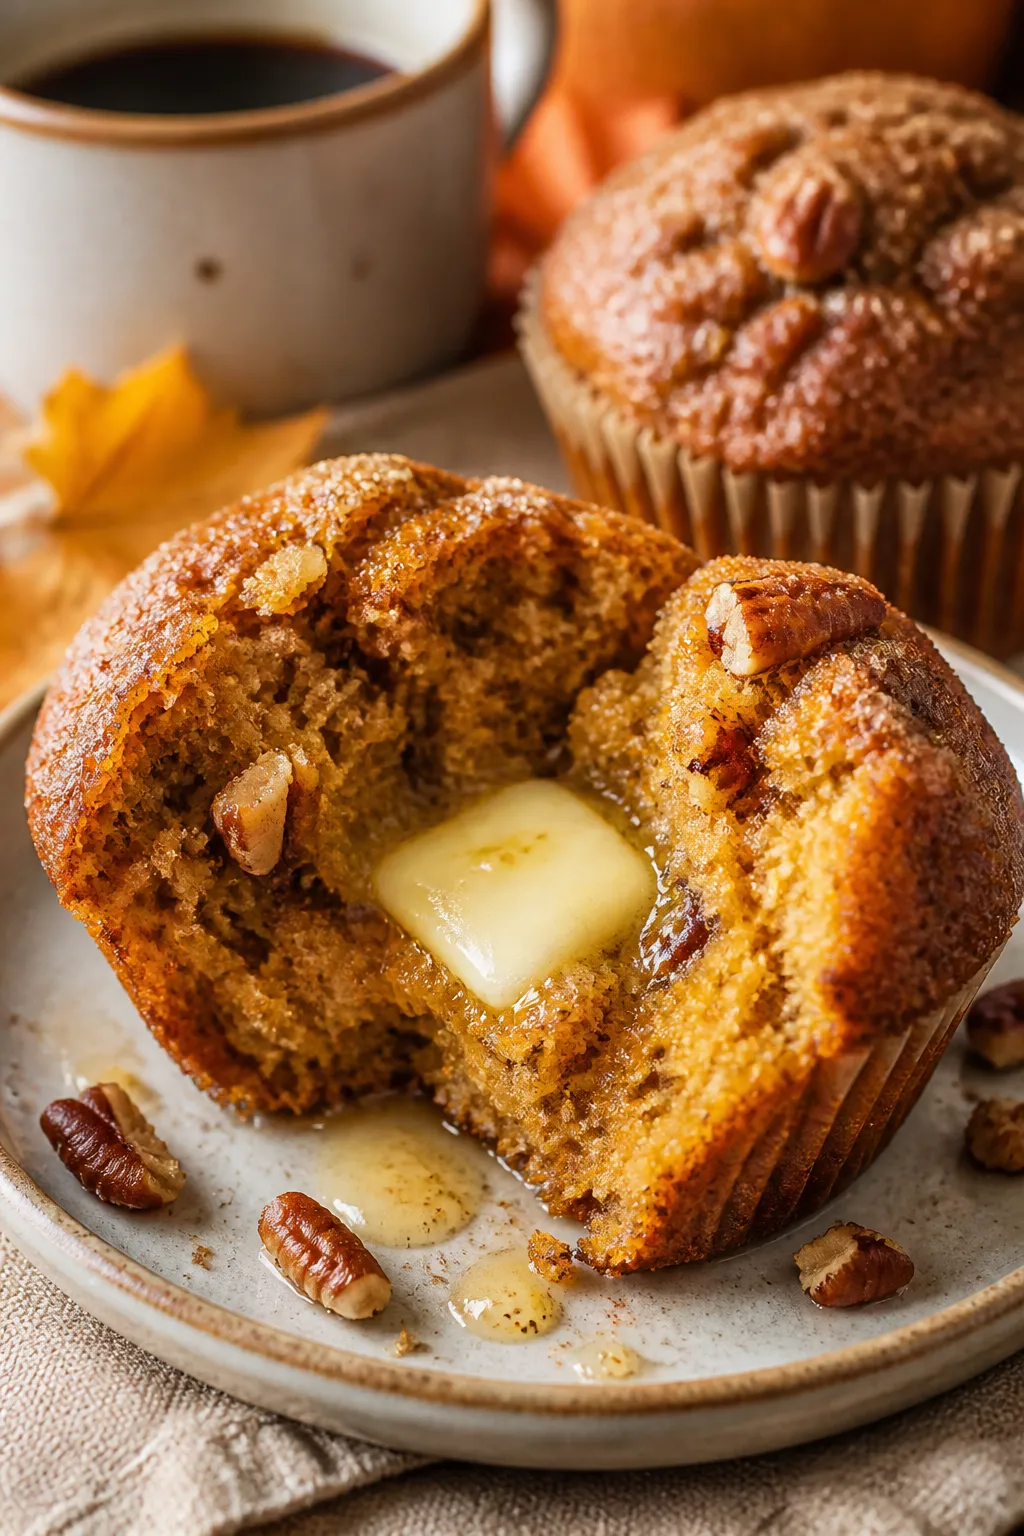
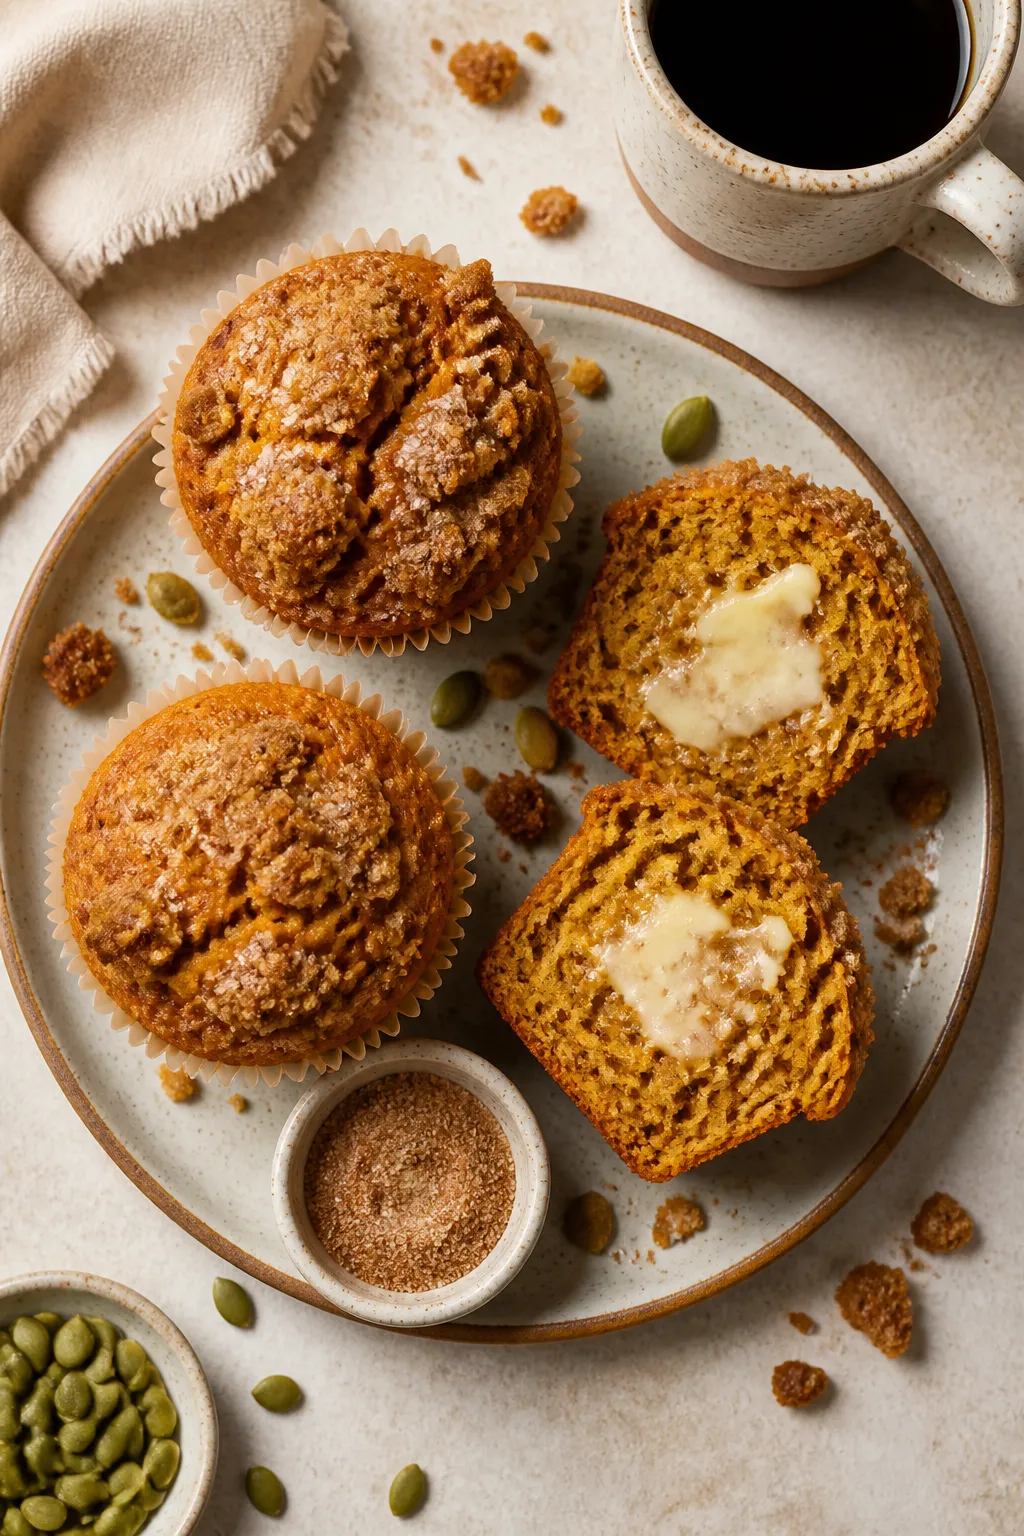
    Close-up detail of a split, warm pumpkin muffin on a small ceramic plate, pat of butter melting into
    1. Prep the pan: Heat oven to 350°F (175°C). Line a 12-cup muffin tin with paper liners or grease well.
    2. Mix dry ingredients: In a large bowl, whisk 2 cups almond flour, 2 tablespoons coconut flour, 2 teaspoons baking powder, 1/2 teaspoon salt, 2 teaspoons cinnamon, 1/2 teaspoon ginger, 1/4 teaspoon nutmeg, and a pinch of cloves.
    3. Whisk wet ingredients: In another bowl, whisk 3 large eggs, 1 cup pumpkin puree, 1/3 cup melted butter or coconut oil, 1/3 cup unsweetened almond milk, 1–2 teaspoons vanilla, and 1/2 to 3/4 cup granulated low carb sweetener (adjust to taste).
    4. Combine: Pour the wet mixture into the dry. Stir gently until just combined.

      The batter should be thick but scoopable. Fold in 1/2 cup nuts or sugar-free chocolate chips if using.

    5. Fill: Divide batter among muffin cups, filling about 3/4 full. Smooth tops lightly with a spoon.
    6. Bake: Bake 18–22 minutes, until tops are set and a toothpick comes out clean or with a few moist crumbs.

      Do not overbake.

    7. Cool: Let muffins cool in the pan 5–10 minutes, then transfer to a rack. They firm up as they cool.

    How to Store

    • Room temperature: Keep in an airtight container for up to 2 days.
    • Refrigerator: Store up to 6 days. Warm briefly in the microwave or oven for best texture.
    • Freezer: Freeze in a zip-top bag up to 3 months.

      Thaw overnight in the fridge or reheat from frozen at 300°F (150°C) for 8–10 minutes.

    Health Benefits

    • Lower carbs, steady energy: Using almond and coconut flour helps reduce net carbs and support stable blood sugar.
    • Fiber-rich: Pumpkin and nut flours add fiber to keep you full longer.
    • Healthy fats: Almond flour and butter or coconut oil provide satiating fats that support a low carb lifestyle.
    • Micronutrients: Pumpkin brings vitamin A, potassium, and antioxidants.
    • Gluten-free friendly: Great for those avoiding gluten.

    What Not to Do

    • Don’t swap in wheat flour 1:1: The ratios here are designed for nut flours. A direct swap won’t work.
    • Don’t use pumpkin pie filling: It’s pre-sweetened and spiced, which throws off the recipe.
    • Don’t skip the liners or grease: Low carb batters can stick more than traditional ones.
    • Don’t overbake: Dry muffins happen fast with almond flour. Check early.
    • Don’t overmix: Gentle mixing keeps the crumb tender.

    Alternatives

    • Dairy-free: Use coconut oil instead of butter and a dairy-free milk.
    • Egg-free option: Try 3 flax eggs (1 tbsp ground flax + 2.5 tbsp water each).

      Texture will be denser but still tasty.

    • Spice swap: Use 2–2.5 teaspoons pumpkin pie spice if you prefer a blend.
    • Sweetener choices: Erythritol/monk fruit blend, allulose, or stevia blends all work. Adjust to taste and be mindful of sweetness strength.
    • Toppings: Sprinkle with chopped pecans or a light dusting of granulated sweetener mixed with cinnamon before baking.

    FAQ

    How many carbs are in each muffin?

    Exact numbers vary by brand and mix-ins, but most versions land around 4–6 net carbs per muffin when using a zero-calorie sweetener and no chocolate chips. Check your ingredient labels for the most accurate count.

    Can I make these into mini muffins?

    Yes.

    Fill mini muffin cups about 3/4 full and bake 10–13 minutes. Start checking at 10 minutes since minis bake quickly.

    Why are my muffins sinking in the middle?

    They were likely underbaked or measured too wet. Bake until the centers spring back and a toothpick tests clean.

    Also, let them cool in the pan for a few minutes to set.

    Can I use coconut flour only?

    No. Coconut flour is highly absorbent and needs more eggs and liquid. The almond-coconut combo keeps them moist and balanced.

    Can I add protein powder?

    You can swap up to 1/4 cup of the almond flour for an unflavored or vanilla whey or plant protein.

    Add a splash more almond milk if the batter gets too thick.

    Final Thoughts

    These low carb pumpkin muffins deliver classic fall comfort with a light, satisfying texture. They’re simple to make, freeze well, and fit into busy routines and low carb goals. Keep a batch on hand for quick breakfasts, after-school snacks, or an easy treat with tea.

    Warm one up, add a pat of butter, and enjoy that cozy pumpkin goodness anytime.

    Low Carb Pumpkin Muffins That Taste Amazing – Cozy, Moist, and Easy

    Prep Time 10 minutes
    Cook Time 20 minutes
    Total Time 30 minutes
    Servings 12 servings

    Ingredients
      

    • Almond flour (finely ground, blanched)
    • Coconut flour
    • Baking powder
    • Fine sea salt
    • Cinnamon
    • Ground ginger
    • Ground nutmeg
    • Ground cloves (optional but lovely)
    • Eggs
    • Unsweetened pumpkin puree (not pumpkin pie filling)
    • Unsweetened almond milk (or other low carb milk)
    • Melted butter or coconut oil
    • Vanilla extract
    • Granulated low carb sweetener (erythritol/monk fruit blend works great)
    • Optional mix-ins: sugar-free chocolate chips, chopped pecans or walnuts

    Instructions
     

    • Prep the pan: Heat oven to 350°F (175°C). Line a 12-cup muffin tin with paper liners or grease well.
    • Mix dry ingredients: In a large bowl, whisk 2 cups almond flour, 2 tablespoons coconut flour, 2 teaspoons baking powder, 1/2 teaspoon salt, 2 teaspoons cinnamon, 1/2 teaspoon ginger, 1/4 teaspoon nutmeg, and a pinch of cloves.
    • Whisk wet ingredients: In another bowl, whisk 3 large eggs, 1 cup pumpkin puree, 1/3 cup melted butter or coconut oil, 1/3 cup unsweetened almond milk, 1–2 teaspoons vanilla, and 1/2 to 3/4 cup granulated low carb sweetener (adjust to taste).
    • Combine: Pour the wet mixture into the dry. Stir gently until just combined. The batter should be thick but scoopable. Fold in 1/2 cup nuts or sugar-free chocolate chips if using.
    • Fill: Divide batter among muffin cups, filling about 3/4 full. Smooth tops lightly with a spoon.
    • Bake: Bake 18–22 minutes, until tops are set and a toothpick comes out clean or with a few moist crumbs. Do not overbake.
    • Cool: Let muffins cool in the pan 5–10 minutes, then transfer to a rack. They firm up as they cool.
  • Easy Keto Pumpkin Muffins With Almond Flour – Simple, Cozy, and Low-Carb

    Easy Keto Pumpkin Muffins With Almond Flour – Simple, Cozy, and Low-Carb

    Pumpkin season calls for something warm and comforting, and these keto pumpkin muffins hit the spot without the sugar crash. They’re soft, lightly spiced, and naturally gluten-free thanks to almond flour. You’ll get that bakery-style taste with a tender crumb and just the right amount of sweetness.

    Best of all, the batter comes together in one bowl, so cleanup is easy. Whether you’re new to keto or just want a better-for-you treat, this recipe keeps things simple.

    What Makes This Special

    • Keto-friendly and gluten-free: Made with almond flour and a low-carb sweetener, so you stay on track.
    • Moist and tender: Pumpkin puree and eggs keep the muffins soft instead of dry or crumbly.
    • One-bowl recipe: Minimal dishes, maximum payoff.
    • Customizable: Add nuts, sugar-free chocolate chips, or a cream cheese swirl.
    • Perfect for meal prep: They store and freeze well for a grab-and-go breakfast or snack.

    Shopping List

    • Almond flour (fine blanched)
    • Pumpkin puree (100% pumpkin, not pie filling)
    • Eggs
    • Granulated keto sweetener (erythritol, allulose, or a blend)
    • Coconut oil or melted butter
    • Vanilla extract
    • Baking powder
    • Pumpkin pie spice (or cinnamon + nutmeg + ginger)
    • Salt
    • Optional add-ins: chopped pecans or walnuts, sugar-free chocolate chips

    Instructions

    1. Preheat the oven: Set to 350°F (175°C). Line a 12-cup muffin tin with paper liners or grease well.
    2. Mix the wet ingredients: In a large bowl, whisk 1 cup pumpkin puree, 3 large eggs, 1/3 cup melted coconut oil or butter, and 1 teaspoon vanilla until smooth.
    3. Add the dry ingredients: Stir in 2 cups fine almond flour, 1/2 to 2/3 cup granulated keto sweetener (to taste), 2 teaspoons baking powder, 1 to 1 1/2 teaspoons pumpkin pie spice, and 1/4 teaspoon salt.

      Mix until just combined. The batter will be thick.

    4. Customize (optional): Fold in 1/3 cup chopped nuts or sugar-free chocolate chips for extra texture.
    5. Fill the muffin cups: Divide the batter evenly among the 12 cups. For rounded tops, mound the batter slightly.
    6. Bake: Place on the center rack and bake 18–22 minutes, until the tops are set and a toothpick comes out mostly clean with a few moist crumbs.
    7. Cool: Let muffins cool in the pan for 5 minutes, then transfer to a rack to cool completely.

      This helps them set and prevents crumbling.

    Keeping It Fresh

    • Room temperature: Store in an airtight container for up to 2 days.
    • Refrigerator: Keep up to 1 week. Rewarm in the microwave for 10–15 seconds to soften.
    • Freezer: Freeze in a zip-top bag for up to 3 months. Thaw overnight in the fridge or at room temperature for 30–60 minutes.

    Why This is Good for You

    • Lower in carbs: Almond flour and keto sweeteners reduce the net carbs compared to traditional muffins.
    • Healthy fats and fiber: Almond flour provides satiating fats and fiber that help keep you full.
    • Vitamin boost: Pumpkin adds vitamin A, potassium, and antioxidants without adding many carbs.
    • No refined sugar: A steady energy choice that fits keto and low-sugar lifestyles.

    Common Mistakes to Avoid

    • Using pumpkin pie filling: It’s sweetened and will throw off the carbs and flavor.

      Use pure pumpkin puree.

    • Overmixing the batter: Stir just until combined to keep the crumb tender.
    • Skipping the liners: Almond flour sticks. Use liners or grease the pan well.
    • Overbaking: Almond flour browns quickly. Start checking at 18 minutes to avoid dry muffins.
    • Using coarse almond meal: Choose fine blanched almond flour for the best texture.

    Alternatives

    • Dairy-free: Use coconut oil instead of butter.
    • Sweeter or less sweet: Adjust the sweetener by a couple of tablespoons to taste.

      Allulose yields a softer crumb; erythritol makes a firmer bite.

    • Spice swap: No pumpkin spice? Use 1 teaspoon cinnamon plus 1/4 teaspoon each nutmeg and ginger.
    • Nut-free option: Almond flour can’t be swapped 1:1 with coconut flour. If needed, look for a coconut flour–based keto pumpkin muffin recipe instead.
    • Topping ideas: Sprinkle chopped pecans, a pinch of cinnamon “sugar” (keto sweetener + cinnamon), or add a small dollop of sweetened cream cheese before baking.

    FAQ

    How many net carbs are in each muffin?

    Actual counts vary by brand and add-ins, but each muffin typically lands around 3–5 net carbs when made as written and divided into 12 servings.

    Check your labels and calculate based on your ingredients.

    Can I use coconut flour instead of almond flour?

    No, coconut flour is far more absorbent and needs different ratios of eggs and liquid. If you must use coconut flour, follow a recipe developed for it.

    Can I make these egg-free?

    Eggs give structure to almond flour batters, so results will vary. A flax egg might work, but the muffins will be denser and may not rise as well.

    Do I need to squeeze water out of the pumpkin?

    No, standard canned pumpkin puree works as-is.

    If your puree seems very watery, blot lightly with paper towels to avoid a soggy crumb.

    What sweetener is best?

    Use what you like. Allulose gives a softer, moister texture and browns a bit more; erythritol is crisper and slightly cooling. A blend often balances both.

    Can I make mini muffins?

    Yes.

    Bake in a mini muffin pan for about 10–12 minutes, or until set. This is great for portion control and lunchboxes.

    In Conclusion

    These Easy Keto Pumpkin Muffins with Almond Flour are cozy, simple, and truly satisfying. You get warm spice, a tender crumb, and an easy method that works on busy days.

    Keep a batch on hand for breakfast, snacks, or a sweet finish that still fits your goals. Warm, autumn flavor without the sugar spike—what’s not to love?

  • Easy Dairy Free Pumpkin Muffins Recipe – Soft, Spiced, and Simple

    Easy Dairy Free Pumpkin Muffins Recipe – Soft, Spiced, and Simple

    These dairy free pumpkin muffins are the cozy baking project you can make any day of the week. They’re soft, warmly spiced, and just sweet enough to enjoy for breakfast or an afternoon snack. No fancy tools or hard-to-find ingredients—just a bowl, a whisk, and a muffin pan.

    If you’re dairy free or baking for someone who is, these check all the boxes without sacrificing flavor. You’ll get a tender crumb, a rich pumpkin taste, and a kitchen that smells like fall.

    Why This Recipe Works

    Overhead shot of dairy-free pumpkin muffins just out of the oven in a 12-cup muffin pan, golden dome
    • Oil instead of butter: Keeps the muffins moist and tender without any dairy.
    • Pumpkin puree: Adds rich flavor and natural moisture, so the muffins stay soft for days.
    • Warm spices: Cinnamon, nutmeg, and ginger bring classic pumpkin pie vibes—balanced, not overpowering.
    • Simple mixing method: Two bowls, no mixer, and minimal cleanup.
    • Flexible add-ins: Chocolate chips, nuts, or dried fruit work beautifully without changing the base recipe.

    Shopping List

    • Canned pumpkin puree (not pumpkin pie filling)
    • All-purpose flour
    • Granulated sugar
    • Light brown sugar
    • Baking powder
    • Baking soda
    • Salt
    • Ground cinnamon
    • Ground nutmeg
    • Ground ginger (optional but recommended)
    • Neutral oil (like canola, avocado, or light olive oil)
    • Eggs (or a flax egg substitute if needed)
    • Vanilla extract
    • Unsweetened dairy free milk (oat, almond, or soy)
    • Optional add-ins: dairy free chocolate chips, chopped pecans or walnuts, raisins

    Instructions

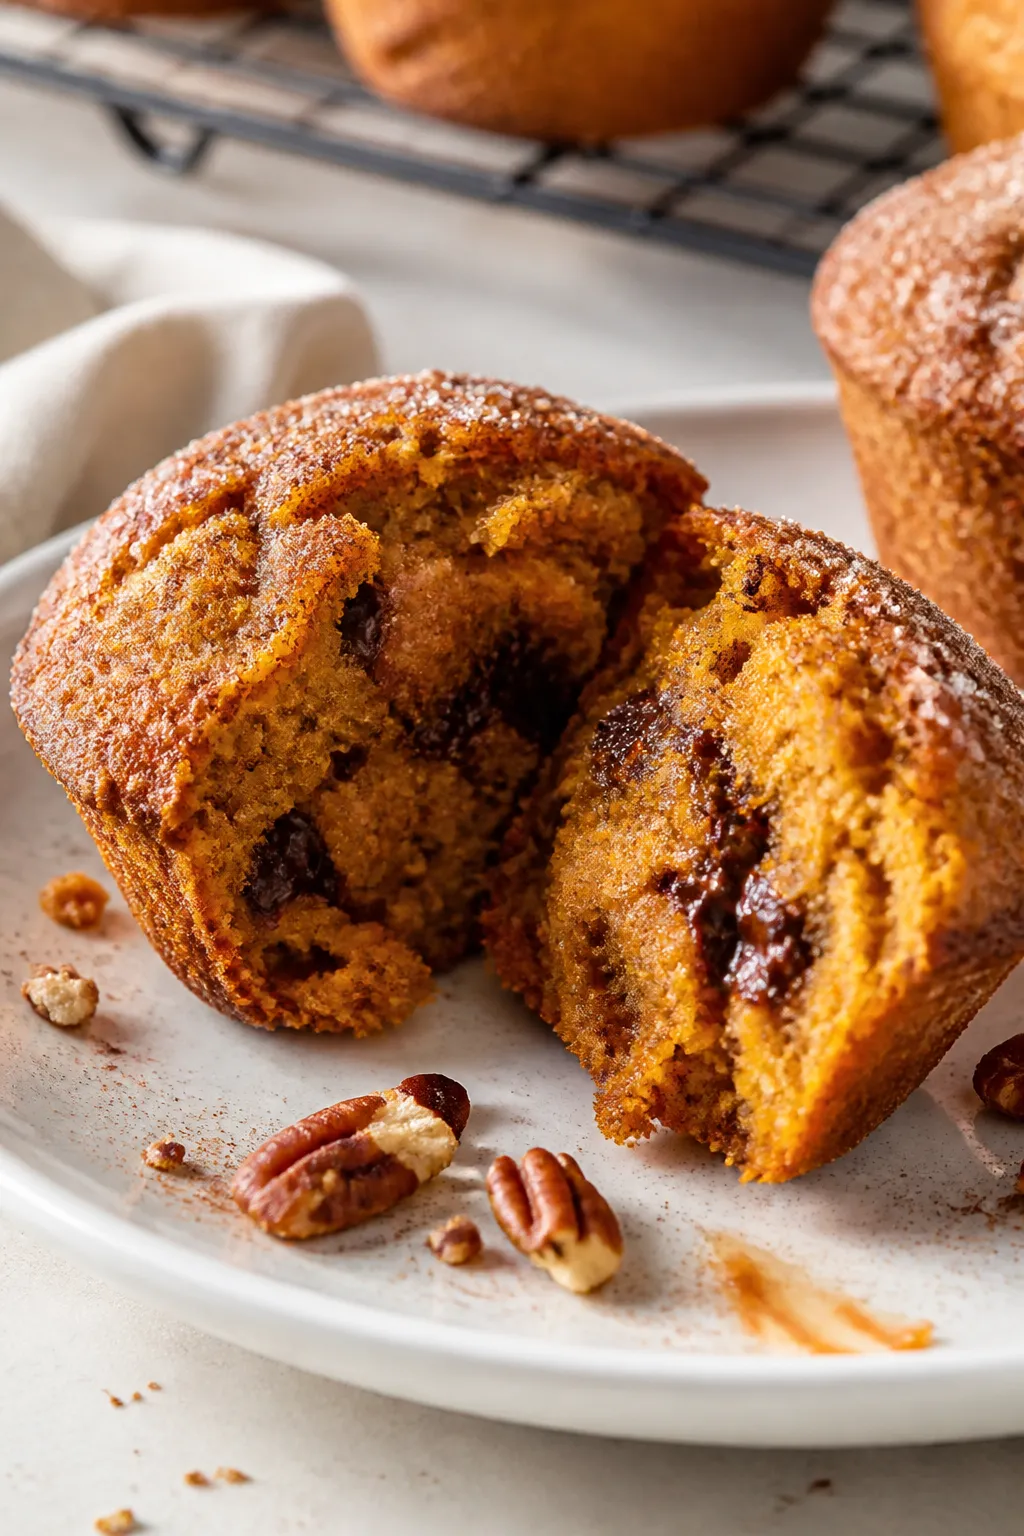
    Close-up, 45-degree angle of a split open dairy-free pumpkin muffin on a matte white plate, showcasi
    1. Preheat your oven to 375°F (190°C). Line a 12-cup muffin pan with paper liners or lightly grease.
    2. In a large bowl, whisk together 1 3/4 cups all-purpose flour, 3/4 cup granulated sugar, 1/4 cup light brown sugar, 1 1/2 teaspoons baking powder, 1/2 teaspoon baking soda, 1/2 teaspoon salt, 2 teaspoons ground cinnamon, 1/4 teaspoon nutmeg, and 1/4 teaspoon ginger.
    3. In a separate bowl, whisk 1 cup pumpkin puree, 2 large eggs, 1/3 cup neutral oil, 1 teaspoon vanilla, and 1/3 cup dairy free milk until smooth.
    4. Pour the wet ingredients into the dry.

      Stir gently with a spatula until just combined. Do not overmix—a few small lumps are fine.

    5. Fold in up to 3/4 cup optional add-ins like dairy free chocolate chips or chopped nuts.
    6. Divide the batter evenly among the muffin cups, filling each about 3/4 full.
    7. Bake for 18–22 minutes, or until a toothpick inserted in the center comes out clean or with a few moist crumbs.
    8. Cool in the pan for 5 minutes, then transfer to a wire rack to cool completely. Enjoy warm or at room temp.
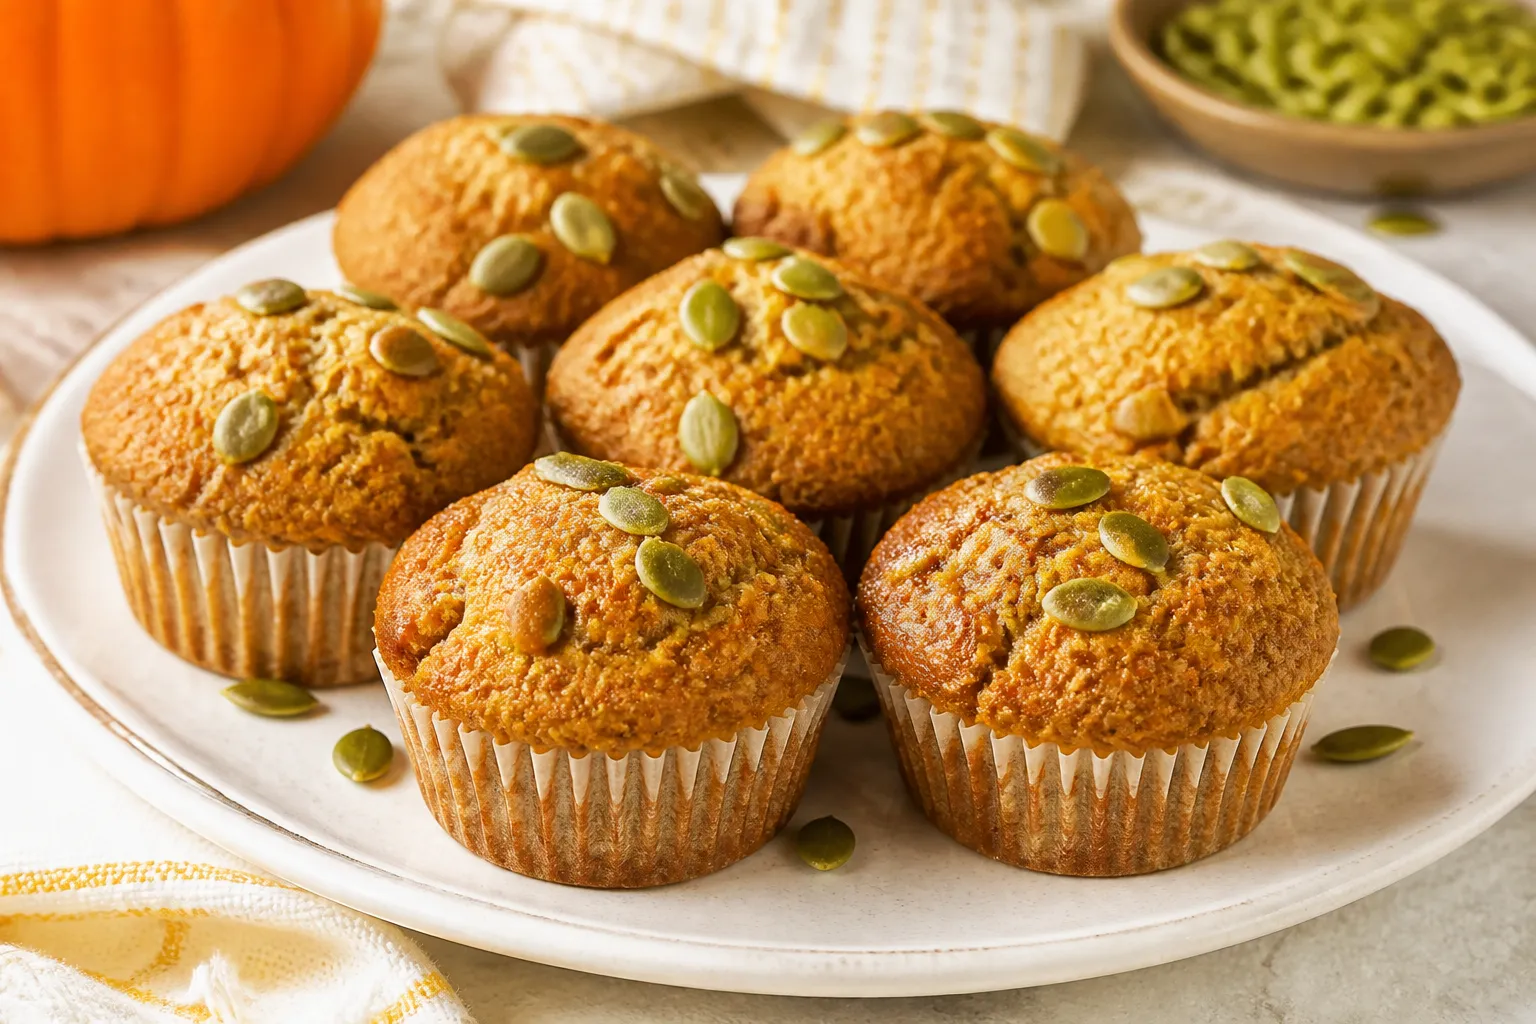
    Storage Instructions

    • Room temperature: Store in an airtight container for 2–3 days.
    • Refrigerator: Keeps up to 5 days. Warm briefly in the microwave to refresh.
    • Freezer: Wrap individually and freeze up to 3 months.

      Thaw at room temp or reheat for 20–30 seconds in the microwave.

    Health Benefits

    • Pumpkin is nutrient-dense: It’s rich in beta-carotene (vitamin A), which supports eye and immune health.
    • Lower in saturated fat: Using oil and skipping butter helps keep saturated fat down.
    • Fiber boost: Pumpkin and flour add fiber, helping you feel satisfied longer.
    • Customizable sweetness: You can dial the sugars down slightly without affecting texture too much.

    Common Mistakes to Avoid

    • Using pumpkin pie filling: It’s pre-sweetened and spiced, which will throw off the flavor and texture. Use plain puree.
    • Overmixing the batter: This makes muffins tough. Stir just until the flour streaks disappear.
    • Overbaking: Start checking at 18 minutes; muffins dry out quickly if left too long.
    • Skipping the salt: A little salt sharpens the spices and balances sweetness.
    • Not measuring flour correctly: Spoon and level your flour to avoid dense, dry muffins.

    Variations You Can Try

    • Chocolate Chip: Fold in dairy free chocolate chips and top with a few extra before baking.
    • Pecan Streusel: Mix 2 tablespoons brown sugar, 2 tablespoons flour, 1 tablespoon oil, and 1/4 cup chopped pecans.

      Sprinkle over the batter.

    • Maple Spice: Swap half the granulated sugar for maple syrup (reduce dairy free milk to 1/4 cup).
    • Whole Wheat: Use half whole wheat flour for a heartier texture. Add 1–2 teaspoons extra milk if the batter seems thick.
    • Egg-Free: Replace each egg with a flax egg (1 tablespoon ground flax + 3 tablespoons water, rested 5 minutes). Bake an extra 1–2 minutes if needed.

    FAQ

    Can I use fresh pumpkin instead of canned?

    Yes, as long as it’s well-puréed and not watery.

    Roast, mash, and strain if needed to match the thickness of canned puree.

    How do I make these gluten free?

    Use a 1:1 gluten free all-purpose flour blend with xanthan gum. The texture stays close to the original.

    Can I reduce the sugar?

    You can cut the total sugar by about 2–3 tablespoons without major changes. Any more and the texture may turn drier and less tender.

    What oil works best?

    Neutral oils like canola, avocado, or light olive oil work well.

    Coconut oil also works if melted and cooled slightly.

    Why did my muffins sink in the middle?

    They were likely underbaked or the batter was overmixed. Bake until the tops spring back and a toothpick tests clean.

    Do I need muffin liners?

    They make cleanup easy, but you can also grease the pan well and dust with a little flour to prevent sticking.

    Can I use pumpkin pie spice?

    Yes. Replace the cinnamon, nutmeg, and ginger with 2–2 1/2 teaspoons pumpkin pie spice to taste.

    Wrapping Up

    These dairy free pumpkin muffins are simple, reliable, and full of cozy flavor.

    With a few pantry staples and one bowl, you’ll have warm, tender muffins in under 30 minutes. Keep the base recipe as-is or customize it with your favorite add-ins. Either way, you’ll have a fall-friendly treat that works for breakfast, snack time, or sharing with friends.

    Enjoy!

    Easy Dairy Free Pumpkin Muffins Recipe – Soft, Spiced, and Simple

    Prep Time 10 minutes
    Cook Time 20 minutes
    Total Time 30 minutes
    Servings 12 servings

    Ingredients
      

    • Canned pumpkin puree (not pumpkin pie filling)
    • All-purpose flour
    • Granulated sugar
    • Light brown sugar
    • Baking powder
    • Baking soda
    • Salt
    • Ground cinnamon
    • Ground nutmeg
    • Ground ginger (optional but recommended)
    • Neutral oil (like canola, avocado, or light olive oil)
    • Eggs (or a flax egg substitute if needed)
    • Vanilla extract
    • Unsweetened dairy free milk (oat, almond, or soy)
    • Optional add-ins: dairy free chocolate chips, chopped pecans or walnuts, raisins

    Instructions
     

    • Preheat your oven to 375°F (190°C). Line a 12-cup muffin pan with paper liners or lightly grease.
    • In a large bowl, whisk together 1 3/4 cups all-purpose flour, 3/4 cup granulated sugar, 1/4 cup light brown sugar, 1 1/2 teaspoons baking powder, 1/2 teaspoon baking soda, 1/2 teaspoon salt, 2 teaspoons ground cinnamon, 1/4 teaspoon nutmeg, and 1/4 teaspoon ginger.
    • In a separate bowl, whisk 1 cup pumpkin puree, 2 large eggs, 1/3 cup neutral oil, 1 teaspoon vanilla, and 1/3 cup dairy free milk until smooth.
    • Pour the wet ingredients into the dry. Stir gently with a spatula until just combined. Do not overmix—a few small lumps are fine.
    • Fold in up to 3/4 cup optional add-ins like dairy free chocolate chips or chopped nuts.
    • Divide the batter evenly among the muffin cups, filling each about 3/4 full.
    • Bake for 18–22 minutes, or until a toothpick inserted in the center comes out clean or with a few moist crumbs.
    • Cool in the pan for 5 minutes, then transfer to a wire rack to cool completely. Enjoy warm or at room temp.
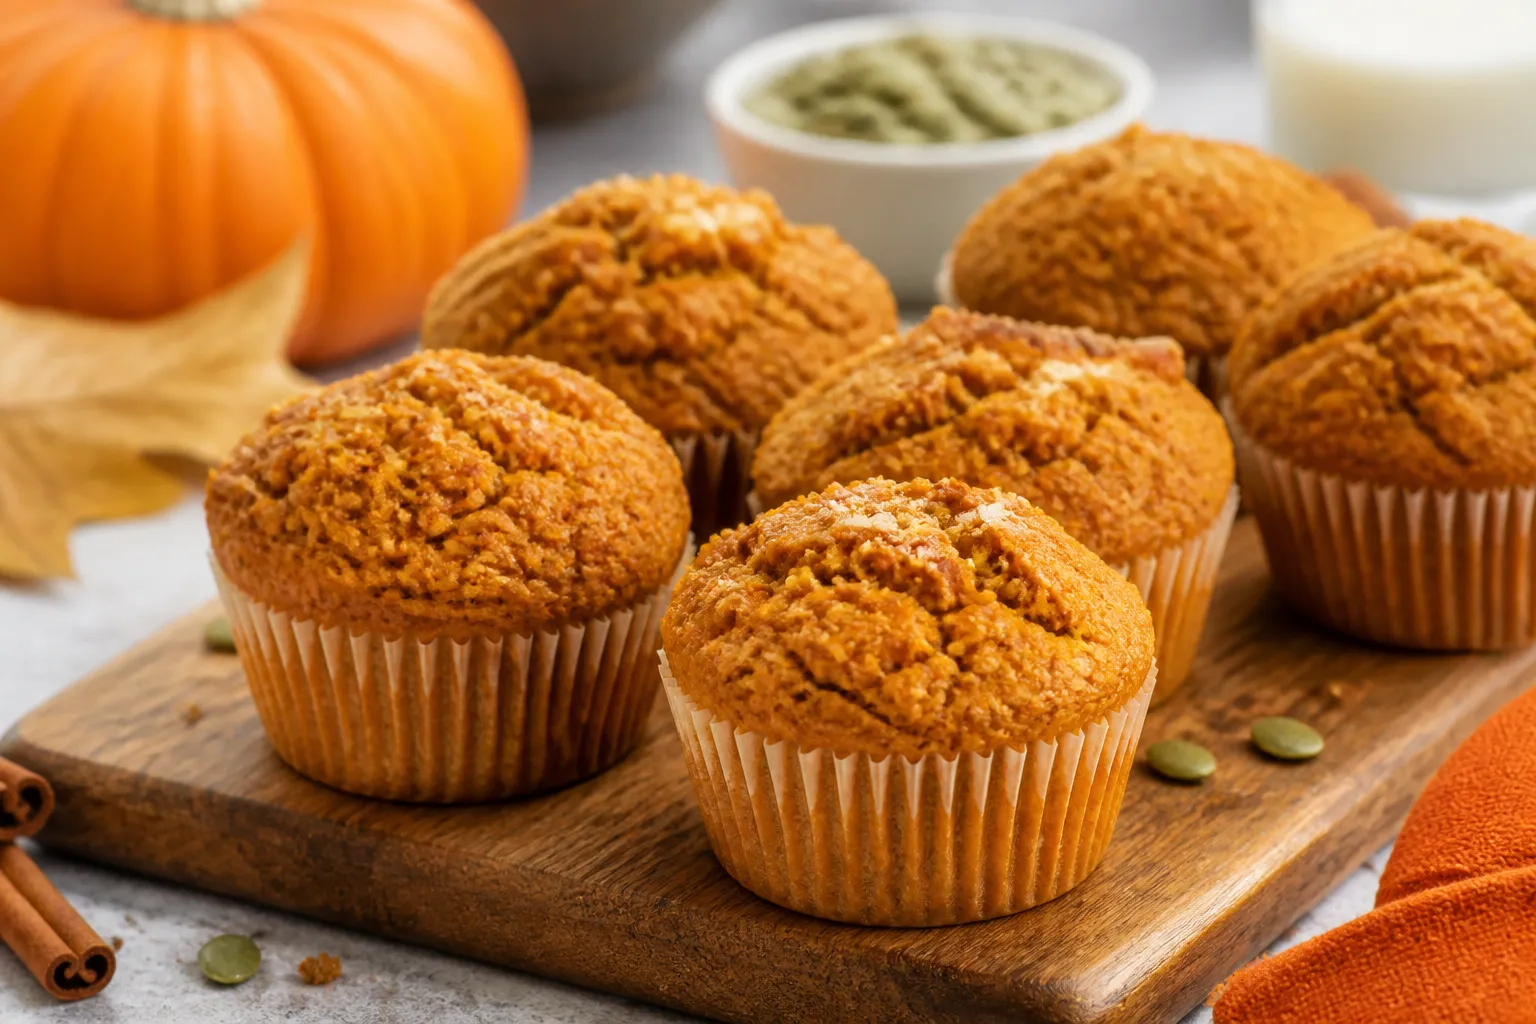
  • Pumpkin Pie Baked Oatmeal – Cozy, Make-Ahead Breakfast

    Pumpkin Pie Baked Oatmeal – Cozy, Make-Ahead Breakfast

    Pumpkin pie baked oatmeal tastes like dessert but fuels your morning like a champ. It’s warm, spiced, and naturally sweet, with a soft, custardy center and golden edges. You stir everything in one bowl, bake it once, and breakfast is set for days.

    It’s perfect for busy mornings, holiday guests, or whenever you want something comforting without fuss.

    What Makes This Recipe So Good

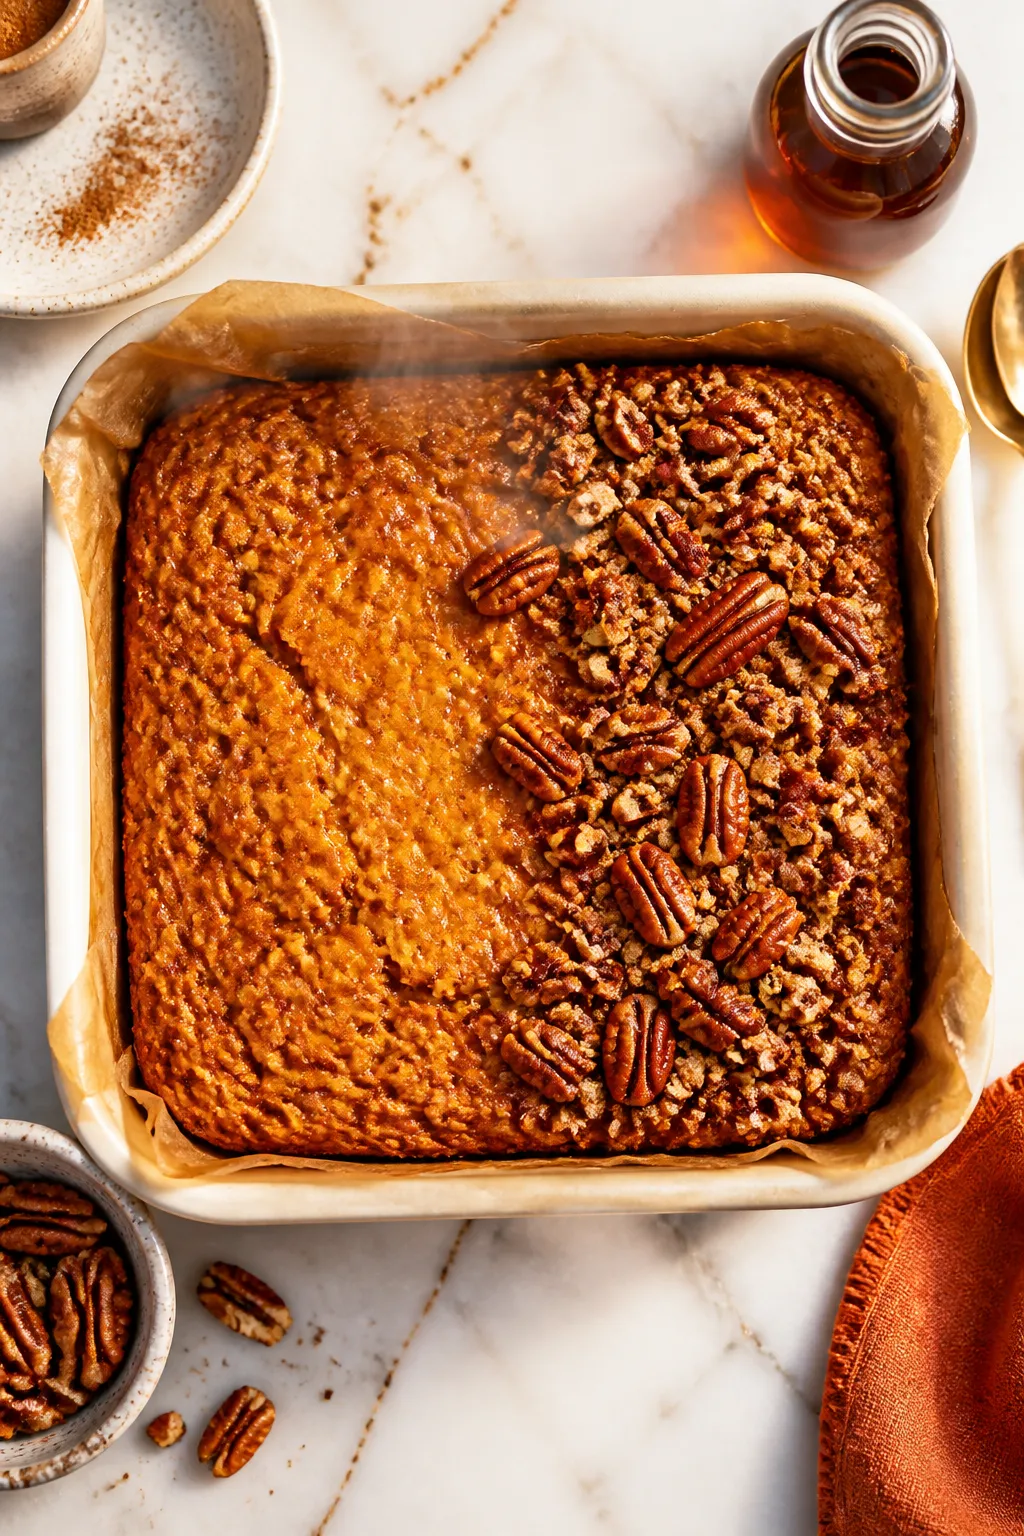
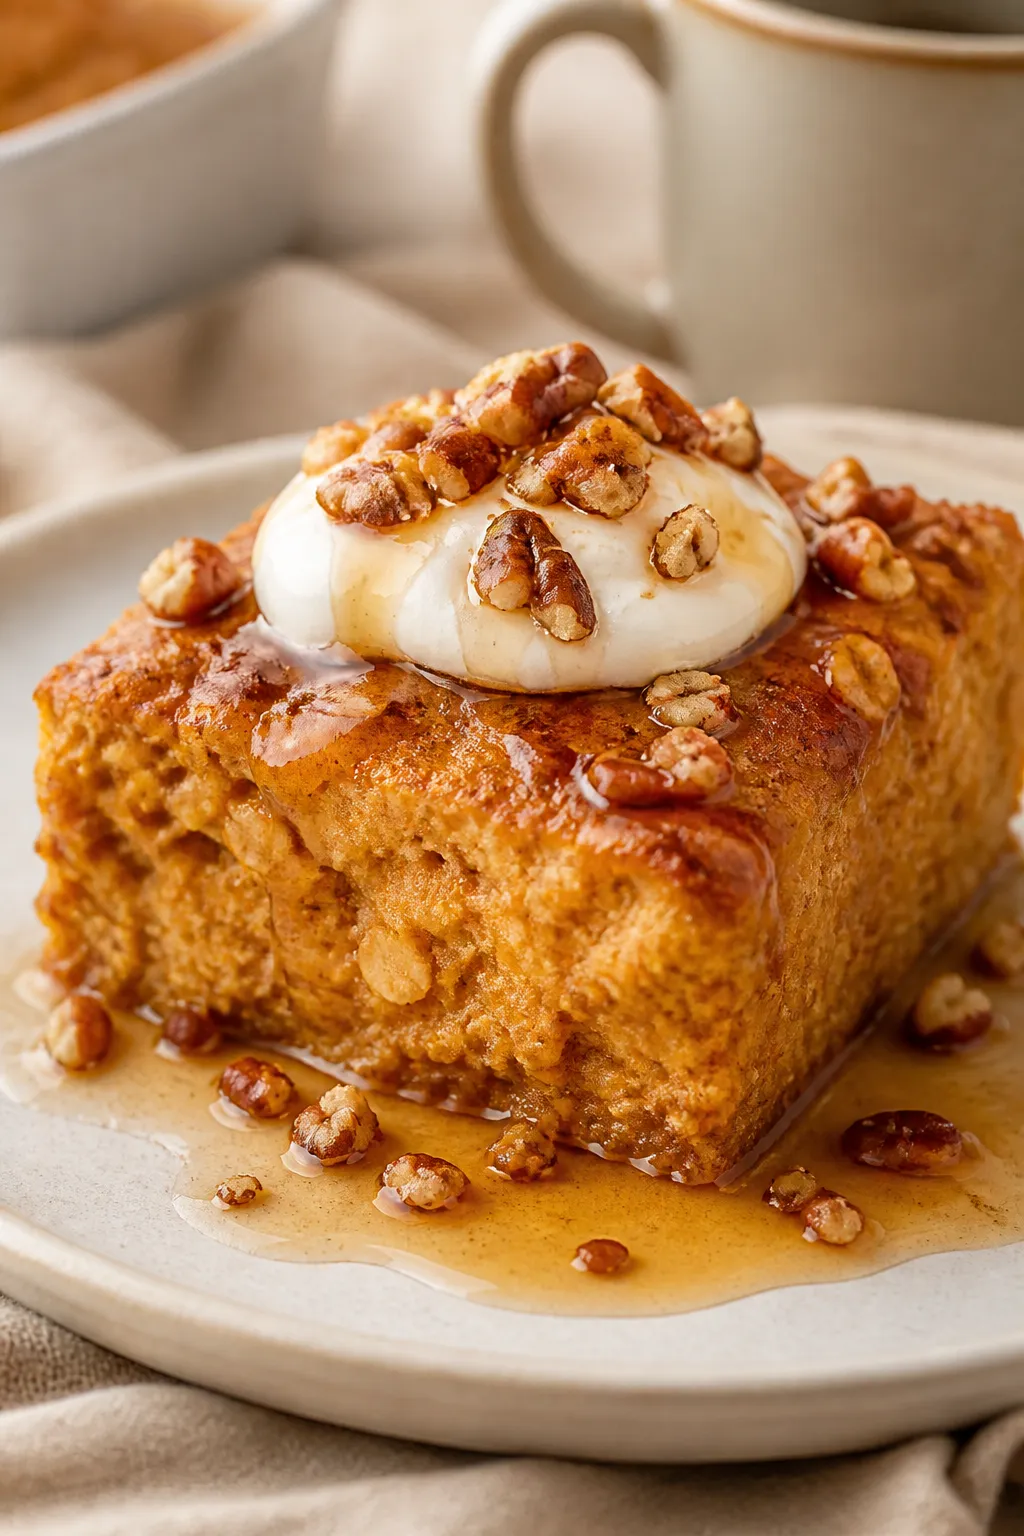
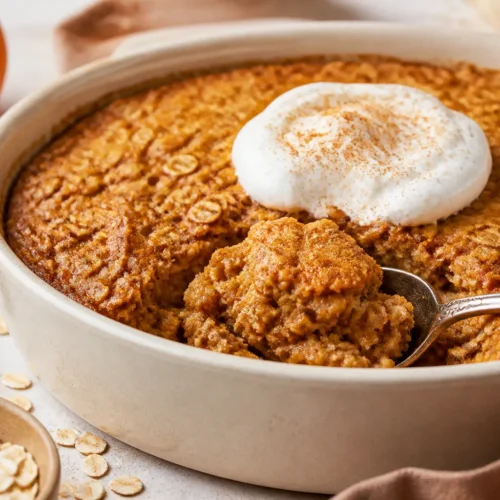
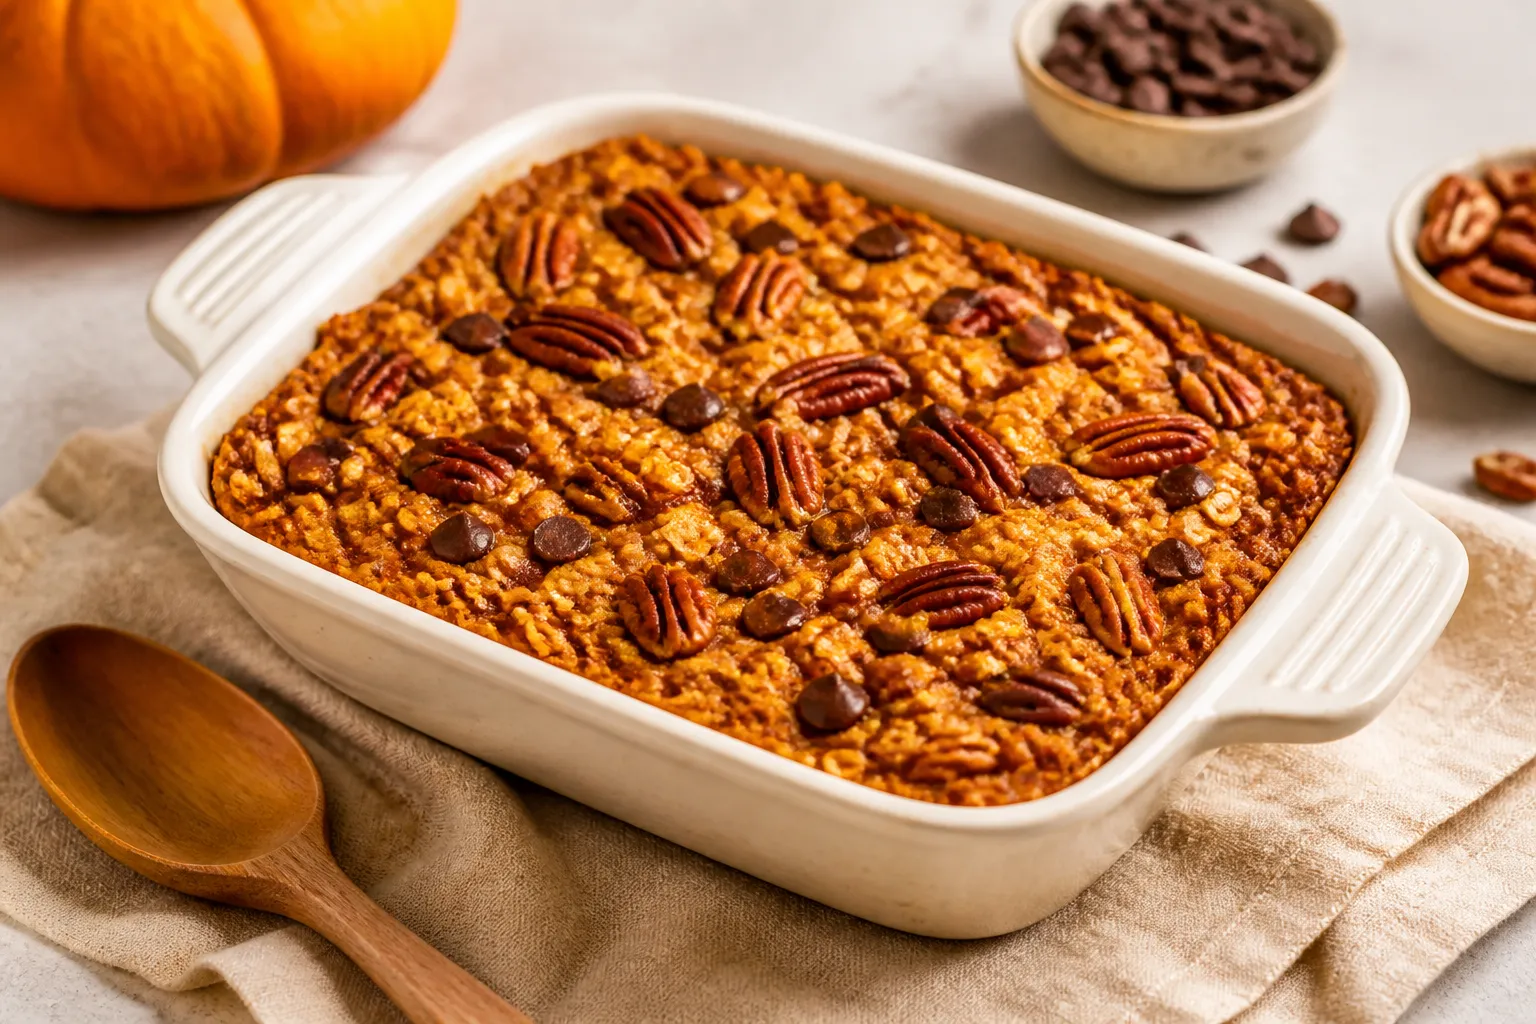
    Overhead shot of freshly baked pumpkin pie oatmeal just out of the oven in an 8x8 parchment-lined di
    • One-bowl, no-stress prep: Mix, pour, bake. That’s it.
    • Cozy pumpkin spice flavor: Tastes like pumpkin pie, but in a hearty, wholesome form.
    • Meal-prep friendly: Keeps well and reheats beautifully all week.
    • Customizable: Dairy-free, gluten-free, and nut-free options built right in.
    • Satisfying texture: Soft and custardy inside, lightly set on top—great warm or cold.

    Ingredients

    • 2 cups old-fashioned rolled oats (not quick or steel-cut)
    • 1 cup canned pumpkin puree (not pumpkin pie filling)
    • 2 large eggs
    • 1 3/4 cups milk (dairy or unsweetened almond/oat milk)
    • 1/3 cup maple syrup (or honey)
    • 2 tablespoons melted coconut oil or butter
    • 1 teaspoon vanilla extract
    • 1 1/2 teaspoons pumpkin pie spice (or 1 tsp cinnamon + 1/4 tsp nutmeg + 1/4 tsp ginger + pinch clove)
    • 1/2 teaspoon baking powder
    • 1/4 teaspoon baking soda
    • 1/2 teaspoon fine salt
    • Optional mix-ins: 1/2 cup chopped pecans or walnuts, 1/2 cup chocolate chips, or 1/2 cup dried cranberries

    Instructions

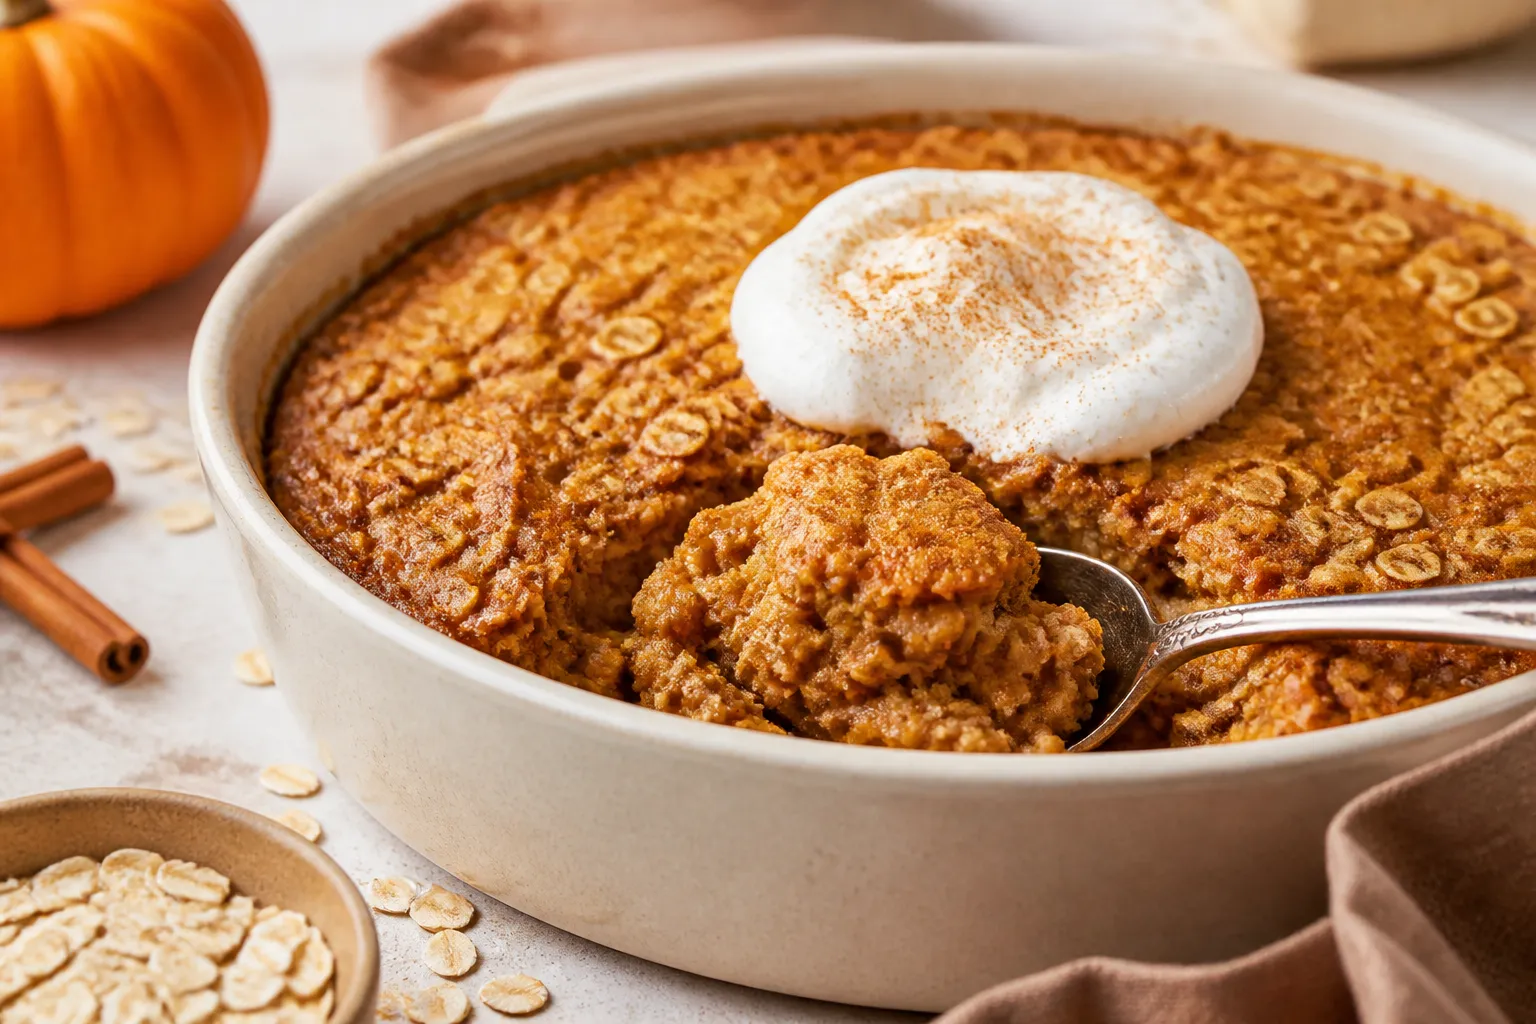
    Close-up detail of a sliced square of pumpkin pie baked oatmeal on a matte white plate, texture-forw
    1. Prep the pan and oven: Heat oven to 350°F (175°C). Grease an 8×8-inch or 9×9-inch baking dish, or line with parchment.
    2. Whisk the wet ingredients: In a large bowl, whisk pumpkin puree, eggs, milk, maple syrup, melted coconut oil or butter, and vanilla until smooth.
    3. Add the dry ingredients: Stir in oats, pumpkin pie spice, baking powder, baking soda, and salt.

      Fold in any mix-ins.

    4. Rest the batter: Let it sit for 5 minutes so the oats hydrate slightly. The mixture will thicken a bit.
    5. Bake: Pour into the prepared dish and spread evenly. Bake 30–38 minutes, until the center is set and the top is lightly golden.

      A toothpick should come out mostly clean with a few moist crumbs.

    6. Cool and serve: Let cool at least 10 minutes. Slice and serve warm as is, or top with yogurt, a drizzle of maple syrup, or a few chopped nuts.

    Keeping It Fresh

    • Refrigerate: Store slices in an airtight container for up to 5 days.
    • Freeze: Wrap individual squares and freeze up to 2 months. Thaw overnight in the fridge.
    • Reheat: Microwave a slice for 45–60 seconds, or warm in a 300°F oven for 8–10 minutes.
    • Meal prep tip: Portion into single-serve containers with toppings on the side so nothing gets soggy.

    Why This is Good for You

    • Steady energy: Rolled oats offer fiber and complex carbs that help keep you full.
    • Vitamin boost: Pumpkin is rich in beta-carotene, which your body converts to vitamin A.
    • Balanced macros: Eggs and milk add protein and help the oatmeal set into a sliceable bake.
    • Lower-sugar option: Maple syrup gives sweetness without going overboard; you can reduce it if desired.

    What Not to Do

    • Don’t use pumpkin pie filling: It’s pre-sweetened and spiced, which throws off the balance.
    • Don’t swap in steel-cut oats: They won’t soften enough here and will stay tough.
    • Don’t skip the salt: A small amount sharpens the pumpkin and spice flavors.
    • Don’t overbake: You want a soft, custardy center.

      Pull it when the top is set but not dry.

    Recipe Variations

    • Crumble topping: Mix 1/3 cup oats, 2 tablespoons brown sugar, 1 tablespoon flour, and 1 tablespoon cold butter. Sprinkle on top before baking.
    • Protein boost: Stir in 1 scoop unflavored or vanilla protein powder and add 2–4 tablespoons extra milk.
    • Gluten-free: Use certified gluten-free oats and check baking powder is GF.
    • Dairy-free: Use almond, oat, or coconut milk and coconut oil instead of butter.
    • No eggs: Replace eggs with 2 tablespoons ground flax mixed with 6 tablespoons warm water; rest 5 minutes to thicken.
    • Apple-pumpkin blend: Swap 1/2 cup pumpkin with unsweetened applesauce for a lighter, fruitier vibe.
    • Extra cozy spice: Add 1/2 teaspoon cinnamon and a pinch of cardamom for more warmth.

    FAQ

    Can I make this the night before?

    Yes. Mix the batter, pour into the dish, cover, and refrigerate overnight.

    Bake in the morning, adding 5–10 extra minutes if the dish is very cold.

    How do I keep it from getting soggy?

    Bake until the center is just set, then cool 10–15 minutes before slicing. Store uncovered in the fridge for the first hour to release steam, then cover.

    Can I use quick oats?

    You can, but the texture will be softer and less chewy. Start checking for doneness 5 minutes earlier.

    What can I use instead of maple syrup?

    Honey works well.

    Brown sugar also works; reduce the milk by 1–2 tablespoons to keep the texture similar.

    How do I serve leftovers?

    Warm a slice and top with Greek yogurt, a splash of milk, or a little cream. For a treat, add a few chocolate chips on top after reheating.

    In Conclusion

    Pumpkin pie baked oatmeal brings cozy flavor and easy prep together in one pan. It’s simple enough for weekdays and special enough for a holiday breakfast.

    Keep it classic or try a variation that fits your style. Either way, you’ll get a warm, satisfying start to the day.

    Pumpkin Pie Baked Oatmeal – Cozy, Make-Ahead Breakfast

    Prep Time 10 minutes
    Cook Time 40 minutes
    Total Time 50 minutes
    Servings 6 servings

    Ingredients
      

    • 2 cups old-fashioned rolled oats (not quick or steel-cut)
    • 1 cup canned pumpkin puree (not pumpkin pie filling)
    • 2 large eggs
    • 1 3/4 cups milk (dairy or unsweetened almond/oat milk)
    • 1/3 cup maple syrup (or honey)
    • 2 tablespoons melted coconut oil or butter
    • 1 teaspoon vanilla extract
    • 1 1/2 teaspoons pumpkin pie spice (or 1 tsp cinnamon + 1/4 tsp nutmeg + 1/4 tsp ginger + pinch clove)
    • 1/2 teaspoon baking powder
    • 1/4 teaspoon baking soda
    • 1/2 teaspoon fine salt
    • Optional mix-ins: 1/2 cup chopped pecans or walnuts, 1/2 cup chocolate chips, or 1/2 cup dried cranberries

    Instructions
     

    • Prep the pan and oven: Heat oven to 350°F (175°C). Grease an 8×8-inch or 9×9-inch baking dish, or line with parchment.
    • Whisk the wet ingredients: In a large bowl, whisk pumpkin puree, eggs, milk, maple syrup, melted coconut oil or butter, and vanilla until smooth.
    • Add the dry ingredients: Stir in oats, pumpkin pie spice, baking powder, baking soda, and salt. Fold in any mix-ins.
    • Rest the batter: Let it sit for 5 minutes so the oats hydrate slightly. The mixture will thicken a bit.
    • Bake: Pour into the prepared dish and spread evenly. Bake 30–38 minutes, until the center is set and the top is lightly golden. A toothpick should come out mostly clean with a few moist crumbs.
    • Cool and serve: Let cool at least 10 minutes. Slice and serve warm as is, or top with yogurt, a drizzle of maple syrup, or a few chopped nuts.
  • Pumpkin Baked Oatmeal – Cozy, Make-Ahead Breakfast

    Pumpkin Baked Oatmeal – Cozy, Make-Ahead Breakfast

    Pumpkin baked oatmeal tastes like a warm slice of fall, but it’s practical enough for busy mornings. It’s soft, lightly sweet, and full of cozy spices. You can bake it once and enjoy it all week, which makes mornings easier and more enjoyable.

    Serve it plain, or dress it up with yogurt, maple syrup, or crunchy nuts. It’s simple, satisfying, and kid-friendly too.

    What Makes This Recipe So Good

    • Warm, balanced flavor: Pumpkin, cinnamon, and vanilla make it taste like pumpkin pie without being too sweet.
    • Easy meal prep: Bake once, reheat slices all week, and breakfast is done.
    • Great texture: Soft, custardy oats inside with golden edges on top.
    • Nourishing: Whole grains, fiber, and healthy fats keep you full longer.
    • Flexible: Works with dairy or non-dairy milk, regular or gluten-free oats, and your favorite add-ins.

    Ingredients

    • 2 cups old-fashioned rolled oats (not quick or steel-cut)
    • 1/2 cup chopped pecans or walnuts (optional)
    • 2 tablespoons ground flaxseed or chia seeds (optional, for extra fiber)
    • 1 teaspoon baking powder
    • 1 1/2 teaspoons ground cinnamon
    • 1/4 teaspoon ground nutmeg
    • 1/4 teaspoon ground ginger
    • 1/2 teaspoon fine sea salt
    • 1 cup pumpkin puree (not pumpkin pie filling)
    • 2 large eggs (or 2 flax eggs for vegan)
    • 1 3/4 cups milk (dairy or unsweetened almond, oat, or soy)
    • 1/3 cup pure maple syrup or honey
    • 2 tablespoons melted coconut oil or butter
    • 2 teaspoons vanilla extract
    • 1/3–1/2 cup add-ins: chocolate chips, raisins, or dried cranberries (optional)

    How to Make It

    1. Prep the pan: Heat oven to 350°F (175°C). Grease an 8×8-inch or 9×9-inch baking dish, or line with parchment.
    2. Mix dry ingredients: In a large bowl, combine oats, nuts, flaxseed, baking powder, cinnamon, nutmeg, ginger, and salt.
    3. Whisk wet ingredients: In another bowl, whisk pumpkin, eggs, milk, maple syrup, melted oil, and vanilla until smooth.
    4. Combine: Pour wet mixture over the dry ingredients.

      Stir until the oats are evenly coated. Fold in chocolate chips or dried fruit if using.

    5. Pour and level: Spread the mixture into the prepared dish, smoothing the top. Sprinkle extra nuts or a few chocolate chips on top if you like.
    6. Bake: Bake 32–38 minutes, until the center is set and the edges are lightly browned.

      A toothpick should come out mostly clean.

    7. Rest and serve: Let cool 10–15 minutes to set. Slice and serve warm with yogurt, a drizzle of maple syrup, or a spoonful of peanut butter.

    Keeping It Fresh

    • Fridge: Store slices in an airtight container for up to 5 days. Reheat in the microwave for 30–45 seconds or in a 325°F oven for 8–10 minutes.
    • Freezer: Wrap individual squares and freeze up to 3 months.

      Thaw overnight in the fridge or reheat from frozen until warm.

    • Moisture tip: Add a splash of milk when reheating if the oatmeal seems dry.

    Health Benefits

    • Fiber-rich: Oats and pumpkin provide soluble and insoluble fiber, which supports digestion and steady energy.
    • Vitamins and minerals: Pumpkin is packed with vitamin A, plus potassium and vitamin C.
    • Balanced macros: Whole grains, healthy fats, and protein from milk and eggs help keep you full.
    • Lower added sugar: Maple syrup adds gentle sweetness without overpowering the spices.

    What Not to Do

    • Don’t use pumpkin pie filling: It’s pre-sweetened and spiced, which can make the bake too sweet and throw off the flavor.
    • Don’t swap in steel-cut oats: They won’t soften properly with this bake time and will stay chewy.
    • Don’t skip the rest after baking: Cutting too soon can make it crumble. Resting helps it set.
    • Don’t overbake: Dry baked oatmeal isn’t pleasant. Pull it when the center is just set.

    Variations You Can Try

    • Banana-pumpkin: Mash 1 ripe banana and reduce maple syrup to 2 tablespoons for natural sweetness.
    • Cranberry-orange: Add 1 teaspoon orange zest and 1/2 cup dried cranberries.
    • Apple-walnut: Fold in 1 cup small diced apple and 1/2 teaspoon extra cinnamon.
    • Chocolate swirl: Melt 2 tablespoons dark chocolate and drizzle over the batter before baking.

      Swirl with a knife.

    • Protein boost: Stir in 1/4 cup vanilla protein powder and add 2–3 tablespoons more milk if the batter looks thick.
    • Dairy-free and vegan: Use plant milk, coconut oil, and flax eggs (2 tablespoons ground flax + 5 tablespoons water, rested 5 minutes).

    FAQ

    Can I make this the night before?

    Yes. Mix everything, cover, and refrigerate overnight. Bake in the morning, adding 3–5 extra minutes if the batter is cold.

    How do I keep it from sticking?

    Grease the pan well or line with parchment, leaving overhang for easy lifting.

    This also helps with cleaner slices.

    Can I use quick oats?

    You can, but the texture will be softer and less chewy. If using quick oats, check for doneness a few minutes earlier.

    Is it sweet enough for kids?

    Most find it gently sweet. For a sweeter version, add 1–2 extra tablespoons of maple syrup or top with a bit of honey after baking.

    What size pan works best?

    An 8×8 or 9×9-inch pan works well.

    A 9×13 pan will yield thinner slices; reduce bake time by about 5–8 minutes.

    Final Thoughts

    Pumpkin baked oatmeal is the kind of breakfast that feels special without any fuss. It’s wholesome, flexible, and easy to tailor to your taste. Keep a pan in the fridge for quick, cozy mornings, or bake a fresh batch for weekend brunch.

    Simple ingredients, big comfort—every slice delivers.

  • Easy Buttercream Frosting Recipe (4 Ingredients & Perfectly Fluffy!) – Simple, Sweet, and Foolproof

    Easy Buttercream Frosting Recipe (4 Ingredients & Perfectly Fluffy!) – Simple, Sweet, and Foolproof

    This classic buttercream is smooth, fluffy, and ready in minutes. It’s the kind of frosting that makes even a simple cake feel special. With just four ingredients, you get a silky texture that pipes beautifully and spreads like a dream.

    Whether you’re frosting cupcakes for a party or finishing a birthday cake, this is the reliable, no-stress recipe you’ll reach for again and again.

    Why This Recipe Works

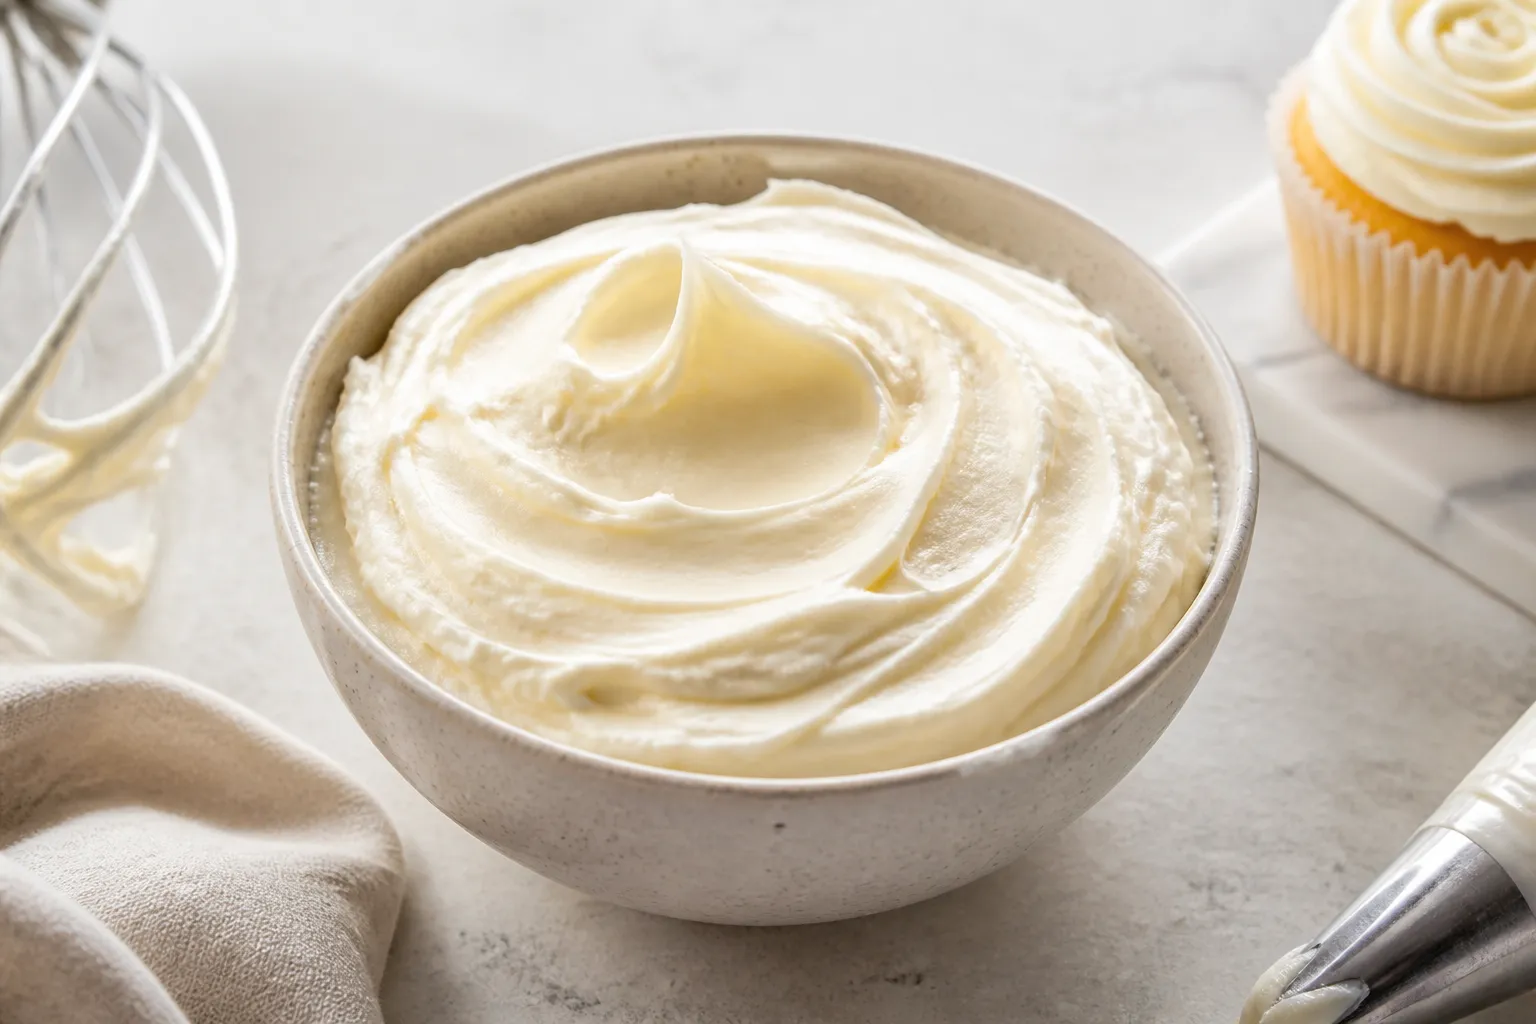
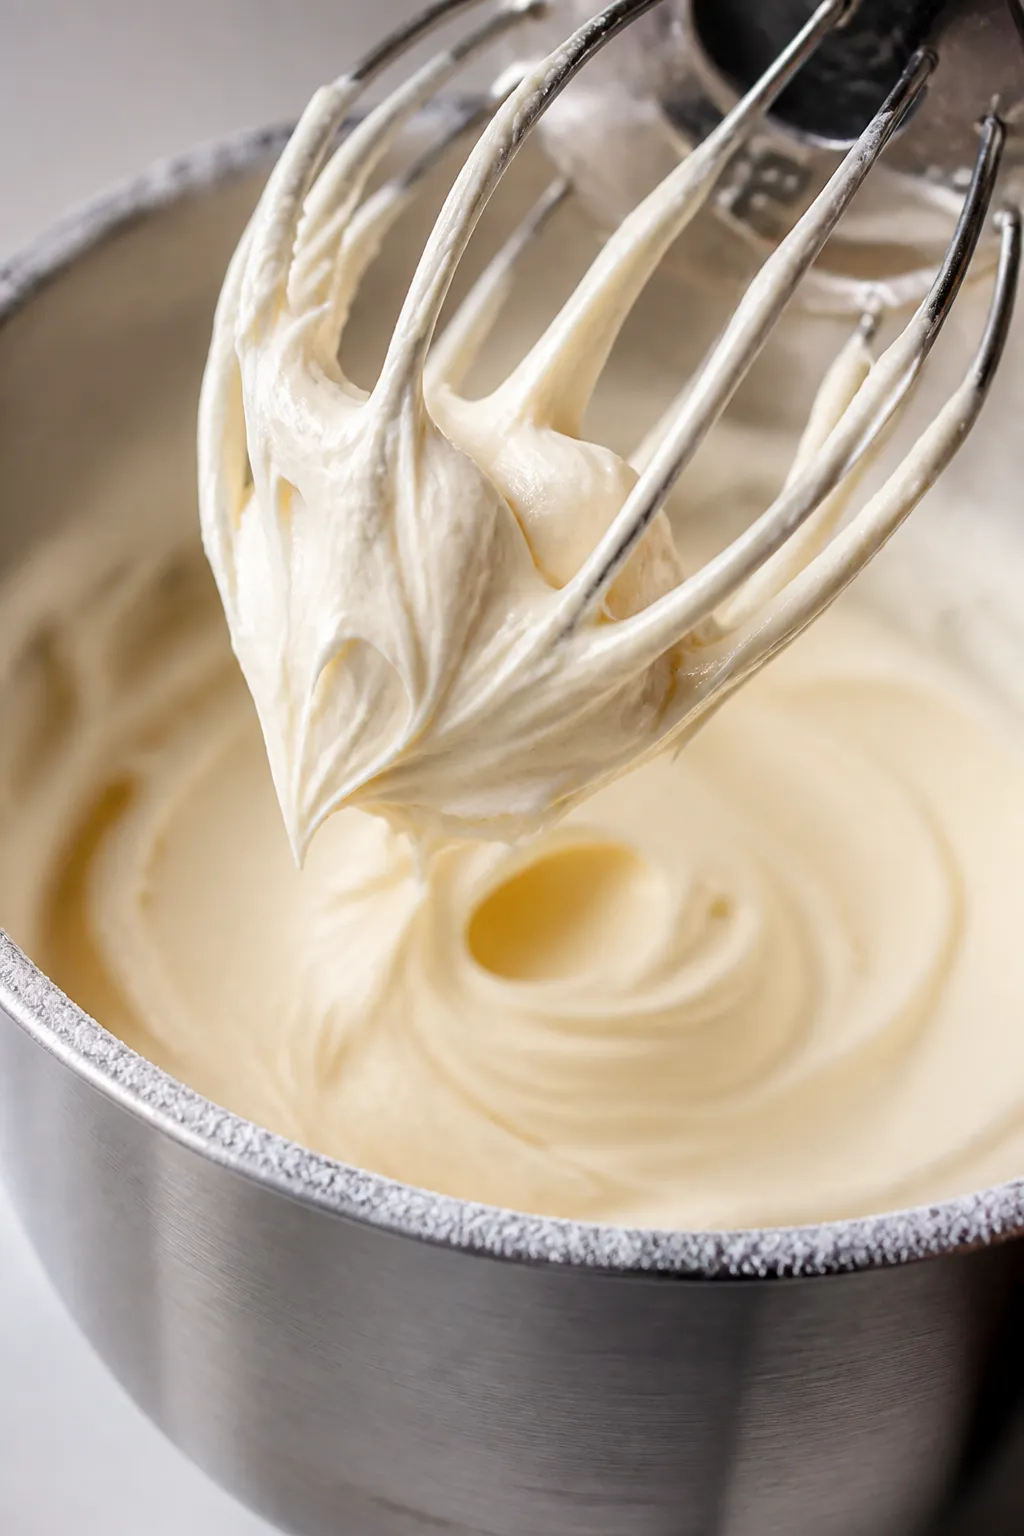
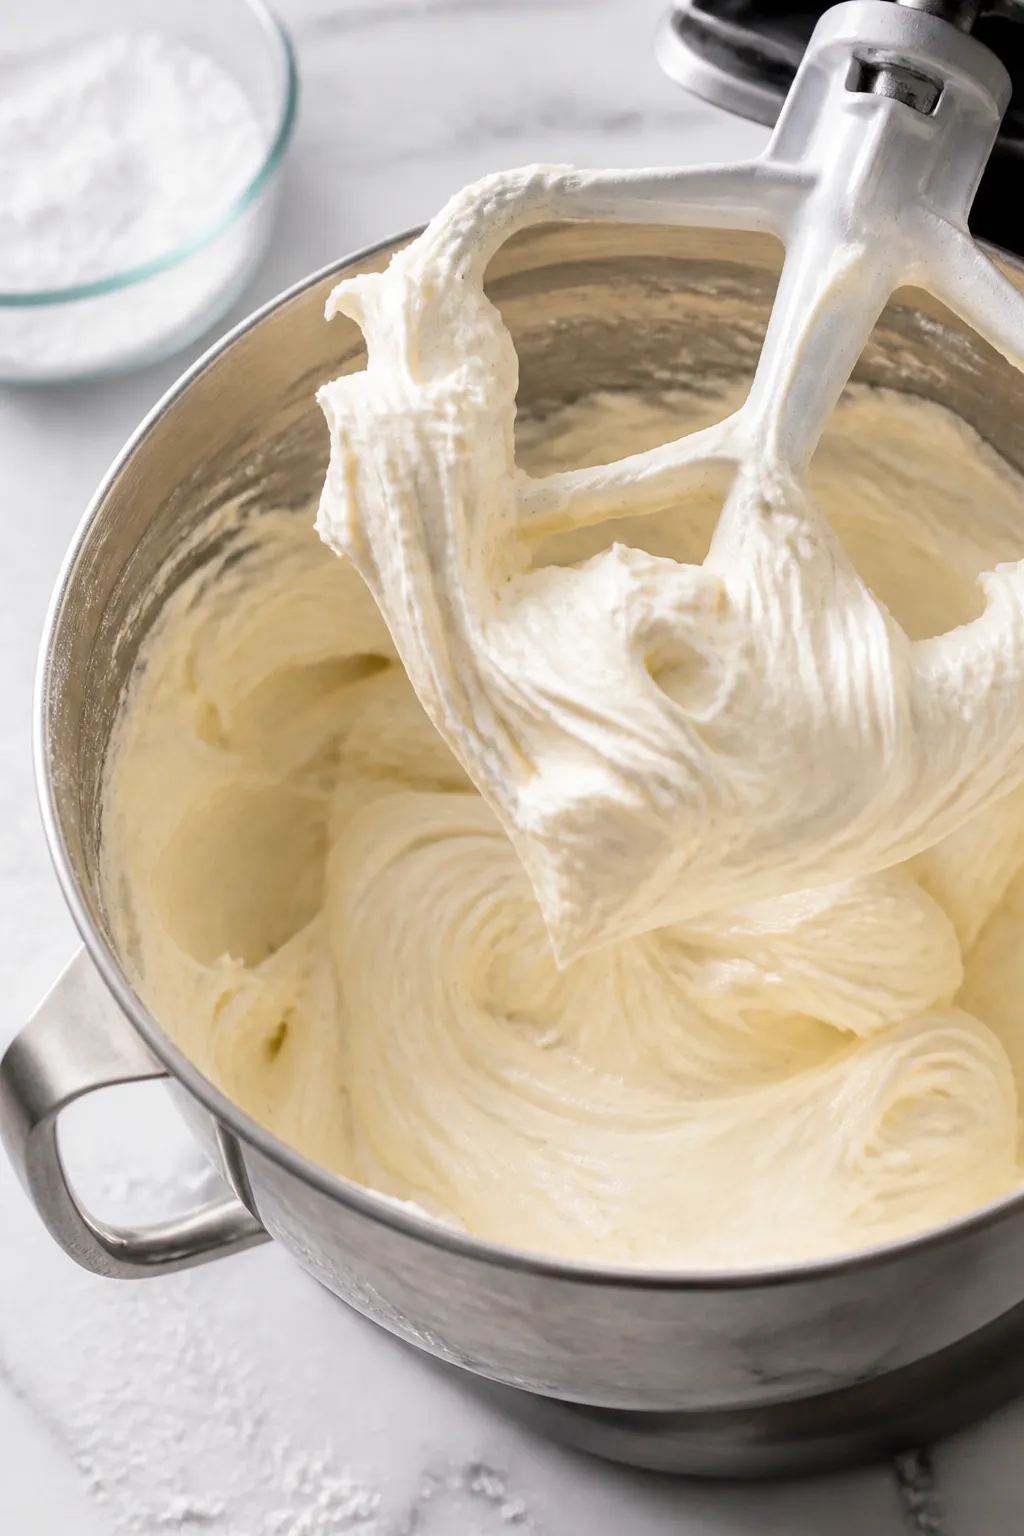
    Close-up detail of perfectly whipped vanilla buttercream mid-process in a stand mixer bowl: silky, p
    • Four simple ingredients: Nothing fancy or hard to find—just butter, powdered sugar, vanilla, and milk or cream.
    • Quick to make: From start to finish, you’ll be done in about 10 minutes.
    • Perfect texture: Whipping adds air for a light, fluffy finish that holds its shape.
    • Easy to adjust: Thicker for piping or softer for spreading—just tweak the milk.
    • Dependable flavor: Rich, buttery, and not overly sweet when balanced with salt and vanilla.

    What You’ll Need

    • 1 cup (2 sticks) unsalted butter, softened to room temperature
    • 3–4 cups powdered sugar (start with 3 cups, add more to thicken)
    • 1–2 teaspoons pure vanilla extract
    • 2–4 tablespoons milk or heavy cream (more for a softer consistency)
    • Pinch of fine sea salt (optional, but recommended to balance sweetness)

    How to Make It

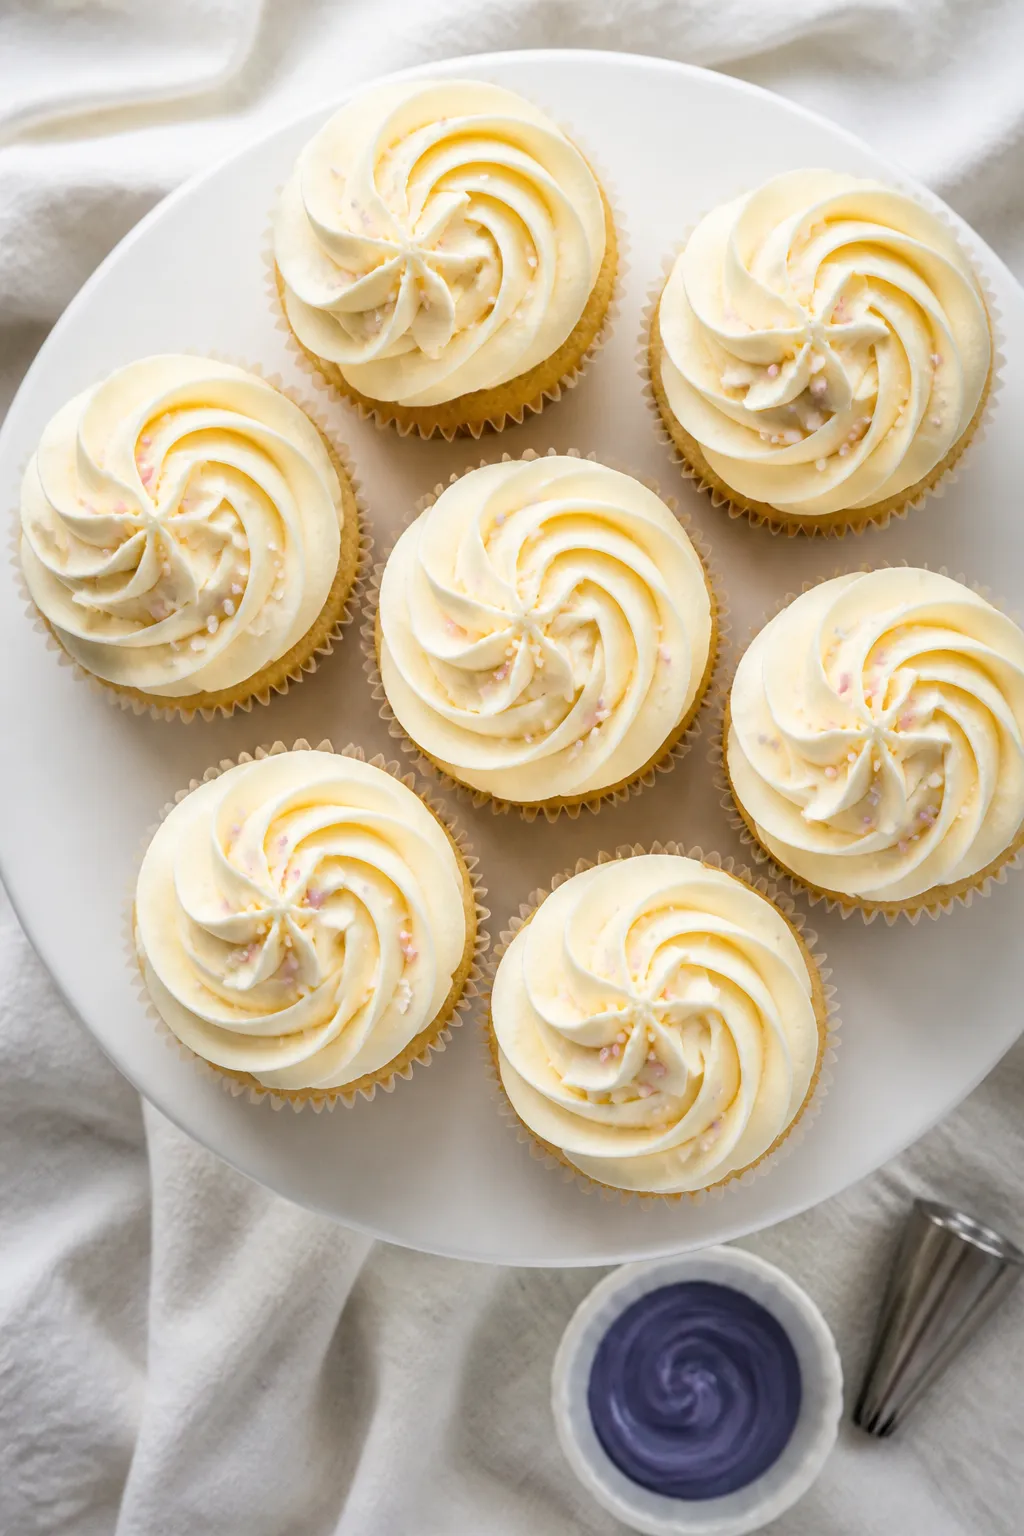
    Overhead final presentation of vanilla cupcakes topped with tall, crisp buttercream swirls: smooth,
    1. Beat the butter: In a large bowl, beat softened butter on medium-high for 2–3 minutes until pale and creamy. This step builds the base for a fluffy frosting.
    2. Add powdered sugar gradually: Reduce speed to low and add powdered sugar 1 cup at a time. Mix until mostly incorporated before adding more to avoid a sugar cloud.
    3. Flavor it: Add vanilla and a pinch of salt.

      Taste and adjust the vanilla if you like a stronger flavor.

    4. Thin to the right consistency: Add milk or cream 1 tablespoon at a time on low speed until it’s smooth and spreadable.
    5. Whip it light: Increase speed to medium-high and beat for 2–3 minutes. This adds air, making it fluffy and easy to pipe.
    6. Adjust if needed: Too thick? Add a splash more milk.

      Too soft? Beat in more powdered sugar, a few tablespoons at a time.

    Storage Instructions

    • Room temperature: Use within 1–2 days if your kitchen is cool (68–72°F). Keep covered to prevent crusting.
    • Refrigerator: Store in an airtight container up to 1 week.

      Let it come to room temperature and re-whip before using.

    • Freezer: Freeze up to 3 months. Thaw overnight in the fridge, then bring to room temp and whip briefly to restore fluffiness.

    Health Benefits

    • Simple, known ingredients: You control the quality—no preservatives or artificial flavors if you choose pure vanilla.
    • Portion-conscious: A rich frosting means a little goes a long way, helping you use smaller amounts.
    • Customizable: You can reduce sugar slightly or use milk instead of cream for a lighter option.

    Common Mistakes to Avoid

    • Cold butter: If the butter is too firm, you’ll get a dense, lumpy frosting. Let it soften until it leaves a slight indent when pressed.
    • Adding liquid too fast: Dumping in too much milk early can make it runny.

      Add slowly and stop when you hit the sweet spot.

    • Skipping the whip: Not whipping at the end makes the frosting heavy. Those extra minutes create the fluffy texture.
    • Using salted butter without adjusting: Salted butter can make it too salty. If using salted butter, skip the added salt.
    • Over-sweetness: Balance with a pinch of salt and enough vanilla to round out the flavor.

    Recipe Variations

    • Chocolate Buttercream: Add 1/3–1/2 cup unsweetened cocoa powder and 1–2 tablespoons extra milk.

      A pinch of espresso powder deepens the chocolate flavor.

    • Strawberry Buttercream: Beat in 2–3 tablespoons freeze-dried strawberry powder and a splash of milk. Bright color, big flavor, no extra liquid.
    • Lemon Buttercream: Add 1–2 teaspoons lemon zest and 1 tablespoon fresh lemon juice. Adjust sugar to keep it thick.
    • Almond Vanilla: Use 1 teaspoon vanilla and 1/2 teaspoon almond extract for a bakery-style twist.
    • Salted Caramel: Beat in 2–3 tablespoons thick caramel sauce and a pinch of flaky salt.

    FAQ

    How much frosting does this make?

    It makes enough to generously frost 12–16 cupcakes or a 2-layer 8-inch cake with a simple finish.

    For tall swirls or heavy piping, consider making 1.5 times the recipe.

    Can I make this dairy-free?

    Yes. Use a good-quality vegan butter and a dairy-free milk like oat or almond. Texture stays similar; flavor will depend on the butter brand.

    Why is my frosting grainy?

    It could be from low-quality powdered sugar or not beating long enough.

    Use powdered sugar with cornstarch and whip the frosting a bit longer to smooth it out.

    Can I color this frosting?

    Absolutely. Use gel food coloring for vibrant shades without thinning the frosting. Add a little at a time and mix well.

    How do I fix runny frosting?

    Beat in more powdered sugar, a few tablespoons at a time, or chill for 10–15 minutes, then re-whip.

    Avoid adding too much liquid early on.

    Wrapping Up

    This easy buttercream is the dependable, fluffy topping every baker needs. It’s simple to mix, easy to adjust, and tastes like a bakery classic. Keep these tips handy, and you’ll have smooth, pipeable frosting for any cake or cupcake—every single time.

    Easy Buttercream Frosting Recipe (4 Ingredients & Perfectly Fluffy!) – Simple, Sweet, and Foolproof

    Prep Time 10 minutes
    Total Time 10 minutes
    Servings 12 servings

    Ingredients
      

    • 1 cup (2 sticks) unsalted butter, softened to room temperature
    • 3–4 cups powdered sugar (start with 3 cups, add more to thicken)
    • 1–2 teaspoons pure vanilla extract
    • 2–4 tablespoons milk or heavy cream (more for a softer consistency)
    • Pinch of fine sea salt (optional, but recommended to balance sweetness)

    Instructions
     

    • Beat the butter: In a large bowl, beat softened butter on medium-high for 2–3 minutes until pale and creamy. This step builds the base for a fluffy frosting.
    • Add powdered sugar gradually: Reduce speed to low and add powdered sugar 1 cup at a time. Mix until mostly incorporated before adding more to avoid a sugar cloud.
    • Flavor it: Add vanilla and a pinch of salt. Taste and adjust the vanilla if you like a stronger flavor.
    • Thin to the right consistency: Add milk or cream 1 tablespoon at a time on low speed until it’s smooth and spreadable.
    • Whip it light: Increase speed to medium-high and beat for 2–3 minutes. This adds air, making it fluffy and easy to pipe.
    • Adjust if needed: Too thick? Add a splash more milk. Too soft? Beat in more powdered sugar, a few tablespoons at a time.
  • Vanilla Buttercream Frosting – Smooth, Fluffy, and Foolproof

    Vanilla Buttercream Frosting – Smooth, Fluffy, and Foolproof

    Vanilla buttercream frosting is the classic finishing touch for cakes, cupcakes, and cookies. It’s sweet, creamy, and easy to whip up with pantry staples. This version gives you that fluffy, pipeable texture you want without being cloying.

    It’s versatile too—perfect for birthday cakes, quick bakes, or holiday treats. If you’ve ever struggled with grainy or runny frosting, this guide will set you up for success.

    What Makes This Recipe So Good

    Close-up detail shot: A stand mixer bowl filled with freshly whipped vanilla buttercream at peak flu
    • Simple ingredients: Just butter, powdered sugar, vanilla, salt, and cream or milk. No specialty items needed.
    • Perfect texture: Soft, fluffy, and stable enough to pipe or spread smoothly.
    • Balanced sweetness: A pinch of salt and real vanilla keep it from tasting flat.
    • Foolproof process: Clear steps that help you avoid lumps and achieve a glossy finish.
    • Adaptable: Easily adjust sweetness, consistency, and flavor add-ins.

    What You’ll Need

    • 1 cup (2 sticks) unsalted butter, softened to cool room temperature
    • 3–4 cups powdered sugar (confectioners’ sugar), sifted if lumpy
    • 2–3 tablespoons heavy cream (or milk, half-and-half, or non-dairy milk)
    • 2 teaspoons pure vanilla extract (or 1 teaspoon vanilla bean paste for specks)
    • 1/8–1/4 teaspoon fine salt (adjust to taste)
    • Optional: 1–2 teaspoons light corn syrup for added sheen; food coloring as desired

    How to Make It

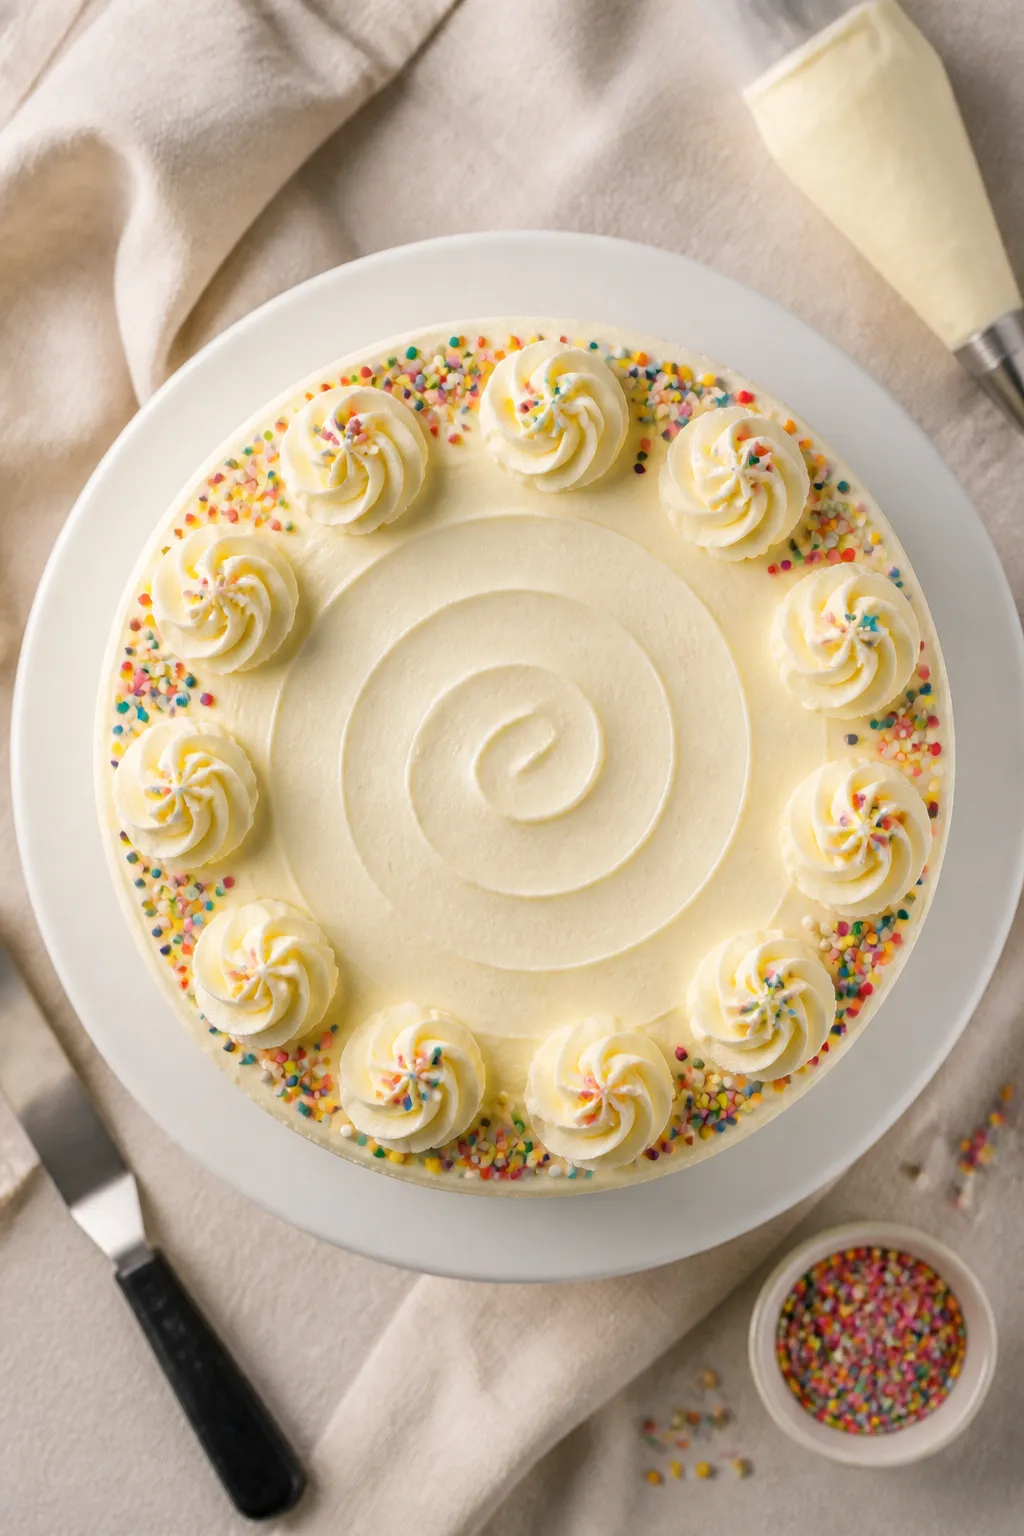
    Tasty top view and final presentation: Overhead shot of a single-layer 9-inch vanilla cake smoothly
    1. Soften the butter: Let butter sit out until it’s slightly cool but pliable.

      It should dent when pressed, not melt.

    2. Cream the butter: Beat butter on medium-high for 2–3 minutes until pale and fluffy. This builds structure and traps air.
    3. Add sugar gradually: With the mixer on low, add powdered sugar 1 cup at a time. Scrape the bowl often to prevent pockets of sugar.
    4. Flavor and loosen: Add vanilla and salt.

      Start with 2 tablespoons cream, then beat on medium until smooth.

    5. Whip for fluff: Increase speed to medium-high and whip 1–2 minutes. If too thick, add another teaspoon of cream at a time. If too thin, add a few tablespoons more sugar.
    6. Adjust and finish: Taste and tweak salt or vanilla.

      For extra shine and smoothness, beat in corn syrup. Mix just until silky.

    7. Use or store: Frost immediately, or cover tightly until ready to use.

    Keeping It Fresh

    • Room temperature: Keeps 1–2 days covered in a cool kitchen.
    • Refrigerator: Store up to 1 week in an airtight container. Bring to room temp and re-whip briefly before using.
    • Freezer: Freeze up to 3 months.

      Thaw overnight in the fridge, then let it come to room temp and whip to refresh.

    • Cover well: Buttercream dries out on contact with air. Press plastic wrap directly on the surface if storing.

    Benefits of This Recipe

    • Beginner-friendly: Clear steps and forgiving ingredients.
    • Budget-conscious: Pantry staples, no fancy equipment needed beyond a hand mixer.
    • Customizable: Adjust thickness and sweetness to suit your dessert.
    • Reliable for decorating: Holds piping shapes and smooths beautifully on cakes.

    Common Mistakes to Avoid

    • Using melted or cold butter: Melted butter makes runny frosting; cold butter turns it dense and lumpy.
    • Adding all the sugar at once: This leads to clumps and a dust cloud. Go slow.
    • Skipping the salt: A small amount balances sweetness and boosts flavor.
    • Over-thinning: Add cream sparingly.

      It’s easier to loosen than to fix a runny bowl.

    • Under-whipping: Give it time. Proper whipping yields a light, airy texture.

    Alternatives

    • Dairy-free: Use vegan butter sticks and a splash of non-dairy milk. Choose brands meant for baking for best structure.
    • Vanilla bean: Swap extract for vanilla bean paste or scraped seeds for intense flavor and specks.
    • Swiss meringue buttercream: For a less sweet, ultra-smooth option, try the meringue-based style (more steps, silkier result).
    • Flavor twists: Add almond extract (1/4–1/2 teaspoon), lemon zest, cocoa powder, espresso powder, or a tablespoon of jam for variations.
    • Coloring: Gel food coloring works best; add at the end and mix just to combine.

    How much frosting does this make?

    This batch frosts about 12–18 cupcakes with a moderate swirl or a single 8- or 9-inch layer cake.

    For a tall layer cake or heavy piping, make 1.5–2 times the recipe.

    Can I reduce the sweetness?

    Yes. Use 3 cups powdered sugar to start, add a pinch more salt, and rely on cream to reach the right texture. For a noticeably less sweet option, consider Swiss meringue buttercream.

    Why is my buttercream grainy?

    Powdered sugar can clump, and cold butter won’t blend smoothly.

    Sift the sugar, use properly softened butter, and whip longer. A teaspoon of warm cream can help smooth it out.

    How do I fix runny frosting?

    Beat in more powdered sugar a few tablespoons at a time, or chill the bowl for 10–15 minutes and re-whip. Check that your butter wasn’t overly soft to begin with.

    Can I pipe roses and detailed designs with this?

    Yes.

    Aim for a medium-stiff consistency: add a little extra powdered sugar until it holds peaks but still looks glossy. Keep the piping bag cool to maintain shape.

    Final Thoughts

    Vanilla buttercream frosting is a baker’s best friend—simple, dependable, and delicious. With the right butter temperature, gradual sugar additions, and a quick whip at the end, you’ll get a smooth, fluffy finish every time.

    Keep this base recipe handy, and tweak flavors and consistency to match any dessert on your menu. Once you master it, beautiful cakes and cupcakes come together with ease.

    Vanilla Buttercream Frosting – Smooth, Fluffy, and Foolproof

    Prep Time 15 minutes
    Total Time 15 minutes
    Servings 12 servings

    Ingredients
      

    • 1 cup (2 sticks) unsalted butter, softened to cool room temperature
    • 3–4 cups powdered sugar (confectioners’ sugar), sifted if lumpy
    • 2–3 tablespoons heavy cream (or milk, half-and-half, or non-dairy milk)
    • 2 teaspoons pure vanilla extract (or 1 teaspoon vanilla bean paste for specks)
    • 1/8–1/4 teaspoon fine salt (adjust to taste)
    • Optional: 1–2 teaspoons light corn syrup for added sheen; food coloring as desired

    Instructions
     

    • Soften the butter: Let butter sit out until it’s slightly cool but pliable. It should dent when pressed, not melt.
    • Cream the butter: Beat butter on medium-high for 2–3 minutes until pale and fluffy. This builds structure and traps air.
    • Add sugar gradually: With the mixer on low, add powdered sugar 1 cup at a time. Scrape the bowl often to prevent pockets of sugar.
    • Flavor and loosen: Add vanilla and salt. Start with 2 tablespoons cream, then beat on medium until smooth.
    • Whip for fluff: Increase speed to medium-high and whip 1–2 minutes. If too thick, add another teaspoon of cream at a time. If too thin, add a few tablespoons more sugar.
    • Adjust and finish: Taste and tweak salt or vanilla. For extra shine and smoothness, beat in corn syrup. Mix just until silky.
    • Use or store: Frost immediately, or cover tightly until ready to use.
  • Pumpkin Streusel Muffins – Soft, Spiced, and Perfectly Crumbly

    Pumpkin Streusel Muffins – Soft, Spiced, and Perfectly Crumbly

    Pumpkin streusel muffins are the kind of cozy bake that makes your kitchen smell like fall. They’re tender, warmly spiced, and topped with a crunchy cinnamon crumb that melts into each bite. Whether you’re packing lunches, brewing weekend coffee, or planning a bake sale, these muffins fit the moment.

    The batter comes together fast, and the results feel special without any fuss. You’ll love how the pumpkin keeps them moist for days.

    Why This Recipe Works

    Close-up detail of freshly baked pumpkin streusel muffins just out of the pan, showing domed, craggy
    • Moist and tender crumb: Pumpkin purée and oil lock in moisture, so the muffins stay soft.
    • Balanced sweetness: Brown sugar adds depth, while the streusel gives a sweet, crunchy top without overwhelming the muffin.
    • Warm spice profile: Cinnamon, nutmeg, and ginger complement pumpkin without tasting heavy.
    • No mixer needed: Whisk, fold, and bake. It’s simple and reliable.
    • Bakery-style tops: A generous streusel and a quick rest before baking help create domed, craggy tops.

    Ingredients

    For the Muffins

    Overhead final presentation: a stoneware plate with three pumpkin streusel muffins, one sliced in ha
    • 1 3/4 cups all-purpose flour
    • 1 teaspoon baking soda
    • 1/2 teaspoon baking powder
    • 1/2 teaspoon fine salt
    • 2 teaspoons ground cinnamon
    • 1/4 teaspoon ground nutmeg
    • 1/4 teaspoon ground ginger
    • 2/3 cup light brown sugar, packed
    • 1/3 cup granulated sugar
    • 2 large eggs, room temperature
    • 1 cup pumpkin purée (not pumpkin pie filling)
    • 1/2 cup neutral oil (canola, vegetable, or light olive)
    • 1/4 cup milk (dairy or unsweetened non-dairy)
    • 1 teaspoon vanilla extract

    For the Streusel Topping

    • 3/4 cup all-purpose flour
    • 1/3 cup light brown sugar, packed
    • 2 tablespoons granulated sugar
    • 1 teaspoon ground cinnamon
    • 1/4 teaspoon fine salt
    • 6 tablespoons cold unsalted butter, cubed

    Step-by-Step Instructions

    1. Prep the pan: Heat oven to 375°F (190°C).

      Line a 12-cup muffin tin with liners or grease well.

    2. Make the streusel: In a bowl, mix flour, sugars, cinnamon, and salt. Cut in the cold butter with a fork or fingers until clumpy. Chill while you make the batter.
    3. Whisk dry ingredients: In a large bowl, combine flour, baking soda, baking powder, salt, cinnamon, nutmeg, and ginger.
    4. Whisk wet ingredients: In another bowl, whisk brown sugar, granulated sugar, eggs, pumpkin, oil, milk, and vanilla until smooth.
    5. Combine: Pour wet into dry.

      Fold gently with a spatula until just combined. Do not overmix; a few small lumps are fine.

    6. Fill the cups: Divide batter evenly among the muffin cups, filling each about 3/4 full.
    7. Top with streusel: Sprinkle a generous mound of streusel on each muffin, pressing lightly so it adheres.
    8. Bake: Bake 18–22 minutes, until a toothpick comes out clean or with a few moist crumbs, and tops are golden.
    9. Cool: Let muffins cool in the pan 5 minutes, then transfer to a rack. Serve warm or at room temp.

    How to Store

    • Room temperature: Store in an airtight container for 2–3 days. Add a paper towel above and below to absorb moisture.
    • Refrigerate: Up to 5 days, though the streusel softens slightly.

      Warm briefly before serving.

    • Freeze: Wrap individually and freeze up to 2 months. Thaw at room temp or microwave 20–30 seconds.

    Why This is Good for You

    • Pumpkin perks: Rich in vitamin A and fiber, which support eye health and digestion.
    • Reasonable sweetness: The batter isn’t overly sugary; most sweetness comes from natural pumpkin and streusel on top.
    • Customizable fats: Use avocado oil or light olive oil for a heart-friendlier option.

    Common Mistakes to Avoid

    • Overmixing the batter: This makes muffins tough. Stop when you no longer see dry streaks.
    • Using pumpkin pie filling: It’s pre-sweetened and spiced, which throws off the balance.

      Use pure pumpkin purée.

    • Skipping salt: A pinch sharpens flavors and balances sweetness.
    • Baking at too low a temperature: You’ll miss those domed tops. Stick to 375°F for lift and color.
    • Overbaking: Dry muffins lose their charm. Start checking at 18 minutes.

    Alternatives

    • Gluten-free: Use a 1:1 gluten-free flour blend and add 1 tablespoon milk if batter seems thick.
    • Dairy-free: Swap butter in streusel for cold coconut oil or vegan butter; use non-dairy milk.
    • Nutty twist: Add 1/2 cup chopped pecans or walnuts to the streusel or batter.
    • Chocolate lovers: Fold in 3/4 cup mini chocolate chips.
    • Lower sugar: Reduce granulated sugar in the batter by 2 tablespoons; the muffins will still be delicious.

    FAQ

    Can I use fresh pumpkin instead of canned?

    Yes.

    Roast, mash, and drain well to remove excess moisture. Aim for a thick purée similar to canned pumpkin.

    Why did my streusel melt into the muffins?

    The butter may have been too soft, or the oven too cool. Keep the streusel cold and bake at the full 375°F for defined crumbs.

    Can I make these mini muffins?

    Absolutely.

    Fill mini cups about 3/4 full, top with streusel, and bake 10–13 minutes. Watch closely near the end.

    How do I get taller, bakery-style domes?

    Fill cups 3/4 full, keep the batter thick, and ensure the oven is fully preheated. A slightly warmer initial bake helps lift.

    What if I don’t have individual spices?

    Use 2–2 1/2 teaspoons pumpkin pie spice and omit the cinnamon, nutmeg, and ginger.

    Wrapping Up

    These pumpkin streusel muffins are simple, cozy, and crowd-pleasing.

    The batter mixes in minutes, and the crunchy topping makes them feel bakery special. Keep a batch on hand for breakfast, snacks, or gifting—you’ll be glad you did. Enjoy them warm with coffee or tuck one into your bag for a sweet, spiced pick-me-up.

    Pumpkin Streusel Muffins – Soft, Spiced, and Perfectly Crumbly

    Prep Time 15 minutes
    Cook Time 20 minutes
    Total Time 35 minutes
    Servings 12 servings

    Ingredients
      

    • 1 3/4 cups all-purpose flour
    • 1 teaspoon baking soda
    • 1/2 teaspoon baking powder
    • 1/2 teaspoon fine salt
    • 2 teaspoons ground cinnamon
    • 1/4 teaspoon ground nutmeg
    • 1/4 teaspoon ground ginger
    • 2/3 cup light brown sugar, packed
    • 1/3 cup granulated sugar
    • 2 large eggs, room temperature
    • 1 cup pumpkin purée (not pumpkin pie filling)
    • 1/2 cup neutral oil (canola, vegetable, or light olive)
    • 1/4 cup milk (dairy or unsweetened non-dairy)
    • 1 teaspoon vanilla extract
    • 3/4 cup all-purpose flour
    • 1/3 cup light brown sugar, packed
    • 2 tablespoons granulated sugar
    • 1 teaspoon ground cinnamon
    • 1/4 teaspoon fine salt
    • 6 tablespoons cold unsalted butter, cubed

    Instructions
     

    • Prep the pan: Heat oven to 375°F (190°C). Line a 12-cup muffin tin with liners or grease well.
    • Make the streusel: In a bowl, mix flour, sugars, cinnamon, and salt. Cut in the cold butter with a fork or fingers until clumpy. Chill while you make the batter.
    • Whisk dry ingredients: In a large bowl, combine flour, baking soda, baking powder, salt, cinnamon, nutmeg, and ginger.
    • Whisk wet ingredients: In another bowl, whisk brown sugar, granulated sugar, eggs, pumpkin, oil, milk, and vanilla until smooth.
    • Combine: Pour wet into dry. Fold gently with a spatula until just combined. Do not overmix; a few small lumps are fine.
    • Fill the cups: Divide batter evenly among the muffin cups, filling each about 3/4 full.
    • Top with streusel: Sprinkle a generous mound of streusel on each muffin, pressing lightly so it adheres.
    • Bake: Bake 18–22 minutes, until a toothpick comes out clean or with a few moist crumbs, and tops are golden.
    • Cool: Let muffins cool in the pan 5 minutes, then transfer to a rack. Serve warm or at room temp.
  • Pumpkin Muffins With Streusel Topping – Cozy, Crunchy, and Perfect for Fall

    Pumpkin Muffins With Streusel Topping – Cozy, Crunchy, and Perfect for Fall

    Pumpkin muffins with a buttery streusel topping are the kind of treat that makes a kitchen feel warm and inviting. They’re lightly sweet, spiced just right, and finished with a golden crumble that adds the perfect crunch. Whether you’re baking for a weekend breakfast, a coffee break, or a fall gathering, these muffins never disappoint.

    They’re easy to make, freeze well, and taste even better the next day. If you love pumpkin bread, you’ll love these even more.

    What Makes This Special

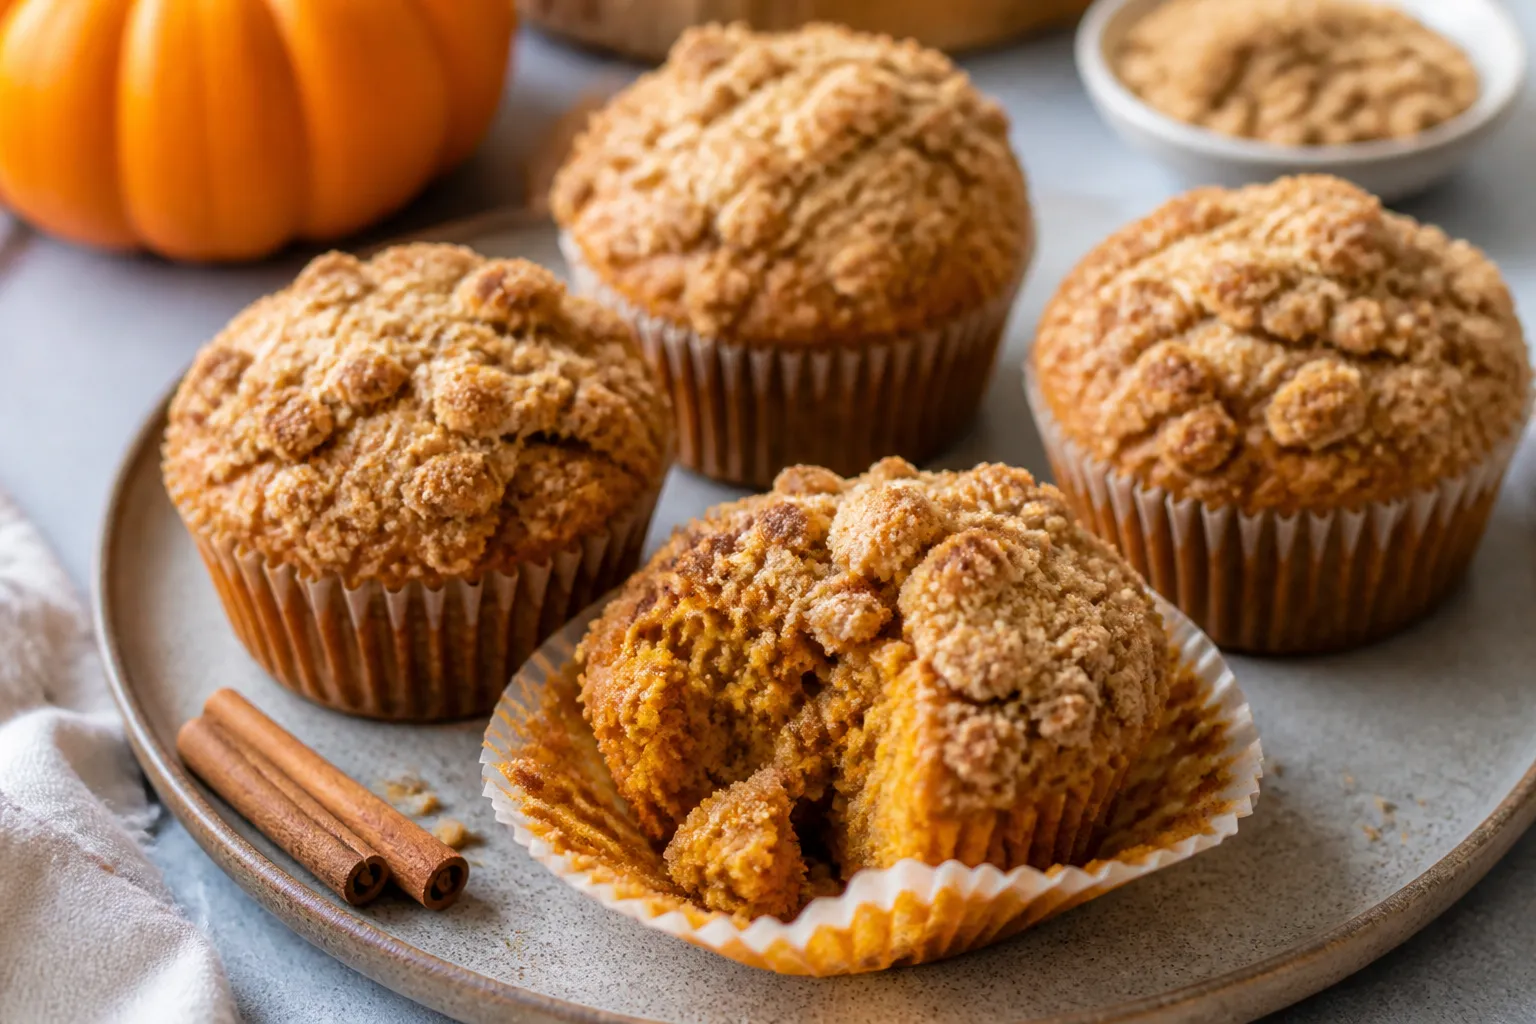
    Close-up detail of freshly baked pumpkin muffins with buttery cinnamon streusel topping, : focus on

    These muffins balance a tender, moist crumb with a crisp, cinnamon-kissed streusel. The batter comes together in one bowl, and the topping uses pantry basics.

    You get bakery-style texture without any fussy steps. Warm spices, real pumpkin, and a buttery crunch make them a go-to for the season and beyond.

    What You’ll Need

    • For the muffins:
      • 1 3/4 cups all-purpose flour
      • 1 teaspoon baking soda
      • 1/2 teaspoon baking powder
      • 1/2 teaspoon fine salt
      • 2 teaspoons ground cinnamon
      • 1/2 teaspoon ground nutmeg
      • 1/4 teaspoon ground ginger
      • 1/4 teaspoon ground cloves (optional)
      • 1 cup canned pumpkin puree (not pumpkin pie filling)
      • 2 large eggs, room temperature
      • 3/4 cup granulated sugar
      • 1/2 cup brown sugar, packed
      • 1/2 cup neutral oil (vegetable or canola) or melted butter
      • 1/4 cup milk (dairy or unsweetened non-dairy)
      • 1 teaspoon vanilla extract
    • For the streusel topping:
      • 1/2 cup all-purpose flour
      • 1/3 cup brown sugar
      • 1 teaspoon ground cinnamon
      • 1/8 teaspoon salt
      • 4 tablespoons unsalted butter, melted and slightly cooled
    • Optional add-ins: 1/2 cup chocolate chips, chopped pecans, or pepitas

    Instructions

    Overhead final presentation: a 12-cup muffin tin filled with baked pumpkin muffins, each crowned wit
    1. Preheat your oven to 375°F (190°C). Line a 12-cup muffin tin with paper liners or grease lightly.
    2. Make the streusel: In a small bowl, mix flour, brown sugar, cinnamon, and salt. Stir in melted butter until clumps form. Chill for 10 minutes while you make the batter.
    3. Whisk dry ingredients: In a large bowl, whisk flour, baking soda, baking powder, salt, cinnamon, nutmeg, ginger, and cloves.
    4. Mix wet ingredients: In a separate bowl or large measuring cup, whisk pumpkin, eggs, granulated sugar, brown sugar, oil, milk, and vanilla until smooth.
    5. Combine: Pour wet ingredients into dry.

      Stir gently with a spatula until just combined. Do not overmix. Fold in any add-ins.

    6. Fill the tin: Divide batter evenly among the cups, about 3/4 full. Sprinkle a generous layer of streusel over each muffin, pressing lightly so it adheres.
    7. Bake for 18–22 minutes, or until a toothpick inserted in the center comes out clean or with a few moist crumbs.

      Tops should be set and golden.

    8. Cool: Let muffins rest in the pan for 5 minutes, then transfer to a wire rack to cool. Enjoy warm or at room temperature.

    How to Store

    • Room temperature: Store in an airtight container for 2–3 days. Add a paper towel to absorb moisture and keep the streusel crisp.
    • Refrigerator: Up to 5 days.

      Warm briefly in the oven or toaster oven to refresh the topping.

    • Freezer: Freeze individually wrapped muffins for up to 2 months. Thaw at room temperature or reheat at 325°F (165°C) for 8–10 minutes.

    Benefits of This Recipe

    • One-bowl batter: Minimal mess, quick cleanup.
    • Versatile: Works with nuts, chocolate, or seeds without changing the base recipe.
    • Make-ahead friendly: The flavor improves by day two, and they freeze beautifully.
    • Balanced sweetness: Not overly sugary, so the spices and pumpkin shine.

    Pitfalls to Watch Out For

    • Overmixing: Leads to tough muffins. Stop stirring when you no longer see dry streaks.
    • Thin streusel: If it looks sandy, add another teaspoon of melted butter and pinch to form clumps.
    • Wrong pumpkin: Use plain pumpkin puree, not pumpkin pie filling.
    • Overbaking: Dry muffins happen fast.

      Start checking at 18 minutes.

    Variations You Can Try

    • Maple twist: Swap 1/4 cup of the granulated sugar for pure maple syrup and reduce milk to 2 tablespoons.
    • Cream cheese swirl: Dollop a teaspoon of sweetened cream cheese into each cup and swirl lightly before adding streusel.
    • Nutty crunch: Add 1/2 cup chopped pecans or walnuts to the batter or streusel.
    • Whole-wheat boost: Replace 1/2 cup of the all-purpose flour with white whole wheat flour.
    • Gluten-free: Use a 1:1 gluten-free flour blend and check doneness a minute or two early.

    Can I use fresh pumpkin instead of canned?

    Yes. Roast and puree sugar pumpkin or kabocha until smooth. Drain excess liquid with a paper towel if it seems watery to match the thickness of canned puree.

    Why did my streusel melt into the muffins?

    Warm butter or a hot kitchen can cause the topping to melt.

    Chill the streusel briefly before baking and press it gently onto the batter so it forms nuggets.

    Can I make these dairy-free?

    Absolutely. Use oil instead of butter in the batter, a plant-based milk, and swap the streusel butter for melted coconut oil or a dairy-free butter.

    How do I get taller, bakery-style muffin tops?

    Fill cups 3/4 full and bake at 375°F (190°C). The slightly higher heat encourages a better rise without drying out the crumb.

    Can I reduce the sugar?

    You can cut the total sugar in the batter by 1/4 cup without affecting texture much.

    Keep the streusel as written for crunch and balance.

    Final Thoughts

    These pumpkin muffins with streusel topping are cozy, reliable, and easy to tweak to your taste. They’re perfect for slow mornings, lunchbox treats, or sharing with friends. Once you bake a batch, you’ll want to keep the ingredients on hand all season long.

    Warm, spiced, and just crunchy enough—this is a keeper recipe.

    Pumpkin Muffins With Streusel Topping – Cozy, Crunchy, and Perfect for Fall

    Prep Time 15 minutes
    Cook Time 22 minutes
    Total Time 37 minutes
    Servings 12 servings

    Ingredients
      

    • For the muffins:
    • 1 3/4 cups all-purpose flour
    • 1 teaspoon baking soda
    • 1/2 teaspoon baking powder
    • 1/2 teaspoon fine salt
    • 2 teaspoons ground cinnamon
    • 1/2 teaspoon ground nutmeg
    • 1/4 teaspoon ground ginger
    • 1/4 teaspoon ground cloves (optional)
    • 1 cup canned pumpkin puree (not pumpkin pie filling)
    • 2 large eggs, room temperature
    • 3/4 cup granulated sugar
    • 1/2 cup brown sugar, packed
    • 1/2 cup neutral oil (vegetable or canola) or melted butter
    • 1/4 cup milk (dairy or unsweetened non-dairy)
    • 1 teaspoon vanilla extract
    • For the streusel topping:
    • 1/2 cup all-purpose flour
    • 1/3 cup brown sugar
    • 1 teaspoon ground cinnamon
    • 1/8 teaspoon salt
    • 4 tablespoons unsalted butter, melted and slightly cooled
    • Optional add-ins: 1/2 cup chocolate chips, chopped pecans, or pepitas

    Instructions
     

    • Preheat your oven to 375°F (190°C). Line a 12-cup muffin tin with paper liners or grease lightly.
    • Make the streusel: In a small bowl, mix flour, brown sugar, cinnamon, and salt. Stir in melted butter until clumps form. Chill for 10 minutes while you make the batter.
    • Whisk dry ingredients: In a large bowl, whisk flour, baking soda, baking powder, salt, cinnamon, nutmeg, ginger, and cloves.
    • Mix wet ingredients: In a separate bowl or large measuring cup, whisk pumpkin, eggs, granulated sugar, brown sugar, oil, milk, and vanilla until smooth.
    • Combine: Pour wet ingredients into dry. Stir gently with a spatula until just combined. Do not overmix. Fold in any add-ins.
    • Fill the tin: Divide batter evenly among the cups, about 3/4 full. Sprinkle a generous layer of streusel over each muffin, pressing lightly so it adheres.
    • Bake for 18–22 minutes, or until a toothpick inserted in the center comes out clean or with a few moist crumbs. Tops should be set and golden.
    • Cool: Let muffins rest in the pan for 5 minutes, then transfer to a wire rack to cool. Enjoy warm or at room temperature.