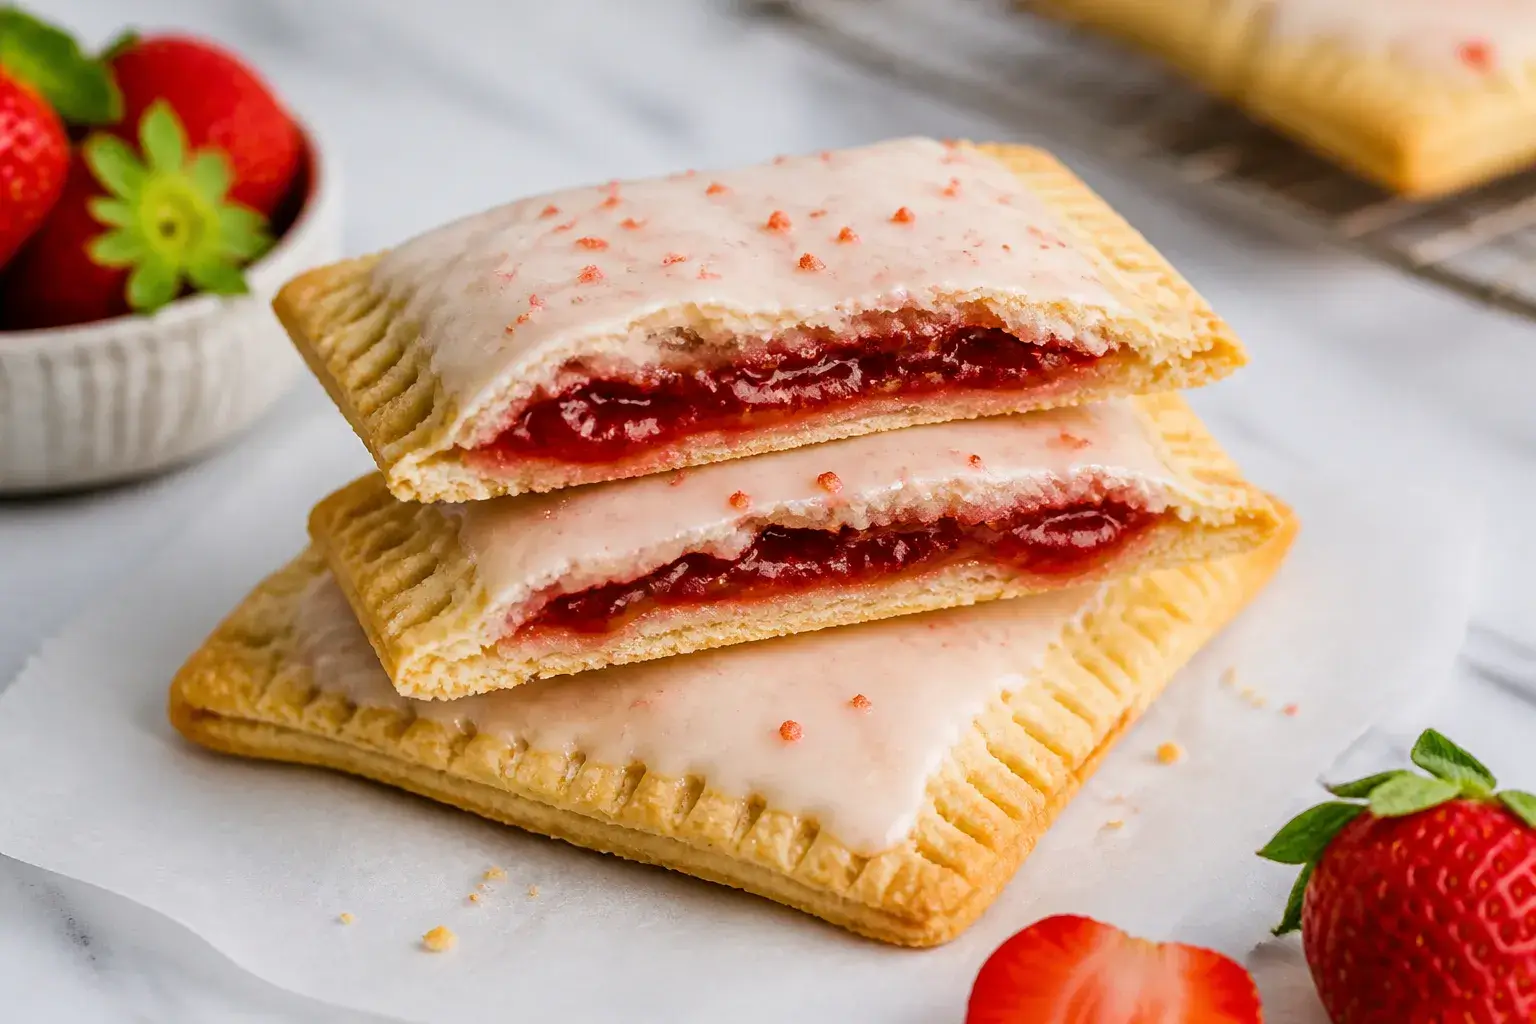
Homemade pop tarts hit a sweet spot: crisp edges, tender pastry, and a bright strawberry center that tastes like summer. These gluten free strawberry pop tarts give you all the nostalgia without the wheat. They’re simple enough for a weekend bake and sturdy enough for lunch boxes.
Expect a flaky crust, real fruit filling, and just the right amount of glaze. If you’ve missed toaster pastries since going gluten free, this recipe brings them back in the best way.
What Makes This Special
- Flaky, not crumbly: A blend of gluten free flours and a little cold butter creates layers that hold together.
- Real strawberry flavor: The filling uses fresh or frozen berries, not artificial flavoring.
- Freezer-friendly: Make a batch, freeze unbaked or baked, and toast when cravings hit.
- Customizable sweetness: Dial the glaze up or down to suit your taste.
Ingredients
- For the pastry:
- 2 cups gluten free all-purpose flour blend (with xanthan gum), plus extra for dusting
- 2 tablespoons granulated sugar
- 1/2 teaspoon fine salt
- 1 cup (2 sticks) cold unsalted butter, cut into small cubes
- 1 large egg
- 3–5 tablespoons ice water
- For the strawberry filling:
- 1 1/2 cups chopped strawberries (fresh or frozen, thawed)
- 1/4 cup granulated sugar (adjust to taste)
- 1 tablespoon lemon juice
- 2 teaspoons cornstarch (or tapioca starch)
- 1 teaspoon vanilla extract
- For assembly:
- 1 egg, beaten with 1 tablespoon water (egg wash)
- For the glaze (optional):
- 1 cup powdered sugar
- 2–3 tablespoons milk (dairy or dairy-free)
- 1/2 teaspoon vanilla extract
- Pinch of salt
How to Make It
- Make the filling: Add strawberries, sugar, lemon juice, and cornstarch to a small saucepan. Cook over medium heat, stirring, until thick and jammy, 6–8 minutes.
Stir in vanilla, cool completely.
- Start the dough: In a bowl, whisk flour, sugar, and salt. Cut in the cold butter with a pastry cutter or your fingertips until pea-sized bits remain.
- Bind the dough: Whisk the egg with 3 tablespoons ice water. Add to the flour mix and stir until it clumps.
If dry, add more ice water, 1 teaspoon at a time, just until it holds together.
- Chill: Divide dough in half, shape into rectangles, wrap, and chill 30–45 minutes. Cold dough is key for flakiness.
- Roll it out: Dust parchment with gluten free flour. Roll one portion to about 1/8 inch thick.
Trim edges to form a neat rectangle.
- Cut rectangles: Cut 3×4-inch rectangles. Repeat with remaining dough. You should get 12 rectangles for 6 pop tarts, depending on thickness.
- Fill: Place half the rectangles on a parchment-lined sheet.
Brush edges with egg wash. Spoon 1–1 1/2 tablespoons strawberry filling in the center, leaving a border.
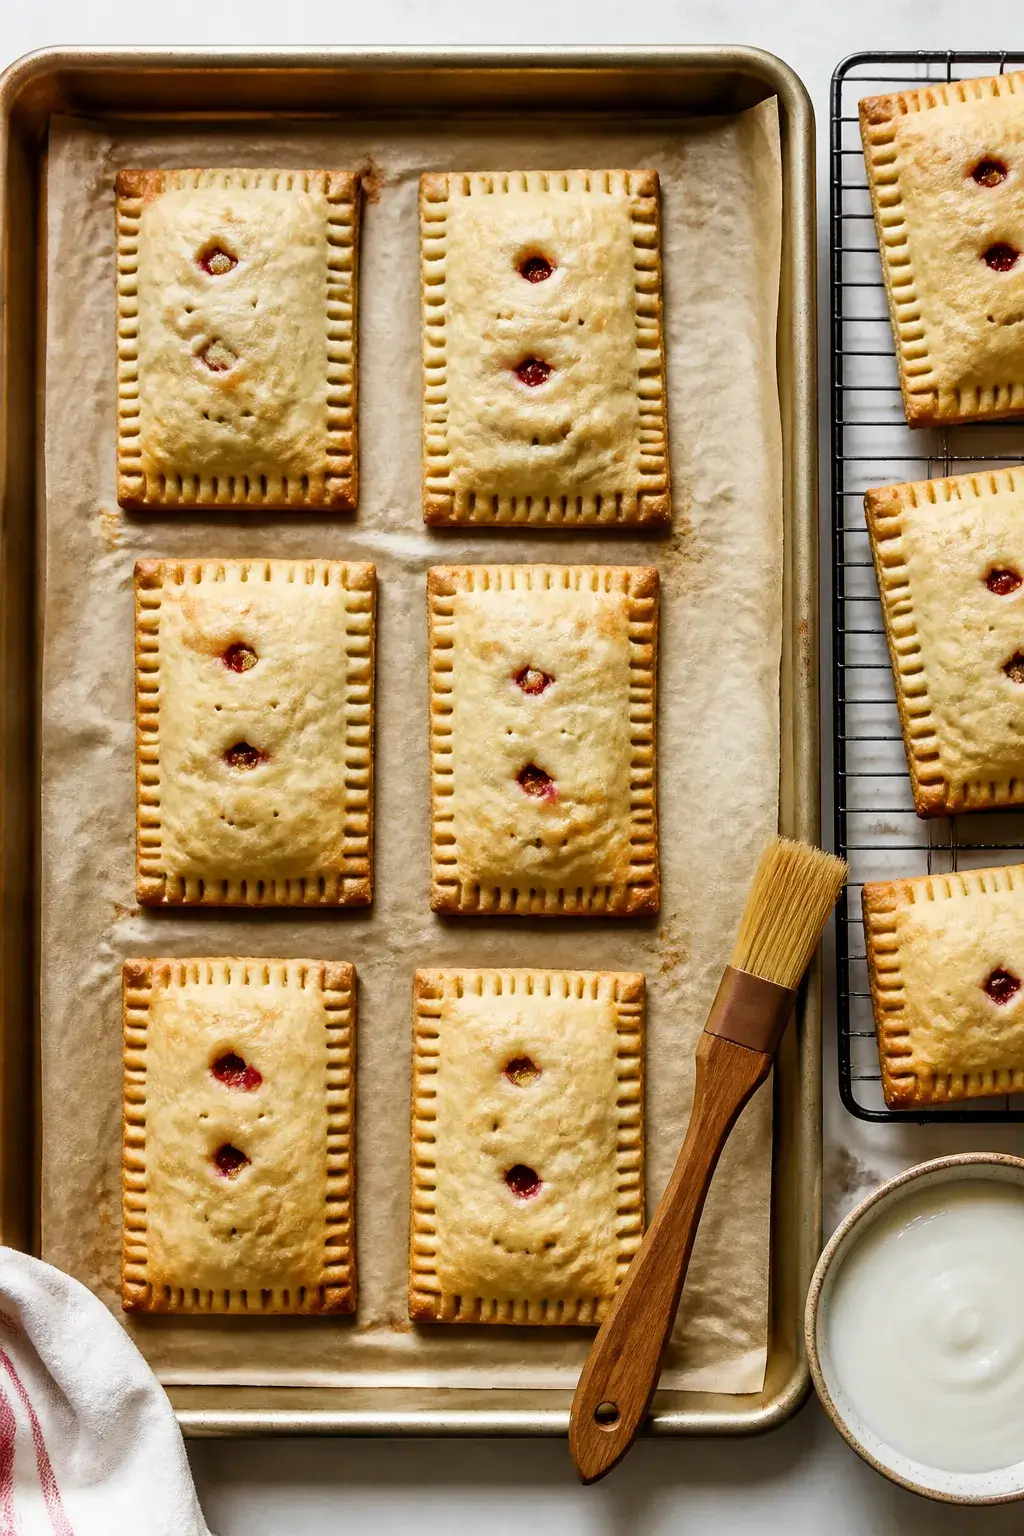
- Seal: Top with remaining rectangles. Press edges to seal, then crimp with a fork.
Prick the tops 3–4 times with a fork to vent.
- Chill again: Freeze the tray for 10 minutes while you preheat the oven to 375°F (190°C). Cold pastries bake cleaner and hold shape.
- Bake: Brush tops with egg wash. Bake 18–22 minutes, until golden at the edges.
Cool on a rack completely before glazing.
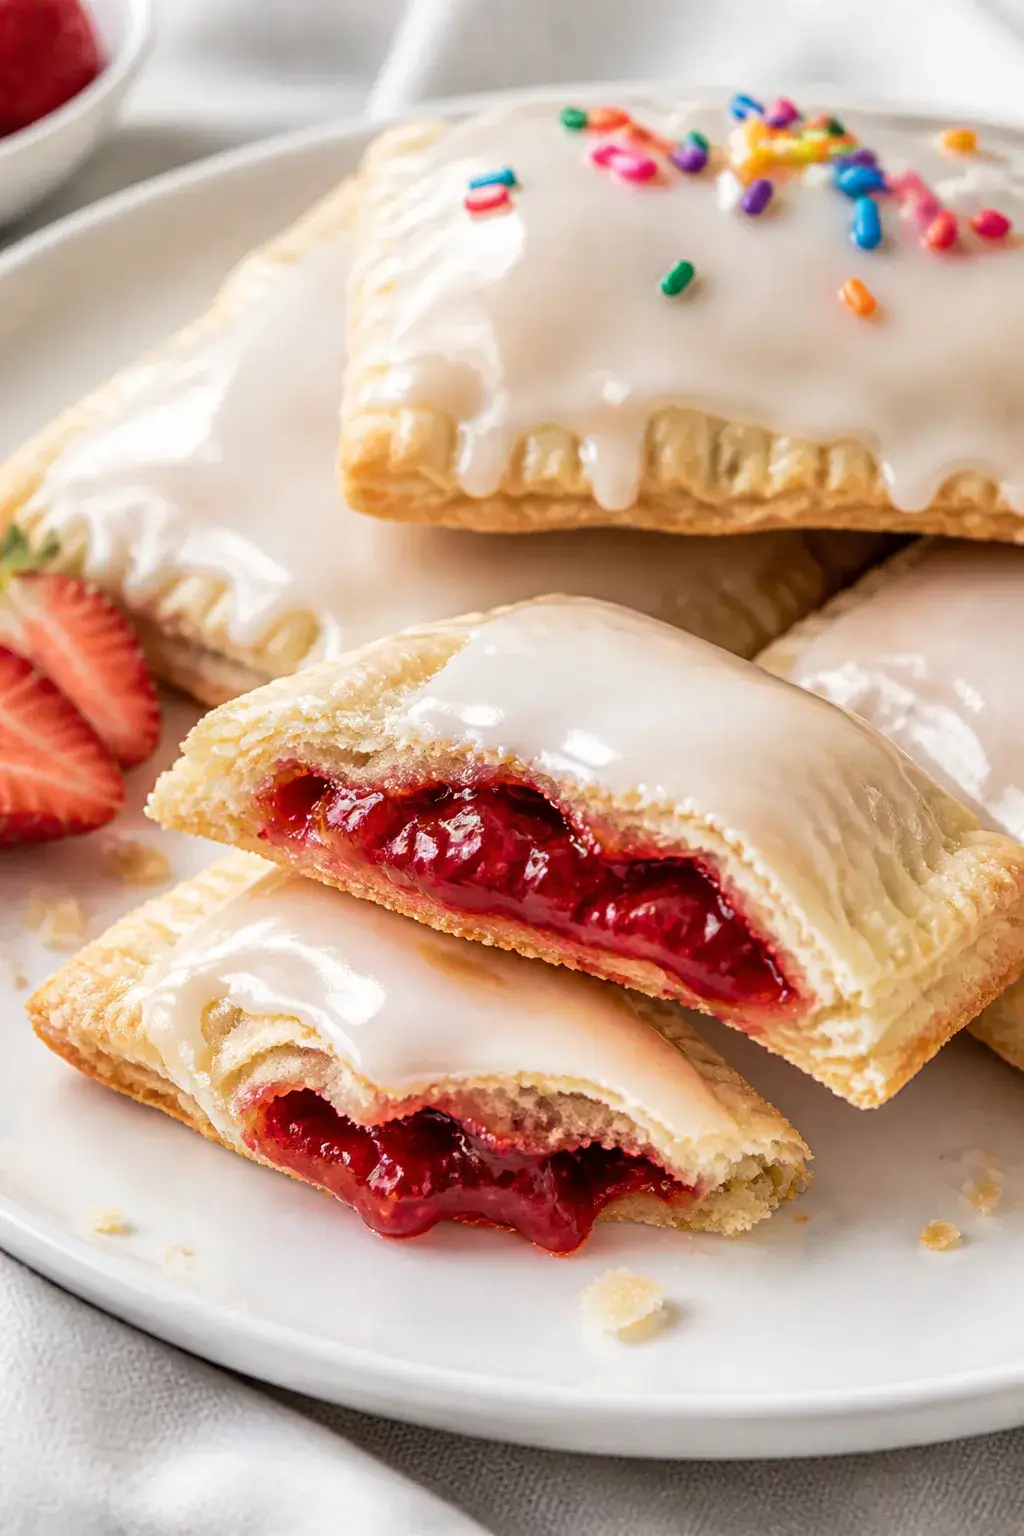
- Glaze: Whisk powdered sugar, milk, vanilla, and a pinch of salt until smooth and thick but pourable. Spoon over cooled pastries and let set 15 minutes.
Keeping It Fresh
- Room temp: Store glazed pop tarts in an airtight container for 24 hours.
- Refrigerate: Keep up to 4 days. Warm in a 300°F (150°C) oven for 5–7 minutes.
- Freeze: Freeze unglazed pop tarts (baked or unbaked) up to 2 months.
Bake from frozen, adding 3–5 minutes, or toast the baked ones straight from the freezer.
Why This is Good for You
- Real fruit: Strawberries bring fiber, vitamin C, and natural sweetness.
- Control the ingredients: No artificial dyes, and you can manage the sugar level.
- Gluten free without compromise: A balanced dough gives structure and flake, so you don’t feel like you’re settling.
What Not to Do
- Don’t skip chilling: Warm dough turns greasy and loses its layers.
- Don’t overfill: Too much filling causes leaks. Keep a clean border.
- Don’t roll too thick or thin: Thick equals doughy; thin equals cracks. Aim for 1/8 inch.
- Don’t glaze while hot: The glaze will melt and slide off.
Recipe Variations
- Strawberry-rhubarb: Swap 1/2 cup strawberries with chopped rhubarb and add 1 more teaspoon cornstarch.
- Strawberry chia jam: Stir 1 tablespoon chia seeds into the hot filling; cool to thicken naturally.
- Dairy-free: Use vegan butter and non-dairy milk for the glaze.
- Lemon glaze: Replace milk with lemon juice and add zest for a bright finish.
- Sprinkle top: Add gluten free sprinkles to the wet glaze for a classic look.
FAQ
Can I use store-bought strawberry jam?
Yes.
Choose a thicker jam so it doesn’t run. If it’s loose, cook 1/2 cup jam with 1 teaspoon cornstarch for 1–2 minutes to tighten it up.
Do I need xanthan gum?
If your gluten free flour blend already includes xanthan gum, you’re set. If not, add 1/2 teaspoon to the dry ingredients for better structure.
How do I make them without eggs?
Use 3–5 tablespoons ice water plus 1 tablespoon ground flax mixed with 3 tablespoons water (flax egg) for the dough.
Brush edges with milk instead of egg wash.
Why did my pop tarts leak?
Likely too much filling or not enough sealing. Keep a 1/2-inch border, use egg wash on the edges, crimp firmly, and vent the tops.
Can I toast them like the boxed kind?
Yes, if they’re unglazed or the glaze is fully set. Toast on a low setting and watch closely to avoid melting glaze onto the toaster.
In Conclusion
These gluten free strawberry pop tarts deliver classic pastry vibes with honest ingredients and bright berry flavor.
They’re flaky, sweet, and easy to customize, whether you like a bold lemon glaze or a light dusting of sugar. Make a batch on Sunday, freeze a few, and treat yourself all week. Simple, nostalgic, and genuinely good—no gluten needed.
Gluten Free Strawberry Pop Tarts – A Simple, Homemade Treat
Ingredients
- For the pastry:
- 2 cups gluten free all-purpose flour blend (with xanthan gum), plus extra for dusting
- 2 tablespoons granulated sugar
- 1/2 teaspoon fine salt
- 1 cup (2 sticks) cold unsalted butter, cut into small cubes
- 1 large egg
- 3–5 tablespoons ice water
- For the strawberry filling:
- 1 1/2 cups chopped strawberries (fresh or frozen, thawed)
- 1/4 cup granulated sugar (adjust to taste)
- 1 tablespoon lemon juice
- 2 teaspoons cornstarch (or tapioca starch)
- 1 teaspoon vanilla extract
- For assembly:
- 1 egg, beaten with 1 tablespoon water (egg wash)
- For the glaze (optional):
- 1 cup powdered sugar
- 2–3 tablespoons milk (dairy or dairy-free)
- 1/2 teaspoon vanilla extract
- Pinch of salt
Instructions
- Make the filling: Add strawberries, sugar, lemon juice, and cornstarch to a small saucepan. Cook over medium heat, stirring, until thick and jammy, 6–8 minutes. Stir in vanilla, cool completely.
- Start the dough: In a bowl, whisk flour, sugar, and salt. Cut in the cold butter with a pastry cutter or your fingertips until pea-sized bits remain.
- Bind the dough: Whisk the egg with 3 tablespoons ice water. Add to the flour mix and stir until it clumps. If dry, add more ice water, 1 teaspoon at a time, just until it holds together.
- Chill: Divide dough in half, shape into rectangles, wrap, and chill 30–45 minutes. Cold dough is key for flakiness.
- Roll it out: Dust parchment with gluten free flour. Roll one portion to about 1/8 inch thick. Trim edges to form a neat rectangle.
- Cut rectangles: Cut 3×4-inch rectangles. Repeat with remaining dough. You should get 12 rectangles for 6 pop tarts, depending on thickness.
- Fill: Place half the rectangles on a parchment-lined sheet. Brush edges with egg wash. Spoon 1–1 1/2 tablespoons strawberry filling in the center, leaving a border.
- Seal: Top with remaining rectangles. Press edges to seal, then crimp with a fork. Prick the tops 3–4 times with a fork to vent.
- Chill again: Freeze the tray for 10 minutes while you preheat the oven to 375°F (190°C). Cold pastries bake cleaner and hold shape.
- Bake: Brush tops with egg wash. Bake 18–22 minutes, until golden at the edges. Cool on a rack completely before glazing.
- Glaze: Whisk powdered sugar, milk, vanilla, and a pinch of salt until smooth and thick but pourable. Spoon over cooled pastries and let set 15 minutes.
Printable Recipe Card
Want just the essential recipe details without scrolling through the article? Get our printable recipe card with just the ingredients and instructions.
Leave a Reply